
How to Use Old Singer Sewing Machine: Expert Tips
Old Singer sewing machines are treasures. They are strong and reliable. Many people love using them even today. Do you have one at home? Want to learn how to use it? This guide will help you. Let’s start the journey!
Understanding Your Singer Sewing Machine
First, let’s know what a Singer sewing machine is. Singer is a famous brand. They have made sewing machines for over 160 years. Old Singer machines are often made of metal. They are heavy and sturdy. They might have a foot pedal or hand crank.
Parts Of A Singer Sewing Machine
Before you start, know the parts of the machine. Here are the main parts:
- Needle: The needle moves up and down. It makes stitches in the fabric.
- Presser Foot: The presser foot holds the fabric in place.
- Bobbin: The bobbin holds the bottom thread.
- Hand Wheel: The hand wheel moves the needle up and down.
- Foot Pedal: The foot pedal controls the speed.
- Spool Pin: The spool pin holds the top thread.
- Stitch Selector: The stitch selector chooses the type of stitch.
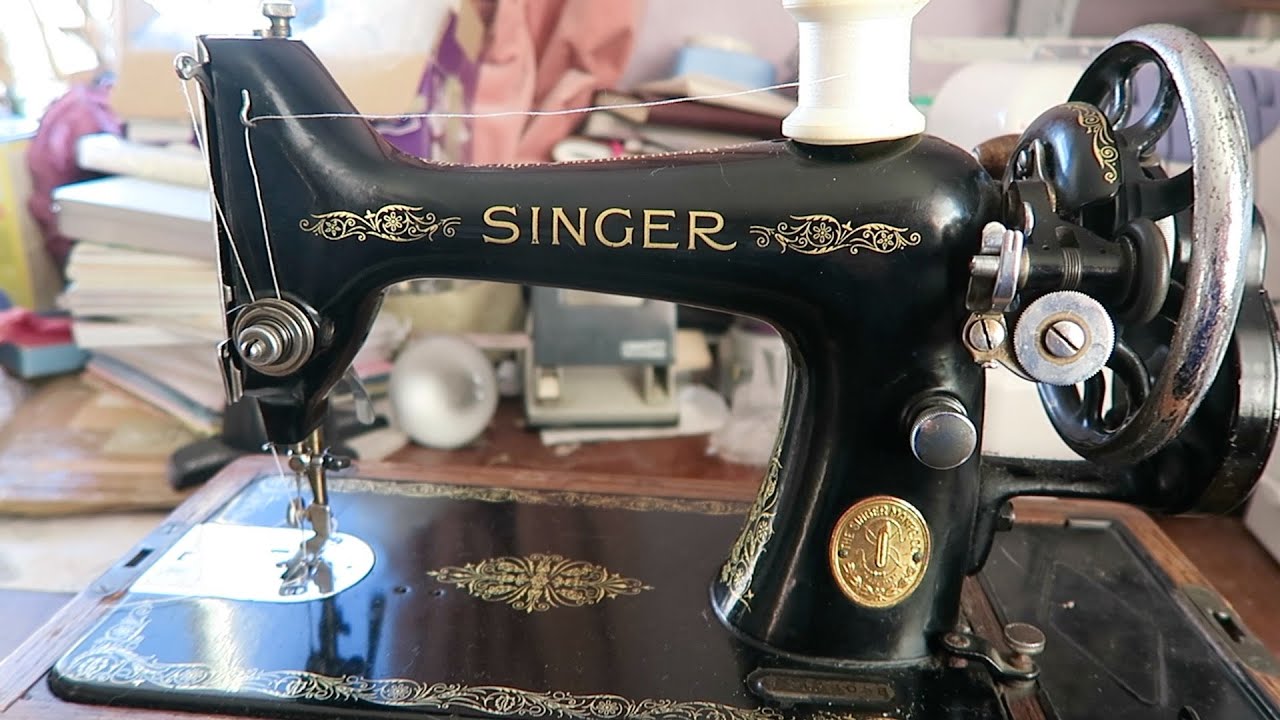
Credit: www.youtube.com
Setting Up Your Machine
Now, let’s set up the machine. Follow these simple steps:
Step 1: Clean Your Machine
Old machines may have dust. Clean it with a soft cloth. Make sure the needle is clean. A clean machine works better.
Step 2: Threading The Machine
Threading is important. Follow these steps to thread your machine:
- Place the thread on the spool pin.
- Pull the thread through the thread guide.
- Thread the needle from front to back.
Step 3: Winding The Bobbin
The bobbin holds the bottom thread. Here’s how to wind it:
- Place the thread on the spool pin.
- Guide the thread to the bobbin winder.
- Wind the thread around the bobbin.
- Start the machine to wind the bobbin.
Step 4: Inserting The Bobbin
Now, insert the bobbin:
- Open the bobbin case.
- Place the bobbin inside.
- Pull the thread through the slot.
Sewing with Your Machine
Now, you are ready to sew. Follow these steps to start sewing:
Step 1: Choosing The Right Needle
Use the right needle for your fabric. A thin needle for light fabric. A thick needle for heavy fabric.
Step 2: Selecting The Stitch Type
Choose a stitch on the stitch selector. Common stitches are straight and zigzag. Start with a straight stitch.
Step 3: Preparing The Fabric
Place the fabric under the presser foot. Lower the presser foot to hold the fabric.
Step 4: Sewing
Press the foot pedal to start sewing. Guide the fabric gently. Do not pull or push too hard. Let the machine do the work.
Tips for Using an Old Singer Machine
Here are some tips to help you:
- Always clean your machine after use. This keeps it working well.
- Oil the machine parts regularly. It prevents rust and wear.
- Check the needle before sewing. A bent needle can break the thread.
- Practice on scrap fabric first. This helps you get comfortable.
Common Problems and Solutions
Sometimes, problems happen. Here are some common issues and solutions:
Problem 1: Thread Keeps Breaking
Solution: Check the needle. It might be bent or dull. Also, check the thread tension. It should not be too tight.
Problem 2: Skipped Stitches
Solution: Change the needle. A dull needle can skip stitches. Also, check the thread path. Make sure it is threaded correctly.
Problem 3: Fabric Not Feeding
Solution: Check the feed dogs. They should move up and down. Clean under the presser foot.
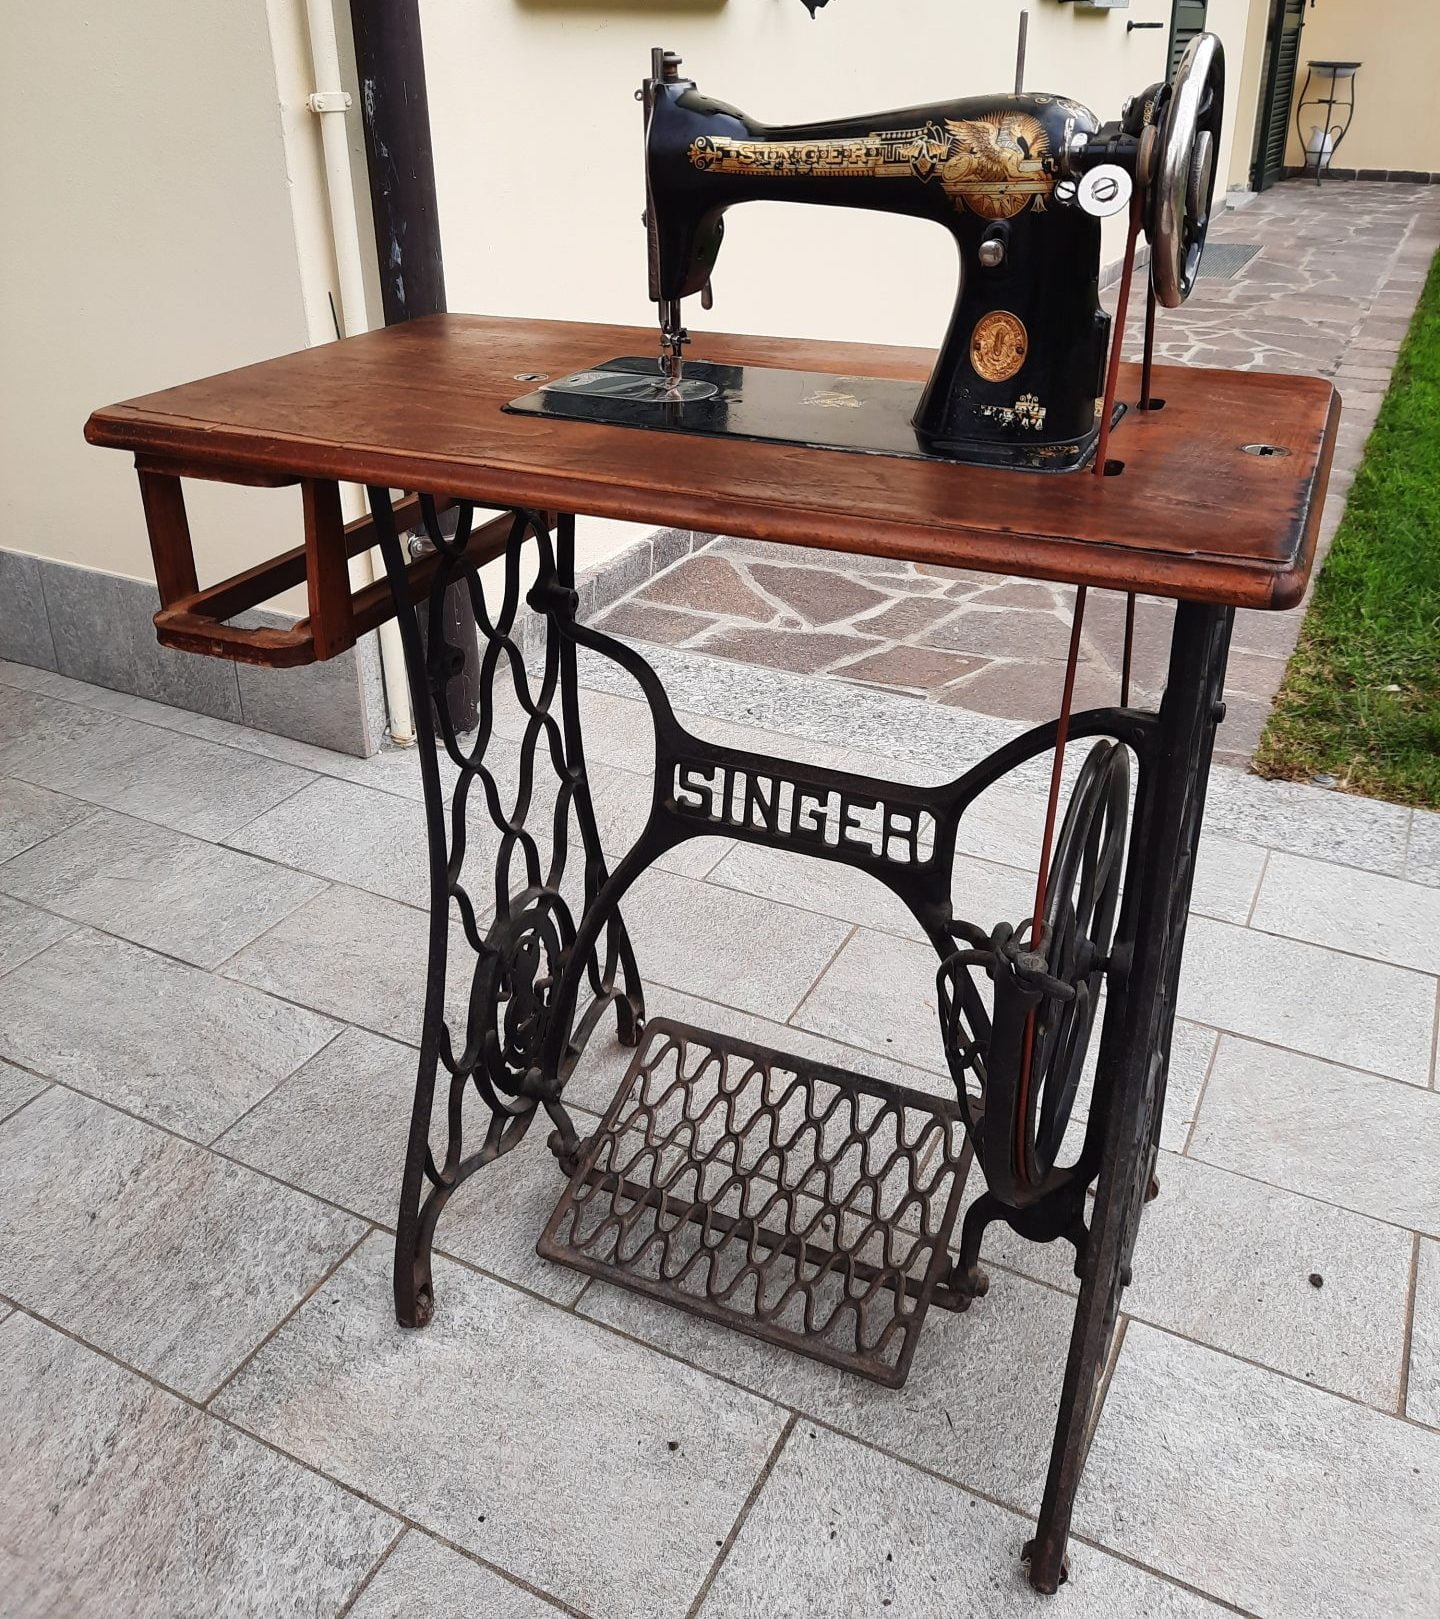
Credit: www.lrcrafts.it
Frequently Asked Questions
How Can I Identify My Old Singer Sewing Machine?
Check the serial number on your machine. It reveals the model and manufacturing date.
Where Can I Find Parts For Old Singer Sewing Machines?
Local sewing shops or online retailers often carry parts. Check Singer’s official website too.
What Oil Should I Use On My Vintage Singer?
Use sewing machine oil. It’s lightweight and prevents rust.
How Do I Thread An Old Singer Sewing Machine?
Refer to your manual. Threading paths are usually marked on the machine.
Conclusion
Old Singer sewing machines are wonderful tools. They need some care and practice. With this guide, you can start sewing with confidence. Enjoy creating beautiful things with your Singer machine!