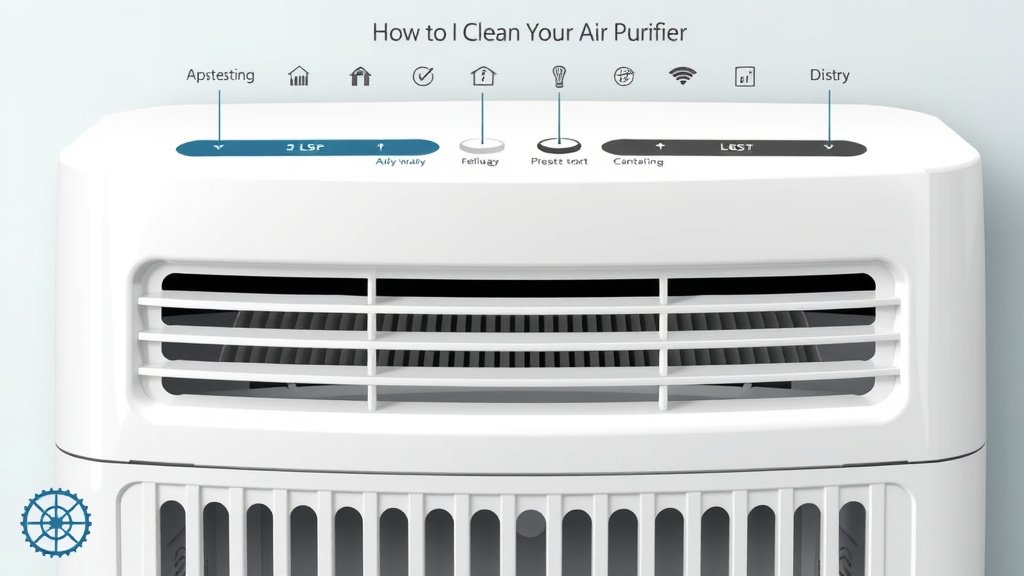
How to Clean Your Air Purifier for Better Air Quality
The easiest way to clean your air purifier is by regularly cleaning its filters and exterior. Neglecting this maintenance can lead to a less effective purifier and even recirculate dust. Keeping your air purifier in top shape ensures you’re breathing the cleanest air possible.
Air purifiers work hard to remove allergens and pollutants from your home. Over time, this means their filters and parts can get clogged with the very things they’re meant to capture. Consistent cleaning is essential for optimal performance and to prevent a dusty buildup. Many experts agree that a clean air purifier is a healthy air purifier.
- Unplug your air purifier before cleaning.
- Clean the pre-filter weekly or bi-weekly.
- Wipe down the exterior with a damp cloth.
- Check your HEPA and carbon filters for cleaning or replacement needs.
Ready to get your air purifier sparkling clean? Let’s walk through exactly how to do it step by step so you can enjoy fresher air in no time.
Keeping Your Air Purifier Running Smoothly
Your air purifier works hard every day. It’s like a tiny vacuum cleaner for your air. Over time, dust, pet dander, and other particles collect inside. Regular cleaning keeps it working its best. It also ensures you’re breathing truly clean air. Let’s make sure your purifier is a breath of fresh air, not a dust bunny breeding ground.
Understanding Your Air Purifier’s Parts
Most air purifiers have a few key parts. There’s usually a pre-filter. This is the first line of defense. It catches larger particles like hair and lint. Then, there’s a HEPA filter. This traps smaller allergens and pollutants. Many also have an activated carbon filter. This helps remove odors and gases. Knowing these parts helps you clean them properly.
The Pre-Filter: Your First Defense
The pre-filter is often washable. It catches the big stuff. This protects the more delicate HEPA filter. We recommend cleaning this part often. Think of it like rinsing your dishes before putting them in the dishwasher. It makes the main job much easier and more effective. Check your manual, but most can be gently rinsed or vacuumed.
The HEPA and Carbon Filters: The Heavy Lifters
HEPA and carbon filters are usually not washable. They trap very fine particles. They can become clogged over time. This reduces airflow and cleaning power. Most manufacturers suggest replacing these filters. The replacement schedule varies. It depends on your model and how often you run it. We found that checking the filter indicator light is a good guide.
Your Step-by-Step Cleaning Guide
Ready to get your hands a little dusty? Don’t worry, it’s an easy process. Following these steps will help you maintain your air purifier. It’s better than trying to clean a dusty, neglected machine. Let’s get started on making your air clean again.
Step 1: Safety First – Unplug It!
This sounds obvious, right? But we’ve all been there, reaching for a tool while something is still plugged in. Always unplug your air purifier before you do any cleaning. This protects you from electric shock. It also prevents accidental damage to the unit. Safety is the most important first step.
Step 2: Cleaning the Pre-Filter
For most pre-filters, a gentle rinse is all that’s needed. You can remove it by sliding it out or releasing clips. Take it to a sink and rinse it under cool or lukewarm water. If it’s very dusty, you can use a soft brush. Gently scrub away any stuck-on debris. After rinsing, let it air dry completely. Do not put a wet pre-filter back in. This can lead to mold growth.
Some pre-filters can be vacuumed. Use the brush attachment on your vacuum cleaner. Gently go over the surface of the pre-filter. This removes loose dust and hair. If your manual says it’s washable, a rinse is usually better. We found that regular vacuuming between washes can extend its life.
Step 3: Cleaning the Exterior and Interior Casing
Your air purifier’s outside can get dusty too. Wipe down the casing with a soft, damp cloth. Make sure the cloth is not too wet. You don’t want water getting into the electronic parts. For the inside, once the filters are removed, you can wipe down the empty housing. Use a dry or slightly damp cloth. You can also use a vacuum cleaner with a soft brush attachment.
Pay attention to air vents and grilles. Dust can build up here. Gently wipe them clean. You can also use a soft brush or cotton swabs for tight spots. A clean exterior helps your unit look good and function well.
Step 4: Checking and Cleaning (or Replacing) HEPA and Carbon Filters
HEPA and activated carbon filters are different. Most HEPA filters cannot be washed. Water can damage the delicate fibers. They need to be replaced according to the manufacturer’s recommendations. Your air purifier might have a filter indicator light. This is a handy reminder when it’s time for a change.
Activated carbon filters also typically need replacement. They absorb odors and gases. Once they are saturated, they can no longer do their job. Some manufacturers offer washable carbon pre-filters. Always check your specific model’s manual. It will tell you the best way to care for its filters. We found that using genuine replacement filters is best for performance.
When to Replace Filters
Filter replacement schedules vary. Some last 6 months, others a year or more. Factors like air quality and usage matter. If you notice reduced airflow, it might be time. Persistent odors that the purifier doesn’t remove are another sign. Your purifier’s manual is your best friend here. It contains specific details for your model.
Step 5: Reassembly and Power Up
Once all parts are clean and dry, put your air purifier back together. Make sure the pre-filter is seated correctly. Ensure the main filters are in place. Close up all the covers and panels securely. Now, you can plug your air purifier back in. Turn it on and enjoy the clean air!
Maintenance Checklist for Your Air Purifier
To keep your air purifier working like a charm, follow this simple checklist:
- Weekly/Bi-Weekly: Clean or vacuum the pre-filter.
- Monthly: Wipe down the exterior and interior casing.
- As Needed: Check filter indicator lights for replacement.
- Every Few Months: Inspect HEPA and carbon filters for clogs.
- Annually (or as recommended): Replace HEPA and carbon filters.
| Filter Type | Typical Cleaning Method | Typical Replacement Frequency |
|---|---|---|
| Pre-Filter | Washable or Vacuumable | Clean weekly/bi-weekly; Replace when damaged |
| HEPA Filter | Usually Not Washable | Replace every 6-12 months (or as indicated) |
| Activated Carbon Filter | Usually Not Washable | Replace every 6-12 months (or as indicated) |
Conclusion
You’ve learned how vital regular cleaning is for your air purifier’s performance. By keeping your pre-filter clean and your HEPA and carbon filters in good condition, you ensure your unit effectively removes pollutants. Remember to always unplug your purifier before starting. Consistent maintenance protects your investment and, most importantly, your health. Take a moment today to check your manual and schedule your next cleaning session. Your lungs will thank you for it!
Frequently Asked Questions
How often should I clean my air purifier’s pre-filter?
We recommend cleaning or vacuuming your pre-filter at least once a week or every two weeks. This first line of defense catches large particles like pet hair and dust bunnies. Keeping it clear allows the other filters to work more efficiently.
Can I wash my HEPA filter?
Generally, no. Most HEPA filters are not designed to be washed, as water can damage their delicate fibers and reduce their effectiveness. It’s best to replace your HEPA filter according to the manufacturer’s schedule, usually every 6 to 12 months.
What if my air purifier doesn’t have a washable pre-filter?
If your manual indicates the pre-filter isn’t washable, then vacuuming it regularly is your best bet. Use a soft brush attachment on your vacuum cleaner to gently remove accumulated dust and debris. This will help extend the life of your other filters.
How do I know when to replace my HEPA and carbon filters?
Watch for reduced airflow, as this indicates clogged filters. Persistent odors that the purifier can no longer remove are another sign. Many modern units also feature a filter indicator light that will alert you when it’s time for a replacement.
Can I use household cleaners on my air purifier?
It’s best to avoid harsh household cleaners, especially on the filters themselves. For the exterior, a slightly damp, soft cloth is usually sufficient. If you need to clean the interior casing, a dry or slightly damp cloth is recommended. Always check your owner’s manual for specific cleaning instructions.