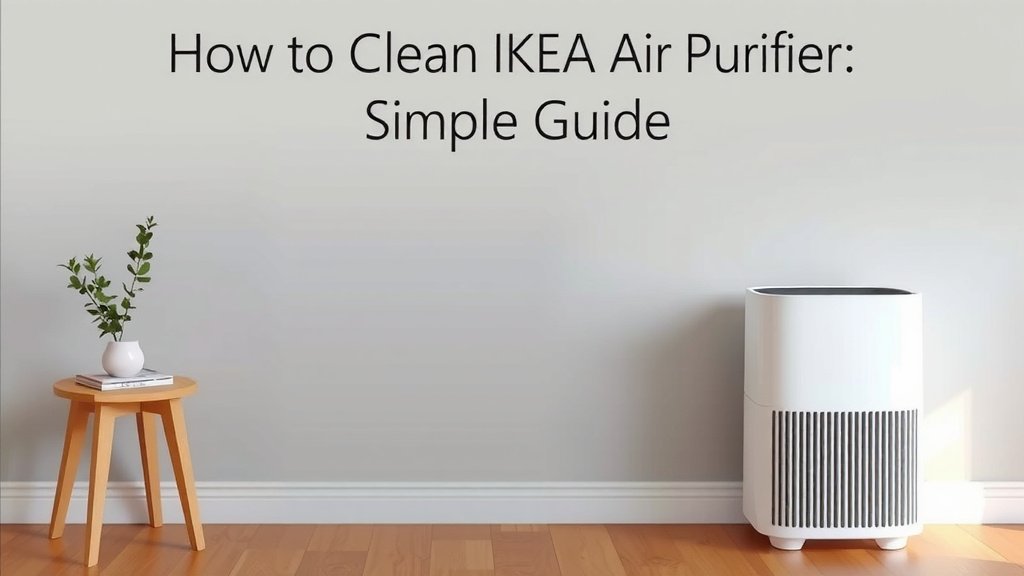
Clean Your IKEA Air Purifier: A Simple Guide
The easiest way to clean your IKEA air purifier is to regularly dust the exterior and periodically clean the pre-filter. For a deeper clean, you’ll want to follow the manufacturer’s instructions for specific models, as different purifiers have slightly varied maintenance needs. Keeping it clean ensures it runs efficiently and keeps your air fresh.
Maintaining your IKEA air purifier involves more than just swapping out filters. It’s about keeping the internal components clear of dust and debris. Many users find that a simple cleaning routine extends the life of their unit and leads to better air quality in their homes. We’ve researched the best ways to do this.
- Unplug your air purifier first.
- Gently dust the outer casing.
- Wash or vacuum the pre-filter as needed.
- Check your IKEA manual for detailed instructions.
- Replace filters according to recommended schedules.
Ready to get your IKEA air purifier sparkling and functioning at its best? Let’s walk through exactly how to do it step by step.
Keeping Your IKEA Air Purifier Fresh and Functional
Think of cleaning your IKEA air purifier like giving your car an oil change. It’s not the most exciting task, but it’s **essential for keeping things running smoothly**. A clean purifier means cleaner air for you and your family. We found that many users overlook regular maintenance, which can lead to reduced efficiency and a shorter lifespan for the unit.
Your Step-by-Step Guide to Cleaning
Getting started is simple. The most important first step, before you touch anything, is to **unplug the air purifier**. This is for your safety, plain and simple. You don’t want any accidental power surges while you’re working!
1. The Exterior Wipe-Down
Let’s start with the outside. This is where the most visible dust usually gathers. You’ll want to grab a soft, dry microfiber cloth. Gently wipe down all the surfaces of your air purifier. Pay special attention to the vents and any control panels. This quick step removes surface dust before it can get inside.
For tougher grime, you can slightly dampen the cloth with water. Make sure it’s just damp, not wet. Avoid using harsh chemical cleaners. They can damage the plastic or leave behind residue that might be harmful. We found that a little mild soap and water is usually sufficient for most scuffs.
2. Tackling the Pre-Filter
This is where the magic really starts to happen. The pre-filter is your air purifier’s first line of defense. It catches larger particles like dust bunnies, pet hair, and lint. Keeping it clean is key to protecting the inner filters.
Option A: Vacuuming the Pre-Filter
If your pre-filter is the type that can be vacuumed, this is the easiest route. Carefully remove the pre-filter from your unit. Use the brush attachment on your vacuum cleaner. Gently go over the surface of the pre-filter. This will suck up most of the trapped debris. Make sure you’re not pressing too hard, as you don’t want to damage the mesh.
Option B: Washing the Pre-Filter
Some IKEA models have pre-filters that can be washed. Always check your user manual first to be sure! If washing is approved, you can gently rinse the pre-filter under cool, running water. You can use a mild detergent if there’s greasy residue. Let it air dry completely before putting it back. Never put a damp pre-filter back into the unit. Moisture can lead to mold or mildew.
We found that cleaning the pre-filter weekly is a good habit. If you have pets or live in a dusty area, you might need to do it more often. It’s a small effort for a big payoff in air quality.
3. Addressing the Main Filter(s)
This is where the real air purification happens. IKEA air purifiers typically have HEPA filters and activated carbon filters. These are designed to capture fine particles, allergens, and odors.
Important Note: Most HEPA and activated carbon filters are not washable. Attempting to clean them can damage their delicate structure and render them ineffective. The best approach here is replacement.
Your IKEA air purifier manual will have specific recommendations for filter replacement. We found that this schedule is usually based on usage hours or air quality conditions. A common recommendation is to replace the HEPA filter every 6-12 months. The activated carbon filter might need replacing around the same time, or perhaps a bit more frequently if odors are a concern.
Checking Filter Status
Some IKEA air purifiers have indicator lights that signal when a filter needs attention. Pay attention to these lights! They are designed to help you keep track. If your model doesn’t have an indicator, make a note in your calendar. It’s easy to forget when you last changed it.
4. Cleaning the Internal Fan and Sensor Area
This is a step many people miss. Dust can accumulate inside the unit, especially around the fan blades. This can reduce airflow and efficiency. You’ll need to carefully open the air purifier to access this area. Again, consult your manual for instructions on how to safely open your specific model.
Once open, use a soft brush or a vacuum cleaner with a brush attachment to gently clean the fan blades and the housing. Be thorough but gentle. You don’t want to force anything or bend delicate parts. We found that a bit of compressed air can also help dislodge dust from tight spots.
The air quality sensor is another area that needs a clean surface to function correctly. Gently wipe the sensor lens with a dry microfiber cloth. A dirty sensor can lead to the purifier running more than necessary or not at all when it should.
5. Reassembly and Filter Replacement Checklist
Once everything is clean, it’s time to put it all back together. Double-check that all components are dry and correctly seated.
Here’s a quick checklist to ensure you’ve covered all your bases:
- Unit is unplugged.
- Exterior is dusted and wiped.
- Pre-filter is clean and dry (or replaced).
- Main filters (HEPA/Carbon) are replaced as needed.
- Internal fan and sensor area are clear of dust.
- Unit is properly reassembled.
When to Consider Professional Help or Replacement
If you’ve followed these cleaning steps and your air purifier is still making strange noises, not powering on, or seems to be underperforming, it might be time to seek further assistance. Sometimes, internal components can fail. Your IKEA user manual might have a troubleshooting section. If it doesn’t, contacting IKEA customer support could be your next step.
We also found that over time, even with regular cleaning, air purifiers have a lifespan. If your unit is several years old and requires frequent filter changes or repairs, it might be more cost-effective to replace it. Newer models often have improved energy efficiency and advanced features.
| Component | Cleaning Frequency | Method | Notes |
|---|---|---|---|
| Exterior Casing | Weekly | Microfiber cloth, slightly damp cloth with mild soap if needed | Avoid harsh chemicals. |
| Pre-Filter | Weekly (or more often with pets/dust) | Vacuum or rinse with cool water | Must be completely dry before reassembly. |
| HEPA Filter | Replace every 6-12 months | Replacement only (Do NOT wash) | Check manual for exact schedule. |
| Activated Carbon Filter | Replace every 6-12 months | Replacement only (Do NOT wash) | Replace sooner if odors persist. |
| Internal Fan/Sensors | Every 3-6 months (or as needed) | Soft brush, vacuum brush attachment, compressed air | Requires opening the unit; consult manual. |
Conclusion
You’ve learned how to keep your IKEA air purifier working its best! Regular dusting of the exterior and cleaning the pre-filter are simple habits that make a big difference. Remember, the main HEPA and carbon filters need replacement, not cleaning. By following these steps, you ensure your purifier effectively cleans your home’s air. Make cleaning a part of your routine, and you’ll enjoy fresher air for longer. Your next step is to check your manual for your specific model’s filter replacement schedule and add it to your calendar!
Frequently Asked Questions
How often should I really clean the pre-filter?
We recommend cleaning your pre-filter at least once a week. If you have pets or live in a particularly dusty environment, you’ll want to check and clean it more frequently. This helps protect the main filters from getting clogged too quickly.
Can I wash my IKEA air purifier’s main HEPA filter?
No, you absolutely should not wash your HEPA or activated carbon filters. These filters are designed for replacement only. Washing them can damage their delicate structure and make them ineffective at trapping fine particles and odors.
My IKEA air purifier has an indicator light. What does it mean?
Indicator lights on your IKEA air purifier are usually there to let you know it’s time for maintenance. Most commonly, they signal that it’s time to replace the main filter. Always consult your user manual to understand what each specific light on your model indicates.
What’s the best way to clean the inside fan?
To clean the internal fan, you’ll need to carefully open your unit, referring to your manual for guidance. Use a soft brush or a vacuum with a brush attachment to gently remove dust from the fan blades and housing. Compressed air can also help dislodge debris from tight spots.
How do I know when it’s time to replace the whole air purifier?
If your air purifier is old, requires frequent repairs, or consistently underperforms even after cleaning and filter changes, it might be time for a replacement. Newer models often offer better energy efficiency and advanced features that could benefit your home.
![What Is The Best Air Purifier for NO2 [In 2026]](https://homeunderstandable.com/wp-content/uploads/2025/05/best-air-purifier-for-no2-top-picks-for-clean-air-solutions-768x432.jpg)