How to Clean Your Levoit Air Purifier Filter Now
The easiest way to clean your Levoit air purifier filter is to gently vacuum it using a soft brush attachment. This process is surprisingly simple and helps to extend the life of your filter. Remember, you can only clean the pre-filter, not the HEPA or activated carbon layers.
Keeping your Levoit air purifier filter clean is essential for maintaining optimal air quality in your home. A dirty filter can reduce the purifier’s effectiveness and potentially lead to health issues. We found that regular maintenance ensures your device runs efficiently and your air stays fresh. It’s an important step for a healthier living space.
- Vacuum the pre-filter gently.
- Use a soft brush attachment.
- Do NOT wash the HEPA or carbon filters.
- Regular cleaning improves air quality.
Ready to get your Levoit air purifier back in top shape? Let’s walk through exactly how to clean that pre-filter step by step, ensuring you get the most out of your air purifier.
Keeping Your Levoit Air Purifier Filter Clean
You’ve got a Levoit air purifier, and that’s fantastic for breathing cleaner air. But what happens when that filter starts looking a little sad and dusty? We found that regular cleaning of the pre-filter is key to keeping your unit running smoothly. It’s not a complicated process at all. In fact, you can do it with tools you likely already have around the house. Think of it like dusting your furniture; a little effort makes a big difference for your home’s air quality.
Understanding Your Levoit Filter Layers
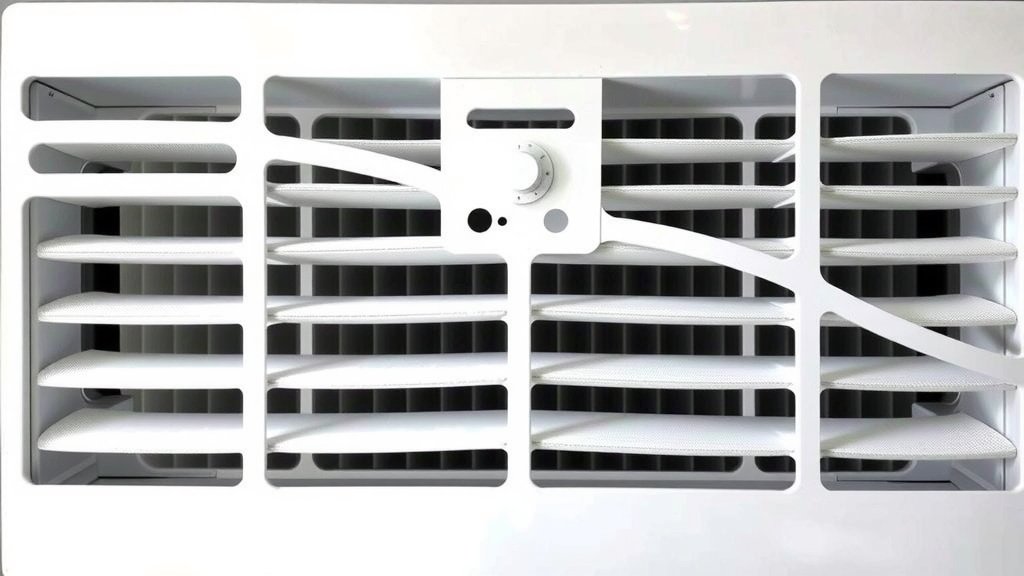
Before we dive into cleaning, it’s helpful to understand your Levoit filter. Most Levoit models come with a three-stage filtration system. You’ll find a pre-filter, a True HEPA filter, and an activated carbon filter. Each layer has a specific job. The pre-filter is the first line of defense. It’s usually a mesh-like material designed to catch larger particles. We’re talking about things like pet hair, dust bunnies, and lint. These are the obvious bits that clog up the works.
The Pre-Filter: Your Washable Wonder
The good news is that the pre-filter is the part you can and should clean. It’s designed to be cleaned regularly. This is where most of the larger debris ends up. Cleaning this layer prevents finer particles from reaching the other filters too quickly. Think of it as the gatekeeper. If the gatekeeper is clear, the path beyond stays cleaner for longer.
What About the HEPA and Carbon Filters?
Now, this is important. The True HEPA filter and the activated carbon filter are not washable. These are delicate components that work hard to capture microscopic allergens, mold spores, and odors. Many experts advise against washing them because water can damage their structure and reduce their effectiveness (CDC). Trying to wash these layers will likely ruin them and could even harm your air purifier. You’ll need to replace these filters when they’ve reached the end of their lifespan, usually indicated by your purifier’s filter reset light.
Your Step-by-Step Guide to Cleaning the Pre-Filter
Ready to give your Levoit a little TLC? Here’s how to clean that pre-filter. It’s straightforward and won’t take much of your time. Let’s get it done!
Step 1: Power Down and Disassemble
First things first, safety is key. You’ll want to unplug your air purifier completely. Never attempt to clean any part of it while it’s still plugged in. Once unplugged, carefully remove the filter assembly. Most Levoit models have a simple design where you can access the filter by removing the main housing or a specific panel. Consult your Levoit manual if you’re unsure how your model comes apart; they’re usually quite intuitive.
Step 2: Gently Remove the Pre-Filter
Once you have the filter unit out, you’ll need to separate the pre-filter. It’s typically the outermost layer. You might see it’s a fine mesh that wraps around the other filters. Gently pull it away or detach it according to your model’s design. We found that being gentle here prevents any tears or damage to the material.
Step 3: The Gentle Vacuuming Method
This is the core of the cleaning process. Grab your vacuum cleaner. You want to use a soft brush attachment. This is crucial because you don’t want to be too aggressive. Attachments with soft bristles are perfect for dusting delicate surfaces. Start vacuuming the pre-filter. Move the brush attachment slowly over the entire surface of the pre-filter. You’re aiming to suck up the loose dust, pet hair, and other debris that has accumulated. Pay attention to the corners and edges; dust loves to hide there. We found that a few passes usually get the job done effectively.
Why a Soft Brush Attachment?
Using a soft brush attachment is like using a feather duster for your air purifier. It loosens and lifts the dust without scratching or damaging the filter material. A regular vacuum nozzle could be too harsh and might even create small holes in the pre-filter mesh. You’re essentially dusting, not scrubbing. This gentle approach is what keeps the filter functional.
Step 4: Reassemble and Reset
After you’ve given the pre-filter a good vacuuming, it’s time to put everything back together. Carefully reattach the clean pre-filter to the HEPA and carbon filters. Then, place the entire filter assembly back into your Levoit air purifier. Close up the housing or panel securely. Once everything is back in place and you’re ready to use it, plug your air purifier back in. Many Levoit models have a filter reset indicator light. You’ll need to press and hold a button (usually indicated in your manual) to reset this light. This tells the purifier that you’ve performed maintenance.
Frequency of Cleaning: How Often Should You Do This?
So, how often should you be performing this little cleaning ritual? Many experts suggest cleaning the pre-filter every 2-4 weeks. However, this can vary based on your home environment. If you have pets that shed a lot, live in a dusty area, or notice the pre-filter looks visibly dirty sooner, you might need to clean it more frequently. Many guidelines suggest checking it visually. If it looks dusty, it’s time for a quick vacuum (Levoit Official Support). Checking it monthly is a great starting point.
When It’s Time for Replacement Filters
Even with regular cleaning, all filters have a lifespan. The True HEPA and activated carbon filters will eventually need replacing. Your Levoit air purifier will likely have a filter indicator light that lets you know when this time has come. Generally, these filters last between 6 to 12 months, depending on usage and air quality. Always use genuine Levoit replacement filters to ensure optimal performance and to avoid damaging your unit. You can find these on the Levoit website or through authorized retailers.
Troubleshooting Common Pre-Filter Issues
What if you notice something unusual? Sometimes, the pre-filter might have stubborn spots. If vacuuming doesn’t remove everything, you might be tempted to wash it. Remember, only the pre-filter can handle a rinse. If you choose to rinse, ensure it’s completely dry before putting it back. We found that air drying is best. Never use heat to dry it, as this can warp the material. If the pre-filter is torn or significantly damaged, it’s best to replace it.
A Quick Checklist for Filter Maintenance:
- Unplug your air purifier before starting.
- Use a soft brush attachment on your vacuum.
- Gently vacuum the visible dust and debris.
- Ensure the pre-filter is securely reattached.
- Reset the filter indicator light after cleaning.
- Replace HEPA and carbon filters as needed.
Conclusion
You’ve learned that keeping your Levoit air purifier running at its best is simple. Regularly vacuuming the pre-filter with a soft brush attachment is your main task. This easy maintenance extends your filter’s life and ensures your air stays fresh. Remember, never wash the HEPA or activated carbon layers, as they need replacement. Your next step is to check your pre-filter today. Give it a quick vacuum to experience the difference cleaner air makes in your home.
Frequently Asked Questions
Can I use water to clean my Levoit air purifier pre-filter?
While you can rinse the pre-filter if it’s heavily soiled, it’s crucial to ensure it’s completely dry before reinserting it. Air drying is the safest method, as heat can damage the material. For most everyday dust and debris, gentle vacuuming is sufficient and preferred.
How often should I be cleaning my Levoit pre-filter?
We suggest checking your pre-filter visually every 2 to 4 weeks. If you have pets or live in a dusty environment, you might need to clean it more frequently. If it looks visibly dirty, it’s time for a quick vacuum session.
What happens if I wash my HEPA or carbon filter?
Washing the HEPA or activated carbon filters is not recommended and will likely damage them. These filters are designed to trap microscopic particles and odors. Water can degrade their structure, making them ineffective and potentially harming your air purifier.
My Levoit air purifier has a filter reset light. Do I need to do anything after cleaning?
Yes, after you’ve cleaned the pre-filter and reassembled the unit, you should reset the filter indicator light. Your Levoit manual will show you how to do this, usually by pressing and holding a specific button. This signals that maintenance has been performed.
What if my Levoit pre-filter is torn or damaged?
If you find that your pre-filter is torn, ripped, or significantly damaged from use or attempted cleaning, it’s best to replace it. A damaged pre-filter won’t effectively catch larger particles, potentially allowing them to reach and clog the finer filters sooner.