DIY Activated Charcoal Air Purifier: Easy Guide
Yes, you can absolutely make your own activated charcoal air purifier at home! It’s a surprisingly simple DIY project that can help freshen up your living space. Activated charcoal is fantastic at absorbing odors and impurities from the air.
Making your own purifier means you can control the materials and size. Plus, it’s a budget-friendly way to improve your air quality. We found many people are looking for eco-friendly and effective home solutions, and this fits the bill.
- You can make your own activated charcoal air purifier.
- It helps absorb odors and impurities.
- It’s an easy and budget-friendly DIY project.
- You’ll need activated charcoal and a container.
- This guide shows you how to do it step-by-step.
Ready to give it a try? Let’s walk through exactly how to create your very own activated charcoal air purifier. It’s easier than you might think!
“`htmlCrafting Your Own Activated Charcoal Air Purifier
Making a DIY activated charcoal air purifier is a smart way to tackle odors and improve your home’s air quality. You don’t need to be a master builder for this project. We found that many people are looking for simple, effective ways to clean their air without buying expensive gadgets.
This guide will walk you through the process step-by-step. You’ll be surprised how easy it is to create a functional purifier. Let’s get started on making your space fresher!
Understanding Activated Charcoal’s Magic
Before we start building, let’s chat about why activated charcoal is so great. Think of activated charcoal like a super-sponge for your air. Its surface is covered in tiny pores. These pores trap and hold onto impurities and odor molecules.
This happens through a process called adsorption. It’s different from absorption, where a substance soaks something up. Adsorption is more like sticking. The impurities cling to the charcoal’s surface. This makes it excellent for removing things like smoke smells, pet odors, and even some volatile organic compounds (VOCs).
What Makes Charcoal “Activated”?
Regular charcoal isn’t as effective. Activated charcoal goes through a special heating process. This process dramatically increases its surface area and creates those critical pores. The intense heat, combined with certain activating agents, makes it highly porous and incredibly absorbent.
This activation step is what gives it the power to clean your air. It’s a bit like supercharging regular charcoal to make it a top-tier impurity magnet. Many guidelines suggest it’s a safe and natural air purification method.
Gathering Your Purifier-Making Supplies
You won’t need a trip to a specialty store for most of these items. The beauty of this DIY project is its simplicity and affordability. Here’s what you’ll need:
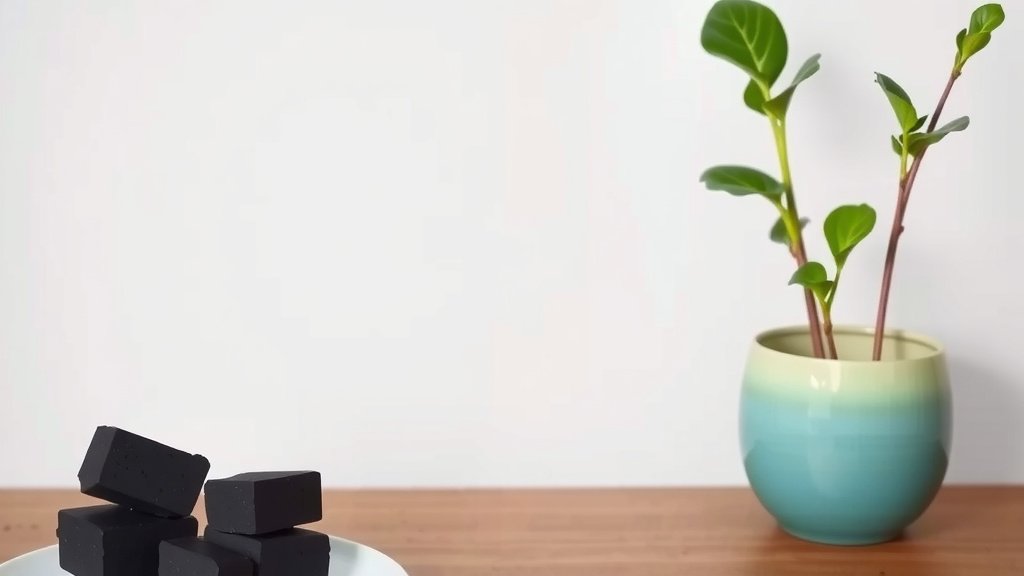
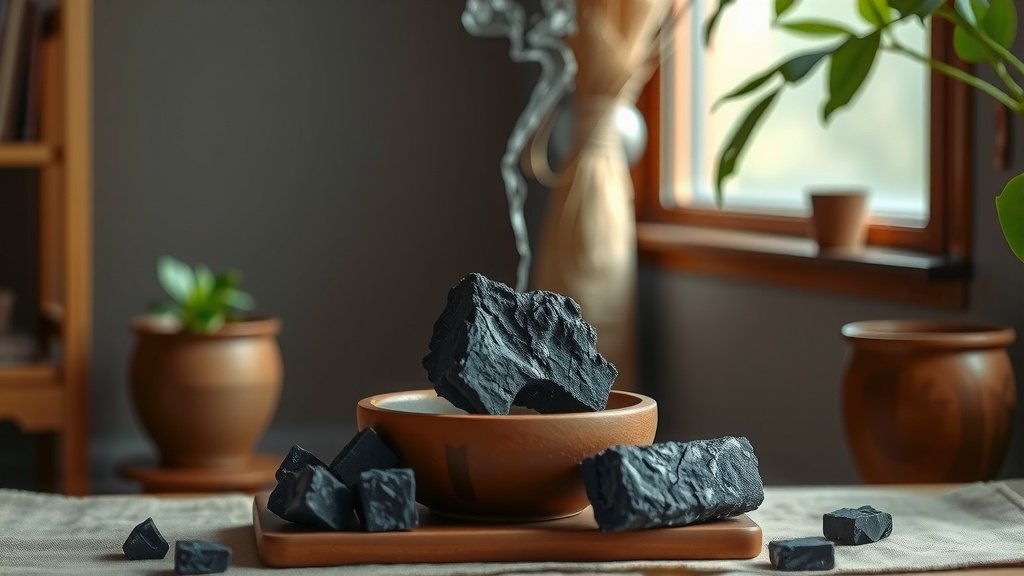
- Activated Charcoal: This is the star ingredient! You can buy activated charcoal granules or powder online or at some pet stores (for aquarium filters) or garden centers. Ensure it’s food-grade or aquarium-grade and meant for adsorption.
- A Breathable Container: This will hold your charcoal. Think outside the box!
- Optional: A Liner: Something to keep the charcoal contained but allow air through.
- Tools: Depending on your container choice, you might need scissors, a drill, or a needle and thread.
Choosing Your Container Wisely
The container’s job is to hold the charcoal and allow air to flow through it easily. What you pick will depend on where you want to place your purifier and how large you want it.
Popular Container Ideas
Here are a few ideas we found that work really well:
- Old Socks or Fabric Bags: An old, clean sock is a fantastic, simple option. You can also sew simple drawstring bags from breathable fabric like cotton or linen.
- Mason Jars with Mesh Lids: If you have a sieve or mesh lid, this can work. You might need to secure a layer of fabric over the top.
- Cardboard Boxes with Holes: For a larger, temporary solution, a cardboard box with many holes poked in it can work.
- Plastic Containers with Drilled Holes: A plastic food container can be repurposed. Just make sure to drill plenty of holes for airflow.
Considering Airflow
The most important factor is airflow. Air needs to pass *through* the charcoal. If air can’t reach the charcoal, it can’t clean it. So, whatever container you choose, make sure it has plenty of openings.
Step-by-Step: Assembling Your Purifier
Now for the fun part – putting it all together! The process is largely the same regardless of your container.
Step 1: Prepare Your Container
If you’re using a sock, make sure it’s clean and dry. If you’re using a plastic container or box, drill or punch numerous holes in the sides and bottom. For a jar, ensure your mesh lid is secure or prepare to add a fabric cover.
Step 2: Add a Liner (If Needed)
If your container has large openings or you’re worried about charcoal dust escaping, you can add a liner. A piece of breathable fabric, like cheesecloth or an old cotton t-shirt, can be secured inside the container. This acts as a barrier while still allowing air to pass.
Step 3: Fill with Activated Charcoal
Carefully pour the activated charcoal granules into your prepared container. Don’t pack it down too tightly, as this can restrict airflow. You want it loose enough for air to move through easily. For a sock, fill it about halfway to two-thirds full. For a box or container, fill it sufficiently to create a good layer.
Step 4: Seal and Secure
If using a sock, tie it off securely at the top. If using a fabric bag, draw the strings tight. For containers, place the lid on. If using a jar with a mesh lid, ensure it’s screwed on tightly. If you’re using a fabric cover for a jar, secure it with a rubber band or string.
Step 5: Place Your Purifier
Find a good spot for your new air purifier. Places like closets, bathrooms, near litter boxes, or in small rooms are ideal. You can place it on a shelf or hang it using a string if your design allows.
Maintaining Your DIY Air Purifier
Your activated charcoal purifier won’t last forever without a little care. Think of it like changing a water filter. It needs refreshing to keep working its best.
Recharging the Charcoal
When the charcoal starts to lose its effectiveness (usually after a month or two, depending on air quality), you can often recharge it. Place the charcoal in a thin layer on a baking sheet. Put it in the oven at a low temperature (around 200-250°F or 93-121°C) for a few hours. This helps release the trapped moisture and some impurities, reactivating it.
Research suggests this can help restore some of its adsorptive capacity (NCBI). After recharging, let it cool completely before returning it to its container. You may need to do this a few times before it’s time to replace the charcoal entirely.
When to Replace the Charcoal
Eventually, the charcoal will become saturated and can no longer adsorb effectively, even after recharging. This might be after 6-12 months of use and recharging. When you notice odors returning or the air doesn’t feel as fresh, it’s time for new charcoal.
This simple DIY project offers a practical way to refresh your living space naturally. Enjoy the cleaner air!
“`Conclusion
You’ve learned how simple it is to create your own activated charcoal air purifier. This DIY project is a budget-friendly way to naturally improve your home’s air quality. Remember, activated charcoal works by adsorbing odors and impurities. By using breathable containers and allowing good airflow, you maximize its effectiveness.
Don’t forget to periodically recharge or replace the charcoal to keep it working optimally. Give your new homemade purifier a try and enjoy a fresher, cleaner living space. You’ve got this!
Frequently Asked Questions
How often should I recharge my activated charcoal?
You can typically recharge your activated charcoal every 1-2 months. This process helps restore its ability to absorb odors and impurities. Always let the charcoal cool completely after recharging before putting it back in its container.
Can I use regular charcoal instead of activated charcoal?
No, regular charcoal is not effective for air purification. Activated charcoal has a special porous structure created through a heating process. This structure gives it a much larger surface area for trapping impurities.
What is the best type of container for a DIY air purifier?
The best containers are breathable and allow for good airflow. We found that old socks, fabric bags, or plastic containers with plenty of drilled holes work very well. The key is to ensure air can easily pass through the charcoal.
How do I know when it’s time to replace the charcoal?
You’ll know it’s time to replace the charcoal when it no longer seems effective, even after recharging. If you notice odors returning to the area where your purifier is placed, it’s likely saturated.
Can I use activated charcoal for more than just odors?
Activated charcoal is excellent for odors, but it can also help with other airborne impurities. It traps molecules that cause smells and can adsorb certain volatile organic compounds (VOCs). This makes it a versatile natural air freshener.
![What Is The Best Air Purifiers for Home [In 2026]](https://homeunderstandable.com/wp-content/uploads/2025/06/best-air-purifiers-for-home-top-picks-for-allergy-relief-and-fresh-air-768x512.jpg)