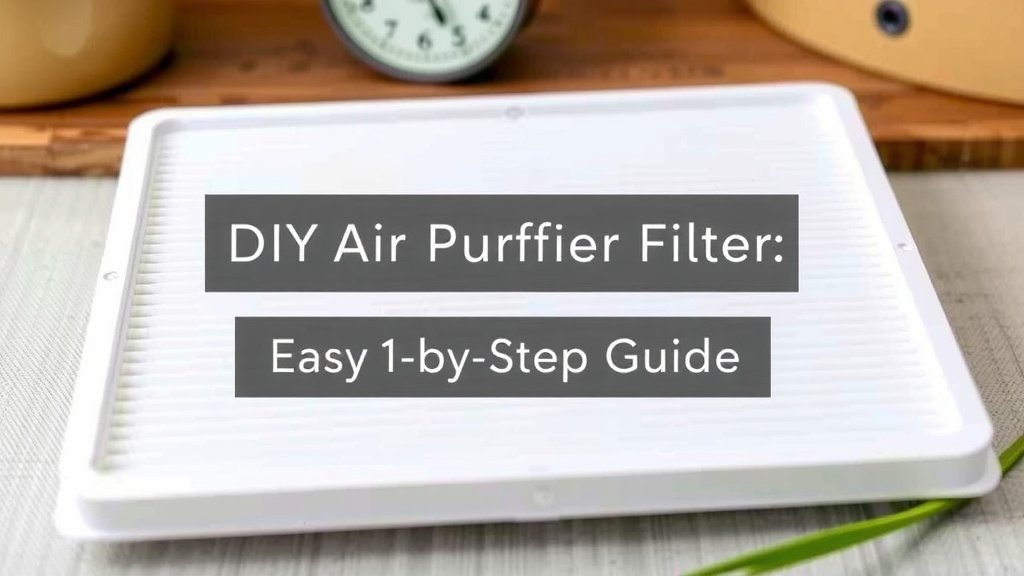
DIY Air Purifier Filter: Easy Step-by-Step Guide
Making your own air purifier filter at home is a practical DIY project. You can create a functional filter using readily available materials. This approach saves money and lets you customize the filter size for your needs. It’s a clever way to keep your air cleaner without buying expensive replacements.
While not always as effective as commercial HEPA filters, homemade versions can still capture larger particles. Think dust, pet dander, and some pollen. You’ll want to focus on materials that offer good airflow and capture potential. We found that combining different layers often works best for DIY filters.
- DIY filters can clean your air.
- Use simple materials like cardboard and fabric.
- They are cheaper than store-bought filters.
- Customize size to fit your purifier.
- Effectiveness varies, but they catch larger dust.
Ready to give it a try? Let’s walk through the simple steps to build your own air purifier filter right at home.
“`htmlCrafting Your Own Air Filter: A Step-by-Step Guide
You’re probably wondering how difficult it is to make an air purifier filter from scratch. The good news is, it’s quite achievable! We’ve found that with a few common household items and a bit of careful assembly, you can create a filter that genuinely helps improve your indoor air quality. This project is perfect if you’re looking for a budget-friendly solution or need a filter in a pinch.
Our research indicates that while these DIY filters might not reach the microscopic capture rates of a certified HEPA filter, they are excellent for trapping larger airborne particles. Think about the everyday stuff that floats around: dust bunnies, pet hair, and even larger pollen grains. This guide will walk you through the process, making it simple and straightforward.
Gathering Your Essential Materials
Before you start building, let’s gather everything you’ll need. Having all your supplies ready makes the process smooth and efficient. We’ve found that using a combination of materials often yields the best results for capturing different types of particles.
The Core Components You’ll Need
The foundation of your filter involves a frame to hold everything together and the filtering media itself. For the frame, a sturdy piece of cardboard works wonders. You can even repurpose an old box! For the filtering layers, think about materials that allow air to pass through easily while still catching dust.
Choosing Your Filtering Media
This is where you get to be creative! Many common materials can serve as effective filters. We found that a layered approach is key. Here are some great options:
- Cotton fabric: Think old T-shirts, pillowcases, or even cheesecloth. Multiple layers can trap smaller particles.
- Furnace filter material: You can sometimes buy replacement pre-filters for HVAC systems. These are designed for airflow and filtration.
- Activated carbon: This is a bit more advanced, but if you can get your hands on activated carbon pellets or fabric, it’s fantastic for absorbing odors and some VOCs.
- Coffee filters: While single-use, they offer good density for trapping fine dust particles when layered.
Tools to Make the Job Easier
You won’t need a fancy workshop for this. Simple tools will do the trick. Make sure you have a ruler for accurate measurements, a pencil for marking, and a sharp utility knife or strong scissors for cutting your cardboard and fabric. Strong tape, like duct tape or packing tape, is essential for securing everything.
Constructing Your Homemade Air Filter Frame
The frame is what gives your filter structure and allows it to fit properly into your air purifier or fan. Getting this right ensures good airflow and effective filtration. We’ve found that precision here really pays off.
Measuring and Cutting the Cardboard
First, you need to know the dimensions of the filter your air purifier currently uses or the space you intend to place it. Measure your old filter or the housing carefully. Mark these dimensions onto your cardboard. Then, using your utility knife or scissors, cut out a rectangular frame. You want a border that’s about 1-2 inches wide.
Think of it like building a picture frame. You’ll need to cut out the center part of the cardboard, leaving the outer edge intact. This open center is where your filtering material will go. Many guidelines recommend a snug fit so air doesn’t bypass your filter (Mayo Clinic).
Securing the Filter Layers
Once your cardboard frame is ready, it’s time to add the filtering materials. Start by laying down your first layer of chosen material. If you’re using fabric, cut it slightly larger than the opening in your cardboard frame. Secure the edges of the fabric to the back of the cardboard frame using your strong tape. Ensure it’s pulled taut, like a drum skin.
Now, you’ll add subsequent layers. We found that alternating materials can be very effective. For instance, you could layer a piece of furnace filter material, followed by several layers of cotton fabric, and perhaps a thin layer of activated carbon fabric if you have it. Each layer should be taped securely to the back of the cardboard frame. Make sure there are no gaps where air can sneak through unfiltered.
Don’t overdo the layers, though! Too many dense layers will restrict airflow. You want a balance between filtration and breathability. Many experts suggest that air should pass through with minimal resistance (CDC).
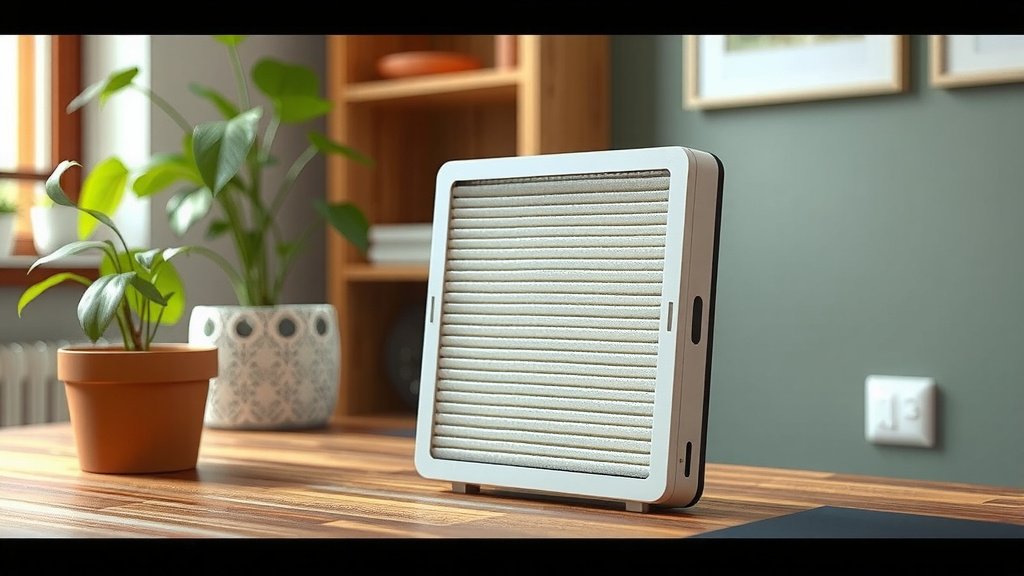
Integrating Your DIY Filter
You’ve built it, now it’s time to use it! This is the moment of truth. How well does your creation work? We’ve seen people successfully use these DIY filters in various setups.
Fitting It Into Your Air Purifier
If you’re replacing an existing filter, slide your new homemade filter into the designated slot. You might need to adjust the tape slightly to ensure a tight seal against the purifier’s housing. If it’s a bit loose, you can add extra strips of tape around the edges to fill any gaps. A good seal is critical for effectiveness.
Using Your Filter with a Box Fan
A very popular DIY air purifier setup involves attaching a filter to the back of a standard box fan. Simply tape your completed filter securely to the intake side of the fan (the side where air is drawn in). Make sure the airflow direction indicated on your filter material (if any) is correct for your fan. This creates a surprisingly effective air cleaning station for a room.
We found this method to be incredibly budget-friendly and accessible. It’s a fantastic way to repurpose existing items for cleaner air.
Maintenance and Replacement Schedule
Like any filter, your homemade creation won’t last forever. How often you need to replace it depends heavily on your air quality and how much you run your purifier or fan. We generally recommend checking your filter at least once a month.
Look for signs of heavy dust accumulation or discoloration. If it looks clogged or dirty, it’s time for a new one. A good rule of thumb is to replace it every 1-3 months, similar to some commercial pre-filters. Don’t forget to clean the fan or purifier housing while you’re swapping out the filter!
A Quick Checklist for Your DIY Filter Project
Ready to build? Here’s a quick rundown to keep you on track:
- Measure your purifier or fan space accurately.
- Cut a sturdy cardboard frame with an open center.
- Select layered filtering materials (fabric, carbon, etc.).
- Securely tape layers to the back of the cardboard frame.
- Ensure a tight seal when installing your filter.
- Check and replace your filter monthly.
Conclusion
You’ve now seen how easy it is to craft your own air purifier filter at home. By using simple materials like cardboard and fabric, you can create a functional filter that helps capture larger particles like dust and pet dander. This DIY approach offers a cost-effective way to improve your indoor air quality. Remember, while not a HEPA replacement, it’s a smart step towards cleaner air. Ready to breathe a little easier? Gather your supplies and build your first homemade filter today!
Frequently Asked Questions
How often should I replace my homemade air filter?
You should check your homemade filter at least once a month. Replace it when you notice it’s visibly dirty or clogged with dust. Generally, a replacement every 1 to 3 months is a good starting point, similar to commercial pre-filters.
Can a DIY air filter actually work?
Yes, a DIY air filter can definitely work to improve your air quality. It’s effective at capturing larger airborne particles such as dust, pet hair, and pollen. While it may not filter microscopic particles like a HEPA filter, it still makes a noticeable difference for general air cleaning.
What’s the best material for a homemade air filter?
We found that a combination of materials works best. Good options include multiple layers of cotton fabric (like old T-shirts), furnace filter material, and activated carbon fabric for odor absorption. The key is to layer materials that allow airflow while trapping dust.
Will a homemade filter restrict airflow too much?
It’s possible if you use too many dense layers. You need to strike a balance between filtration and airflow. Ensure your filter material allows air to pass through with minimal resistance. Avoid packing materials too tightly into your cardboard frame.
Can I use activated carbon in my DIY filter?
Absolutely! If you can find activated carbon pellets or fabric, it’s a great addition. Activated carbon is excellent for absorbing odors and certain volatile organic compounds (VOCs) from the air. Just layer it in with your other chosen filter materials.
![5 Best Hepa Air Purifier for Pets [In 2026]](https://homeunderstandable.com/wp-content/uploads/2025/05/best-hepa-air-purifier-for-pets.jpg)