DIY Natural Air Purifier: Fresh Air, Naturally
You can absolutely make a natural air purifier at home using simple ingredients and a few common items. It’s a straightforward process that doesn’t require a lot of fuss or expense. Many households are looking for budget-friendly ways to improve indoor air quality without harsh chemicals.
Creating your own air purifier can help reduce common indoor pollutants like dust, mold spores, and pet dander. It’s a rewarding DIY project that can make a noticeable difference in your living space. Plus, it’s a fantastic way to take control of the air you breathe, especially if you have sensitivities.
TL;DR:
- Making a DIY air purifier is possible and easy.
- It uses common household items and natural ingredients.
- Helps reduce dust, mold, and other indoor air pollutants.
- A cost-effective way to improve your home’s air quality.
Ready to breathe a little easier? Below, we’ll walk you through exactly how to create your own effective natural air purifier right at home. Let’s get started!
Crafting Your Own Natural Air Purifier
You don’t need fancy gadgets to improve your indoor air. Making a natural air purifier at home is surprisingly simple. It uses everyday items you likely already have. This approach is great for anyone looking for eco-friendly solutions. Plus, it’s a fantastic way to reduce the number of chemicals floating around your home. Let’s dive into how you can get started.
Why Choose a Homemade Air Purifier?
Many store-bought air purifiers can be expensive. They also sometimes use filters that need frequent replacement. Creating your own offers a cost-effective alternative. You can also control the ingredients used. This is a big win if you have sensitivities to certain scents or materials. Many guidelines point to good air circulation and filtration as key to cleaner air (CDC). Your DIY version can contribute to this.
Tackling Common Indoor Pollutants
Indoor air can get stuffy with dust, pet dander, and even mold spores. These can trigger allergies and make breathing difficult. A DIY air purifier can help trap some of these airborne particles. It’s not a replacement for professional systems, but it’s a great supplementary measure. Think of it as an extra set of hands for your home’s air quality.
How Natural Filtration Works
The core idea behind most DIY purifiers is simple filtration. Air is drawn through a medium that catches particles. Think of a sieve catching flour while letting water pass through. In our case, we’ll use materials that can grab onto dust and other irritants. The goal is to move air effectively through these materials. This process helps remove pollutants from the air you breathe.
The Activated Charcoal Purifier Method
Activated charcoal is a star player in many natural air purification methods. It’s highly porous, meaning it has many tiny holes. These holes are perfect for adsorbing (not absorbing, a subtle but important difference!) gases and odors. It acts like a magnet for airborne molecules. We’ll use this amazing material in our main DIY project.
Gathering Your Supplies
Here’s what you’ll need to build your activated charcoal air purifier:
- A small, inexpensive fan (a desk fan works well).
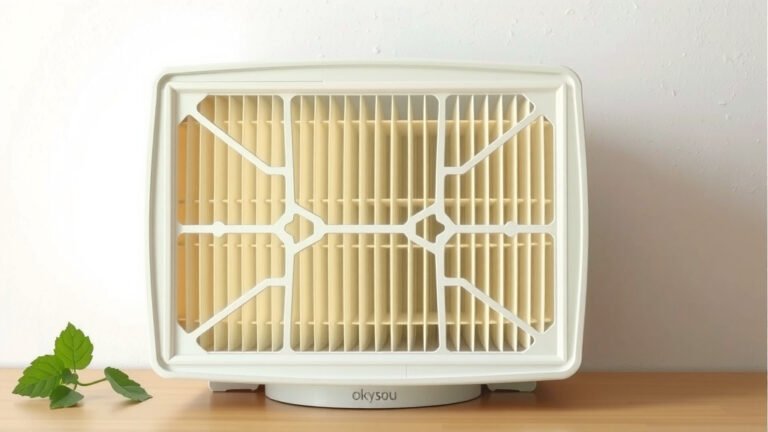
- A 10×10 inch (or similar size) furnace filter (MERV 8 or higher is good for capturing particles).
- Activated charcoal granules (you can find these at pet stores or online).
- A sturdy piece of cardboard.
- Duct tape or strong packing tape.
- Scissors or a utility knife.
Putting It Together: Step-by-Step
Let’s build this! It’s easier than assembling flat-pack furniture.
Step 1: Prepare the Filter
Take your furnace filter. Many filters have an arrow indicating airflow direction. You want the air to be pulled into the filter from the room and then pushed out by the fan. Note the airflow direction for later.
Step 2: Add the Activated Charcoal
Now, we need to get the charcoal onto the filter. A simple method is to create a pouch. Cut a piece of thin, breathable fabric (like cheesecloth or a thin cotton cloth) a bit larger than your filter. Lay the charcoal granules evenly onto the fabric. Carefully place the furnace filter on top of the charcoal. Fold the fabric up and around the edges of the filter. You want to create a sort of loose pouch that encases the filter with charcoal inside. Secure the fabric well with tape, making sure no charcoal can escape.
Tip: Some people find it easier to tape the fabric directly to the back of the filter, creating a pocket for the charcoal. Others mix the charcoal with a bit of baking soda for added odor absorption (which is also safe and natural).
Step 3: Attach the Fan
Place the fan face down on a flat surface. Position the filter unit on top of the fan. Make sure the filter is oriented so the fan will pull air through it. Use your cardboard to create a shroud. Cut a piece of cardboard that matches the size of your fan’s intake. Cut a circular hole in the center of the cardboard, just large enough for the fan’s blades to spin freely. Now, place this cardboard shroud over the fan. This helps direct the airflow. Finally, use your duct tape to securely attach the filter unit and the fan together. You want a good seal so air doesn’t escape.
Step 4: Position and Run
Place your new air purifier in the room you want to clean. Plug it in and turn it on a low to medium setting. You should feel air being drawn through the filter and pushed out by the fan. Let it run for several hours a day, especially in areas where you spend a lot of time.
Beyond Charcoal: Other Natural Helpers
While the activated charcoal method is quite effective, you can also incorporate other natural elements. These can enhance your air quality in different ways.
Harnessing the Power of Houseplants
Did you know plants can help purify your air? Studies have shown that certain houseplants can remove toxins like formaldehyde and benzene from the air (NCBI). They do this through a process called phytoremediation. While you’d need a lot of plants to make a significant dent, they’re a beautiful and natural addition to any room. Consider plants like:
- Snake Plant (Sansevieria)
- Spider Plant (Chlorophytum comosum)
- Peace Lily (Spathiphyllum)
- Boston Fern (Nephrolepis exaltata)
These are generally easy to care for and look great. They add a touch of nature indoors.
Baking Soda and Vinegar for Odors
While not an active air purifier in the same way as our fan system, baking soda and vinegar are excellent for neutralizing odors. You can leave open boxes of baking soda in areas that tend to get stuffy, like closets or under sinks. A bowl of white vinegar left out overnight can also help absorb strong smells. These are simple, chemical-free ways to freshen your air.
Keeping Your DIY Purifier Effective
Like any tool, your homemade air purifier needs a little TLC. Regular maintenance ensures it keeps working its best for you.
When to Replace Filters and Charcoal
The activated charcoal will eventually become saturated and lose its adsorptive power. The furnace filter will also get clogged with dust. We found that replacing the filter and charcoal every 3-6 months is a good general guideline. How often you need to replace them can depend on your environment. If you have pets or live in a dusty area, you might need to do it more often. You’ll notice if the fan seems to be struggling to pull air through, or if odors start returning more quickly. That’s a sign it’s time for a refresh.
Optimizing Placement and Usage
For best results, place your DIY purifier in a central location within the room. Avoid blocking the intake or exhaust. Running it consistently, even on a low setting, is more effective than short bursts. Some people like to run them at night while they sleep. It’s a quiet way to ensure cleaner air while you rest.
Quick Checklist for Your DIY Air Purifier:
- Ensure the fan is securely attached.
- Check that the filter and charcoal are well-sealed.
- Place in a central, unobstructed location.
- Run on low to medium speed for several hours daily.
- Note the date for filter and charcoal replacement (aim for 3-6 months).
- Keep plants watered and healthy for their air-purifying benefits.
Conclusion
You’ve learned how to create your own natural air purifier using simple, accessible materials. Making an activated charcoal purifier is a straightforward project that can help reduce common indoor pollutants. Remember, this DIY solution complements other healthy habits like regular cleaning and ventilation. By taking this step, you’re actively working towards a fresher, cleaner breathing environment in your home. Now, go ahead and build your purifier to start enjoying the benefits!
Frequently Asked Questions
How much activated charcoal do I need for my DIY air purifier?
You’ll want enough activated charcoal granules to create a thin, even layer across the filter. A common amount is about 1-2 cups for a 10×10 inch filter. This ensures good coverage for adsorbing odors and gases effectively.
Can I use regular charcoal briquettes instead of activated charcoal?
No, it’s best to use activated charcoal granules specifically. Regular charcoal briquettes often contain additives that aren’t suitable for air purification and may release unwanted chemicals.
How often should I replace the activated charcoal and filter in my DIY purifier?
Generally, plan to replace them every 3 to 6 months. If you have pets, live in a dusty area, or notice a decrease in air freshness, you may need to replace them sooner.
Will my DIY air purifier remove all allergens like pollen and dust?
Your DIY purifier can help trap some dust and larger particles, but it won’t be as efficient as a HEPA filter. For severe allergies, you might need a commercial-grade HEPA purifier in addition to your natural solution.
Are houseplants really effective at purifying indoor air?
Yes, research suggests certain houseplants can help filter out some common indoor toxins. While you’d need many plants to replicate a powerful air purifier, they are a lovely, natural way to contribute to better air quality.