How to Change Your Winix Air Purifier Filter: Step-by-Step Guide
Putting a new filter in your Winix air purifier is actually quite simple. You’ll want to unplug the unit first. Then, open the back cover and carefully remove the old filter. Finally, insert the new filter, making sure it’s seated correctly before closing the cover.
Keeping your Winix air purifier running smoothly means regular filter changes. This ensures it can effectively capture allergens, dust, and other airborne particles. Replacing the filter is a key step in maintaining cleaner air quality in your home. It also helps your purifier run more efficiently.
- Unplug your Winix purifier.
- Open the rear cover.
- Remove the old filter.
- Insert the new filter correctly.
- Close the cover and plug it back in.
Ready to get that fresh air flowing again? Let’s walk through exactly how to get that new filter installed, step by step.
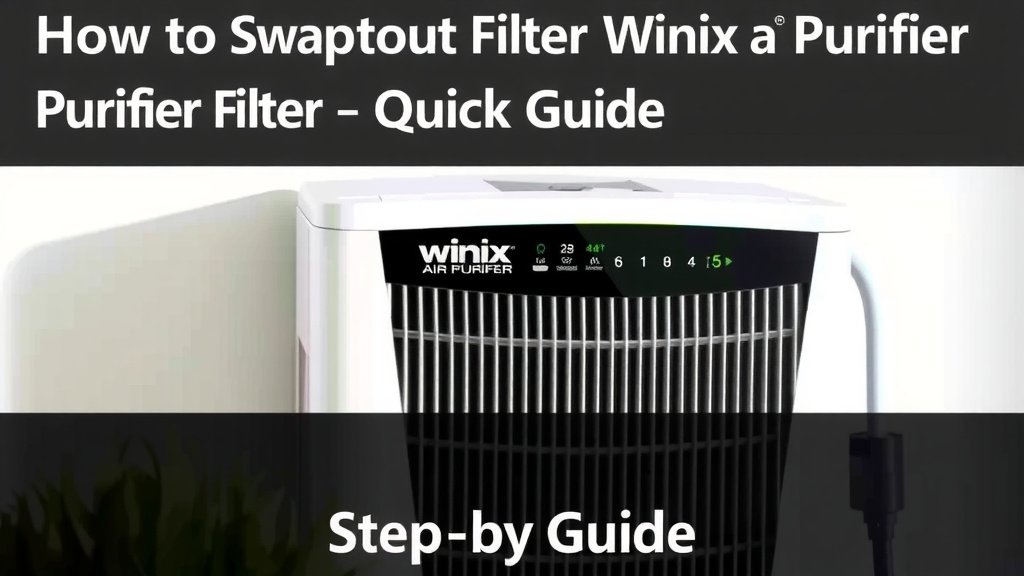
Swapping Out Your Winix Air Purifier Filter: A Quick Guide
So, your Winix air purifier is telling you it’s time for a new filter. Don’t worry, this is a common and necessary part of keeping your air as clean as possible. It’s not a daunting task at all! In fact, we found that most people can complete this job in under five minutes. We’re here to walk you through each step.
Before You Begin: Gathering Your Supplies
First things first, you’ll need your new Winix air purifier filter. Make sure you have the correct model number. Using the wrong filter might not fit properly or could even damage your unit. You can usually find the model number on the back or side of your air purifier, or in its original manual. We also recommend having a soft cloth or a vacuum cleaner with a brush attachment handy.
Why Filter Replacement Matters
Your air purifier’s filter is its workhorse. It traps all sorts of things you don’t want floating around your home. We’re talking dust bunnies, pollen, pet dander, and even tiny smoke particles. Over time, these particles build up on the filter, making it less effective. Think of it like a clogged coffee filter – the water just doesn’t flow through as well. Replacing it ensures your purifier can continue its job optimally.
Many experts suggest changing your filter at least once a year, or more often if you live in a highly polluted area or have pets (Cleveland Clinic). Ignoring this can lead to reduced air purification and a strain on your appliance. Plus, a dirty filter can sometimes start to smell, which is the opposite of what you want!
Step-by-Step: Installing Your New Winix Filter
Let’s get down to business. We’ll go through this process so you feel completely confident.
Step 1: Power Down Your Unit
This is the most important first step. Before you touch anything, make sure your Winix air purifier is unplugged from the wall outlet. You don’t want any accidental power surges or shocks while you’re working. Safety first, always!
Step 2: Accessing the Filter Compartment
On most Winix models, the filter is located behind the rear cover. You’ll typically find small latches or tabs on the side or bottom of the cover. Gently press these latches to release the cover. It should then slide or pull away easily. If it feels stuck, double-check for any hidden latches you might have missed. We found that sometimes a gentle wiggle can help.
Step 3: Removing the Old Filter
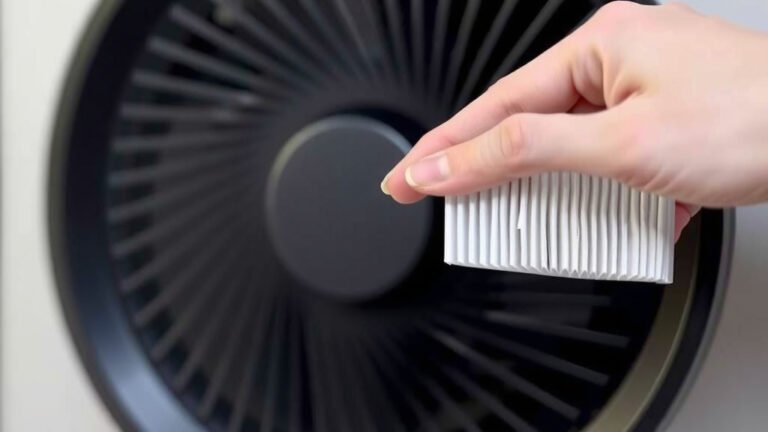
Once the rear cover is off, you’ll see the old filter. Carefully slide it out. It might be a bit dusty, so be prepared. Some people like to do this step near a trash can to avoid spreading dust. You might want to wrap the old filter in a plastic bag before discarding it. This keeps the dust contained. Many guidelines suggest disposing of old filters promptly.
Step 4: Preparing Your New Filter
Your new Winix filter will likely come sealed in plastic. You need to remove this plastic packaging before inserting it. Manufacturers seal filters to keep them clean and protected during transport. Carefully cut open the plastic and remove the filter. Don’t discard the plastic yet; you can use it to bag up the old filter.
Step 5: Inserting the New Filter
Now, take your newly unwrapped filter. Look for any indicators on the filter or inside the purifier that show the correct orientation. Often, there’s an arrow showing airflow direction. Slide the new filter into the compartment, making sure it fits snugly. It should slide in smoothly without forcing it. Ensure it’s seated correctly all the way around. A loose filter won’t perform as well.
Step 6: Replacing the Rear Cover
Once the new filter is in place, it’s time to put the rear cover back on. Align it with the unit and gently push until it clicks into place. Make sure all latches are secured. You should feel a satisfying click when it’s properly attached. Double-check that there are no gaps where air could escape.
Step 7: Powering Up and Resetting
Now you can plug your Winix air purifier back into the wall outlet. Turn it on. Many Winix models have a filter replacement indicator light. You’ll usually need to press and hold a specific button (often labeled “Filter Reset” or similar) for a few seconds to reset this light. Consult your Winix manual for the exact procedure for your model. This tells the purifier that a new filter has been installed. Researchers note that resetting indicators is key for proper performance tracking.
A Quick Checklist for Your Filter Change
Here’s a handy reminder to make sure you didn’t miss a beat:
- Unplugged the purifier?
- Removed the plastic wrap from the new filter?
- Inserted the new filter correctly (check airflow arrows)?
- Secured the rear cover properly?
- Plugged the unit back in and turned it on?
- Reset the filter indicator light?
Troubleshooting Common Issues
Sometimes, things don’t go exactly as planned. Here are a couple of common hiccups and how to handle them:
The Rear Cover Won’t Go Back On
If the rear cover is being stubborn, it’s usually because the new filter isn’t seated perfectly. Take it out and try reinserting it. Make sure there are no obstructions. Sometimes a small piece of the old filter’s packaging might have gotten stuck. We found that a gentle, even pressure usually works best.
The Filter Indicator Light Stays On
This usually means the reset button wasn’t pressed correctly or long enough. Refer back to your Winix user manual for the specific instructions for your model. Some require a long press (5-10 seconds), while others might need a quick double-tap. If you’re still having trouble, try unplugging the unit for a minute, then plugging it back in and attempting the reset again.
Maintaining Your Winix Air Purifier for Peak Performance
Beyond just changing the filter, keeping your Winix purifier in top shape involves a few other simple practices. Regularly wipe down the exterior of the unit with a damp cloth to remove dust. Ensure the air intake and outlet vents are clear of any obstructions, like furniture or curtains. This allows for maximum airflow. We found that keeping these simple tasks in mind can significantly extend the life and efficiency of your air purifier. Remember, a clean machine means cleaner air!
Conclusion
You’ve successfully learned how to replace the filter in your Winix air purifier! It’s a straightforward process that only takes a few minutes but makes a big difference in your home’s air quality. Remember to always unplug your unit first and ensure the new filter is properly seated. Resetting the filter indicator light is also key for your purifier’s ongoing performance tracking. Now, you’re all set to enjoy cleaner, fresher air. Your next filter change is just a few simple steps away whenever your indicator light tells you it’s time!
Frequently Asked Questions
How often should I really be changing my Winix air purifier filter?
Most manufacturers recommend changing your filter at least once a year. However, if you have pets, live in a high-pollen area, or experience frequent air pollution, you might need to change it more often, possibly every 3-6 months. Always check your specific Winix model’s manual for detailed recommendations.
Can I rinse and reuse my Winix air filter?
No, Winix air purifier filters are designed for single use and cannot be washed or reused. The HEPA and carbon layers are made of fine materials that trap particles. Washing them would damage their structure and make them ineffective, potentially even harming your purifier.
What happens if I don’t reset the filter indicator light after changing the filter?
If you don’t reset the filter indicator light, your Winix air purifier might continue to signal that a filter change is needed, even with a new one installed. This could also affect your unit’s ability to accurately track filter life and maintain optimal performance settings.
My new filter doesn’t seem to fit perfectly; what should I do?
Double-check that you have the correct filter model for your Winix purifier. Ensure the plastic packaging has been completely removed from the new filter. Sometimes, the filter just needs to be jiggled slightly to seat correctly, or the rear cover needs to be aligned carefully before it clicks into place.
Where can I find the correct replacement filter for my specific Winix model?
You can usually find the correct filter model number on a sticker on the back or bottom of your Winix air purifier itself. Your original user manual will also list the compatible filter part numbers. You can also often find this information on the manufacturer’s official website.