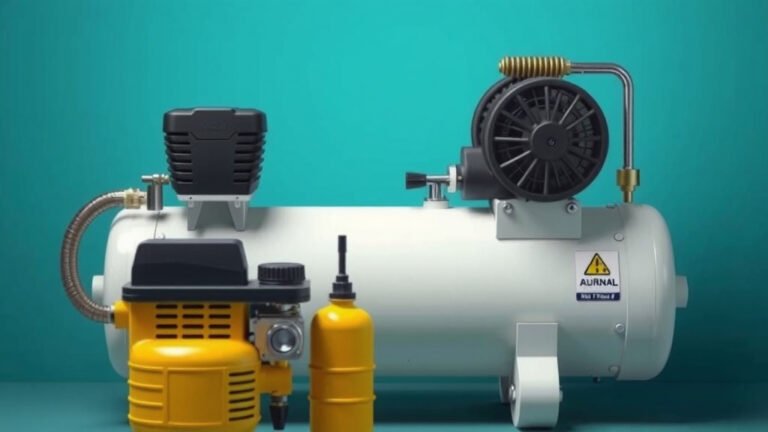
Air Compressor Bike Tire Pump Guide
Yes, you can absolutely pump bike tires with an air compressor, and it’s often faster and easier than a hand pump. Just be sure to use the right attachment and control the pressure carefully to avoid overinflating your tires. It’s a great way to keep your bike ready to ride.
Many people wonder if using a compressor will damage their bike tires. We found that with a few simple precautions, it’s perfectly safe and can save you a lot of effort. You’ll want to find the correct valve adapter and keep a close eye on your tire’s recommended pressure.
- Use the right valve adapter.
- Check your tire’s PSI.
- Add air in short bursts.
- Listen for leaks.
Ready to get your tires properly inflated? Let’s walk through exactly how to do it step by step using your air compressor.
Inflating Bike Tires with an Air Compressor: Your Quick Guide
Using an air compressor to inflate your bike tires is totally doable. Many cyclists find it much quicker than a floor pump. You just need to know the right way to do it. We’ve found that with a few simple steps, you can get your tires perfectly inflated without any hassle.
Understanding Your Bike’s Tire Pressure Needs
Before you even think about touching that compressor, you need to know how much air your tires can handle. This is super important for a safe and comfortable ride. Overinflating can lead to blowouts, while underinflating can make your tires feel sluggish and harder to pedal.
Finding the Recommended PSI
Your bike tire has a maximum pressure rating printed right on the sidewall. Look closely, and you’ll see numbers like “40-65 PSI” or “80-120 PSI.” This range tells you the ideal pressure for your tire. We found that sticking within this recommended range ensures optimal performance and safety.
- Check the sidewall of your tire.
- Note the minimum and maximum PSI.
- Aim for a pressure somewhere in the middle of that range for general riding.
Why PSI Matters So Much
PSI stands for “pounds per square inch.” It’s the standard measure for air pressure. Too little PSI, and your tires might feel squishy and be harder to ride. Too much PSI, and the ride can become harsh, potentially damaging your rims if you hit a big bump. Experts at the League of American Bicyclists often highlight proper tire pressure as a key factor in bike maintenance.
Connecting Your Air Compressor to Your Bike Tire
This is where most people get a little nervous. You don’t want to just blast air into your tire! The key is having the right adapter and controlling the flow. We found that using the correct attachment makes the whole process smooth and efficient.
Choosing the Right Valve Adapter
Bike tires come with two main types of valves: Schrader and Presta. Schrader valves look like car tire valves. Presta valves are thinner and have a small nut at the tip that you need to unscrew before inflating. Your air compressor likely has a chuck that fits Schrader valves. You’ll need a specific adapter if you have Presta valves.
Schrader Valves
If your bike has Schrader valves, you’re in luck! Most air compressor chucks are designed to fit these directly. Just make sure the chuck is firmly seated on the valve before you start. We found that a good seal here prevents air from escaping.
Presta Valves
For Presta valves, you’ll need a small adapter that screws onto the end of the Presta valve. This adapter then allows the air compressor chuck to connect securely. You can find these adapters at any local bike shop or online. Remember to unscrew the small nut on the Presta valve first! For Presta valves, you’ll need a specific adapter, which this guide covers in detail.
Attaching the Compressor Chuck
Once you have the right adapter or if your compressor fits Schrader valves directly, position the chuck firmly over the valve stem. Give it a good push to create a seal. You might hear a faint hiss of air escaping, which is normal. We’ve found that a quick, firm push is usually all it takes to get a good connection.
The Inflation Process: Step-by-Step
Now for the actual inflating! This is the part where you need to be most attentive. The goal is to add air gradually and monitor the pressure closely. We found that short bursts are your best friend here.
Using Short Bursts of Air
This is the most critical step to avoid overinflating. Instead of holding the trigger down continuously, use short, controlled bursts. Think of it like gently nudging the pressure up, not forcing it. We found that a 2-3 second burst is usually enough to see the pressure gauge move.
Monitoring the Pressure Gauge
Air compressors usually have a built-in pressure gauge. Keep a close eye on this as you add air. Compare it to the PSI range you noted earlier from your tire’s sidewall. Many cyclists find that watching the gauge closely prevents them from going past the recommended pressure. It’s better to add a little air, check, and repeat than to add too much at once.
Listening for Leaks
While you’re inflating, listen carefully. Do you hear a constant hissing sound that isn’t coming from the compressor’s normal operation? That could indicate a leak. A small hiss when you first attach the chuck is okay, but a continuous leak means the connection isn’t secure, or there might be an issue with the valve. We found that stopping and re-seating the chuck often resolves minor leaks.
After Inflation: Final Checks and Tips
You’ve done it! Your tires are inflated. But before you hit the road, a few quick checks ensure everything is perfect. We found these final steps add an extra layer of confidence.
Checking for Firmness
Once you’ve reached your target PSI, remove the air compressor chuck. Give your tires a good squeeze with your hands. They should feel firm, but not rock hard. This tactile check is a good complement to the pressure gauge reading. If they feel too soft, add a little more air in short bursts.
A Simple Checklist for Success
Here’s a quick recap to ensure you nail it every time:
- Identify your valve type (Schrader or Presta).
- Get the correct adapter if needed.
- Note your tire’s recommended PSI range.
- Use short, controlled bursts of air.
- Watch the pressure gauge constantly.
- Listen for any air leaks.
- Perform a final squeeze test.
When to Seek Professional Help
If you’re struggling to get a good seal, your tires won’t hold air, or you’re unsure about any step, don’t hesitate to visit your local bike shop. They have experience with all types of valves and compressors and can quickly diagnose any issues. We found that sometimes a quick visit to a pro can save a lot of frustration.
| Valve Type | Appearance | Inflation Notes | Compressor Compatibility |
|---|---|---|---|
| Schrader | Wider, like a car tire valve | No adapter usually needed. Unscrew cap. | Most compressors fit directly. |
| Presta | Thinner, with a small locking nut | Unscrew locking nut first. May need an adapter. | Requires adapter for most compressors. |
Conclusion
You’ve learned how to safely and effectively use an air compressor to inflate your bike tires. Remember, the key is to understand your tire’s PSI needs and use the correct valve adapter. By adding air in short bursts and constantly monitoring the pressure gauge, you can avoid overinflation and potential damage. We’ve found this method to be a real time-saver compared to traditional pumps. Now that you’re equipped with this knowledge, go ahead and give your tires the perfect amount of air for your next ride!
Frequently Asked Questions
Can an air compressor really blow out a bike tire?
Yes, it’s possible if you’re not careful. If you connect the compressor and blast air without watching the gauge, you can easily exceed your tire’s maximum PSI. We found that using short bursts and monitoring the pressure is essential to prevent this from happening.
What if my bike has Presta valves and my compressor only fits Schrader?
Don’t worry, this is a common situation. You’ll need a simple and inexpensive Presta-to-Schrader adapter. You can find these at most bike shops or online. It screws onto your Presta valve, allowing your compressor’s Schrader chuck to connect securely.
How do I know when I’ve reached the right PSI?
Always check the recommended PSI range printed on your tire’s sidewall. Use the air compressor’s built-in pressure gauge and aim for a number within that range. We recommend starting in the lower half of the range for a more comfortable ride and adding more if needed.
Is it okay if a little air leaks out when I connect the compressor?
A very brief hiss when you first attach the chuck is normal. However, if you hear a continuous stream of air escaping, it means you don’t have a good seal. We found that removing the chuck and re-attaching it firmly usually resolves this minor leak.
How often should I check my bike tire pressure?
It’s best practice to check your tire pressure before every ride, or at least once a week. Tires naturally lose a small amount of air over time. Keeping them properly inflated ensures a safer, more efficient, and more enjoyable cycling experience, as recommended by cycling organizations.