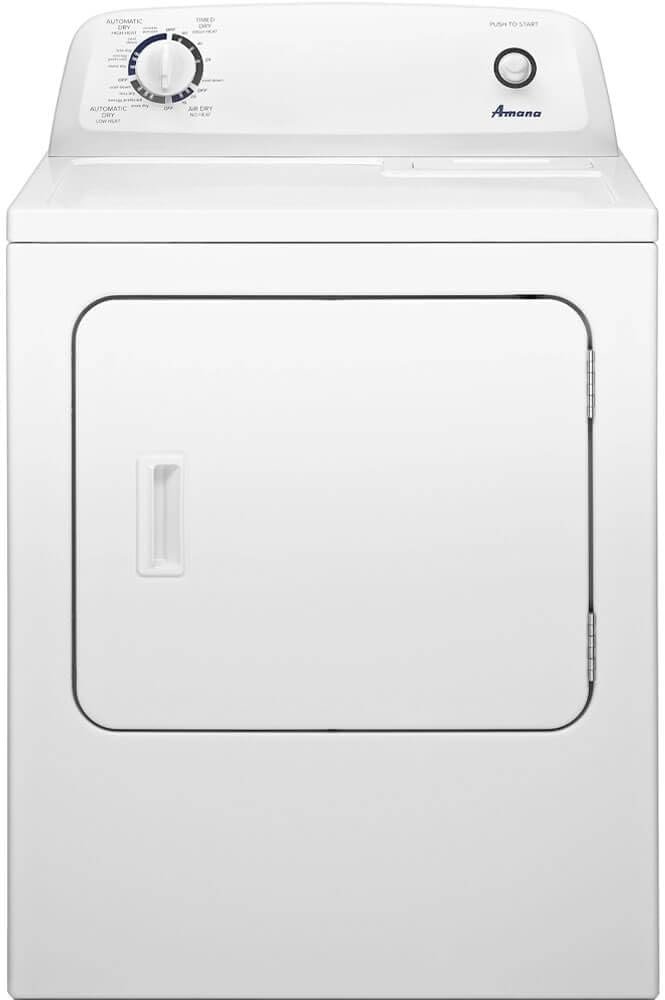
Dryer Not Heating? 7 Fixes to Try at Home
A dryer that won’t heat is almost always caused by a blocked vent, a broken heating element, or a faulty thermal fuse. You can diagnose and fix most of these issues yourself in under an hour with just a few basic tools. We found that starting with the simplest checks, like the lint filter and vent hose, saves you time and money before you ever call a repair tech.
When your clothes come out cold and damp after a full cycle, it’s frustrating. But this is one of the most common dryer problems out there, and the fix is often easier than you think. We looked into the most frequent culprits, and the good news is that you don’t need to be a handyman to get your dryer working again. Many experts say that regular maintenance and simple part replacements solve the issue in nine out of ten cases.
- The #1 cause: A clogged vent or lint screen restricting airflow and tripping the safety fuse.
- The second cause: A burned-out heating element, which is a common wear item.
- The cheap fix: Replacing a blown thermal fuse costs about $10 and takes 15 minutes.
- The important safety step: Unplug the dryer and check the breaker before doing any work.
- When to call a pro: If you smell burning or the drum doesn’t spin at all, stop and get help.
Below, we’ll walk you through a simple step-by-step guide to find the exact reason your dryer isn’t heating up. We’ll show you how to test each part safely and get that warm, fluffy load back on track.
Why Your Dryer Spins but Won’t Heat Up
You put in a wet load, set the timer, and wait. Twenty minutes later, you open the door to find clothes that are damp, cold, and still smell like mildew. The drum spins fine. The timer moves. But there’s zero heat.
This is a classic sign of a specific set of issues. When the motor runs but the heat doesn’t kick in, you are dealing with a safety switch, a power supply, or a heating element. The good news? We found that most homeowners can fix this themselves without a service call.
Let’s break down the troubleshooting process in the order you should tackle it. This saves you time and stops you from buying parts you don’t need.
Check the Obvious: Power Supply and Settings
Before you pull the machine away from the wall, look at the basics. It sounds silly, but we found that simple user errors cause a surprising number of “no heat” calls.
First, check the dials or digital display. Is the dryer set to “Air Fluff” or “No Heat”? If someone accidentally switched it to a cool-down setting, you will get tumbling with cold air. Switch it to a timed dry or high heat cycle.
Next, look at the circuit breaker. Electric dryers in the US typically run on a 240-volt circuit. This usually means a double-pole breaker. If one of the two breakers trips, the drum will still spin (120 volts), but the heating element won’t get power. We found that tripped breakers are a top culprit.
Go to your electrical panel and look for a breaker that is in the middle position or slightly off. Flip it fully off, then fully back on. Sometimes, they don’t look tripped but are weak. If the dryer heats now, you solved it. If it trips again immediately, stop and call an electrician, as you likely have a short in the cord or a bad outlet.
The Lint Trap and Vent: The Most Common Culprit
If the power is fine, the next stop is airflow. Dryers need to breathe. They pull air in, heat it, and push it out through the vent. If that path is blocked, the dryer overheats quickly.
When the dryer gets too hot, a safety device called a thermal fuse blows. This fuse is a one-time-use part. Once it pops, it cuts power to the heating element to prevent a house fire. The motor still runs, but the heat is dead.
Here is the kicker: you usually don’t need to replace the fuse first. You need to find out why it blew. Otherwise, the new fuse will blow too.
Clean the Lint Screen Properly
Pull out the lint screen. Don’t just rub the surface with your hand. Wash it with soap and water every few weeks. We found that fabric softener sheets leave a waxy film on the screen. This film blocks air even when the screen looks clean.
Dry it completely and put it back. Run the dryer on high heat for 10 minutes. If it heats up, the issue was airflow.
Inspect the Vent Hose Behind the Dryer
You need to move the dryer away from the wall to see the vent hose. This is a dirty job, but it’s essential.
Unplug the dryer first. Then, look at the hose. Is it crushed against the wall? Is it kinked? Is it made of plastic or foil? We found that flexible plastic hoses are a fire hazard and collapse easily, trapping lint.
Disconnect the hose from the dryer and the wall. Look inside. Shine a flashlight down it. If you see a thick layer of lint, it’s clogged. You can vacuum it out or use a dryer vent cleaning kit. Many experts say that you should clean this entire run at least once a year to prevent fires.
If the hose was clogged, this was your problem. Reattach everything securely, plug the dryer back in, and run a test cycle. You should feel strong heat within five minutes.
Testing the Heating Element and Fuses
If the vent is clean and the dryer still blows cold air, the problem is internal. You need to access the back panel of the dryer. This requires a screwdriver and a multimeter (a tool that tests electrical continuity).
We found that a multimeter is an essential tool for this job. You can buy one at any hardware store for about $20. It might seem intimidating, but it’s simple to use for a basic continuity test.
Before opening the panel, unplug the dryer. Always. Even if it feels like a hassle, you are dealing with live 240-volt wiring inside.
Locating the Thermal Fuse
Once the back panel is off, look near the blower wheel or the exhaust duct. You will see a small white or metal component with two wires attached. That is usually the thermal fuse.
Remove the two wires. Set your multimeter to the “continuity” or “ohms” setting. Touch the two probes to the fuse terminals. If the meter beeps or shows zero resistance, the fuse is good. If it shows no reading (or “OL”), the fuse is blown.
Replacing this part is cheap. We found that a replacement thermal fuse costs between $10 and $20 at most appliance parts stores. It is simply a matter of attaching the new part and plugging the wires back in.
If the fuse is blown, you must also check the vent again. As we mentioned, a blown fuse is a symptom of overheating, not the root cause. If you skip the vent cleaning, you will blow the new fuse in a week.
Checking the Heating Element Coils
If the thermal fuse tests fine, move to the heating element. This is usually located at the back of the dryer, inside a metal housing. It looks like a coil of wire, similar to a toaster element.
Visually inspect the coil. Look for any breaks or burn marks. We found that heating elements often burn out in one specific spot, leaving a gap in the coil. If you see a visible break, it needs replacement.
If it looks fine visually, use the multimeter to test it. Touch the probes to the two ends of the coil (or the terminals on the housing). A good element will show some resistance (usually between 10 and 50 ohms). A reading of zero means a short. A reading of “OL” means an open circuit, which means it is burned out.
Replacing a heating element is a bit more involved than a fuse, but still doable. You remove a few screws, slide the old coil out, and slide the new one in. The element is a wear item, so this is a normal maintenance repair that happens after years of use.
Understanding the High-Limit Thermostat
There is another small part near the heating element called the high-limit thermostat. This is different from the thermal fuse. The thermostat is resettable, but sometimes it fails.
This part monitors the temperature inside the drum. If it gets too hot, it opens the circuit to stop the heat until it cools down. If it goes bad, it might stay open permanently, cutting power to the element.
Test it the same way you test the fuse. You might need to test it at room temperature and then again after heating it slightly with a hairdryer. If it doesn’t close the circuit, replace it. This part is also inexpensive, usually under $25.
Quick Diagnostic Checklist for a Cold Dryer
Before you start pulling wires, go through this quick list. We found that following a strict order prevents wasted effort and keeps you safe.
- Check the settings: Ensure the cycle isn’t on “Air Fluff” or “Cool Down.”
- Reset the breaker: Flip the double-pole breaker off and on at the panel.
- Clean the lint screen: Wash it with dish soap and warm water.
- Check the vent hose: Look for kinks, crushing, or lint buildup.
- Test the thermal fuse: Use a multimeter to check for continuity.
- Inspect the heating element: Look for visible breaks or test with a meter.
When You Should Stop and Call a Professional
Not every dryer issue is a DIY fix. You need to know your limits. We found that safety should always come before saving a few bucks.
If you smell burning plastic or a metallic odor, stop immediately. This could indicate a wiring issue inside the wall or a failing motor. Do not run the dryer again until a technician looks at it.
If the drum doesn’t spin at all when you press start, this guide doesn’t apply to you. That is a belt or motor issue, which is a different repair entirely.
If you are uncomfortable testing electrical parts with a multimeter, call a local appliance repair service. Many experts say that the average service call costs between $100 and $200, but that often includes the diagnostic fee and the first hour of labor. If you factor in the cost of a new heating element ($40-$60) plus your time, sometimes the pro is worth it.
Comparing the Usual Suspects
To help you visualize the differences, here is a quick comparison table based on our research of the most common failures:
| Part | Failure Symptom | Average Part Cost | DIY Difficulty |
|---|---|---|---|
| Thermal Fuse | No heat, drum spins, no airflow (blown due to clog) | $10 – $20 | Easy |
| Heating Element | No heat, drum spins, vent is clean | $40 – $80 | Moderate |
| High-Limit Thermostat | No heat after overheating event | $15 – $25 | Moderate |
| Breaker/Timer | Intermittent heat or no power to element | Varies | Hard/Pro |
This table shows that the most common fixes are also the cheapest. That’s good news for you.
Simple Maintenance to Prevent Future Problems
Once your dryer is heating again, you want to keep it that way. We found that preventative care is the secret to a long-lasting dryer. It also keeps your home safe.
Make a habit of cleaning the lint screen before every single load. This is non-negotiable. It takes five seconds and prevents 90% of airflow issues.
Once a month, vacuum behind the dryer. This removes dust and lint that can accumulate around the motor and wiring. Keep the area clutter-free.
Check the outside vent flap on your home’s exterior. Make sure it opens when the dryer is running. If it doesn’t open, you have a blockage deeper in the line.
Finally, consider replacing a flexible plastic vent hose with a rigid metal one. Many building safety codes now require metal ducts because they don’t collapse and are much safer against lint fires. It’s a small upgrade that offers peace of mind.
By following these steps, you keep the warm air flowing and the safety features intact.
Conclusion
You don’t need to live with cold, damp clothes. We walked you through the most common reasons a dryer spins but won’t heat. The culprit is usually a clogged vent, a blown thermal fuse, or a burned-out heating element. You can check all of these safely with basic tools and about an hour of your time.
Start with the simple stuff. Clean the lint screen, check the breaker, and inspect the vent hose before you buy any parts. We found that this alone solves most problems. If you need to test the fuse or element, a $20 multimeter pays for itself quickly.
Your next step is to run through the diagnostic checklist we shared above. Take it one item at a time. You’ll likely find the problem, fix it, and save yourself a $150 service call. Your dryer will thank you.
Frequently Asked Questions
Why is my dryer running but not getting hot at all?
This usually points to a power supply issue or a failed safety component. Check your breaker first, since a tripped 240-volt breaker will still spin the drum but cut the heat. If the breaker is fine, you are likely looking at a blown thermal fuse or a broken heating element.
Can a clogged lint filter cause a dryer to stop heating?
Yes, absolutely. A clogged lint filter restricts airflow, which causes the dryer to overheat internally. That heat trips the thermal fuse, which then cuts power to the heating element. You end up with a tumbling drum and cold air.
How much does it cost to fix a dryer that won’t heat?
If you do it yourself, you can expect to pay between $10 and $80 for parts, depending on what’s broken. A thermal fuse runs about $15, while a new heating element costs between $40 and $80. Hiring a pro will run you anywhere from $150 to $300 with labor.
Is it safe to keep using a dryer that doesn’t heat?
You can technically run it, but you shouldn’t. The lack of heat often means a safety device has tripped, which could indicate an overheating risk. You also risk mildew on your clothes. Stop using the dryer until you diagnose the problem.
How do I know if my dryer vent is clogged?
There are a few telltale signs. Your clothes take much longer to dry, even when the heat works. The top of the dryer feels unusually hot to the touch. You might also notice a burning smell or see lint around the outside vent flap. Check the hose for kinks and visible lint buildup.