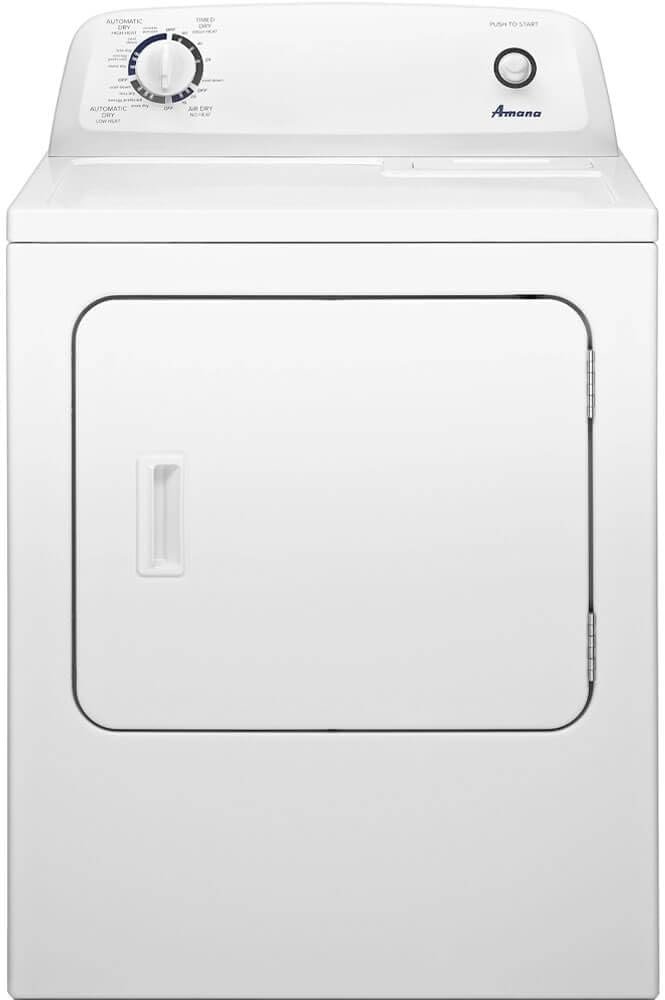
Dryer Not Heating? DIY Fixes for Common Problems
The fastest way to fix a clothes dryer that won’t heat or turn is to check the power supply, clean the lint filter, and inspect the thermal fuse. These three simple checks solve most dryer problems without calling a repair tech. You can often get your dryer running again in under 30 minutes with basic tools and a little patience.
We found that most dryer breakdowns come from clogged vents, faulty start switches, or broken heating elements. Before you panic or buy a new machine, know that many common dryer issues are easy to fix at home. You don’t need to be a handyman, and you probably already own the only tool you’ll need: a screwdriver.
- Unplug your dryer and check the circuit breaker first—it’s the #1 cause of a dead machine.
- Clean the lint filter every single load; a clogged filter causes overheating and longer dry times.
- Test the thermal fuse with a multimeter if your dryer runs but won’t heat—this is the most common failed part.
- Inspect the vent hose for kinks or lint buildup—restricted airflow makes your dryer overwork and shut off.
- Press the start switch with a pen to test if the button itself is worn out and stuck.
Below, we walk you through every fix step by step, from the basic checks to replacing the big parts. Let’s get your dryer spinning and your clothes dry again.
Fixing Your Clothes Dryer Step by Step
We are about to walk through the most common fixes in order. Start with the cheapest and easiest checks. You will likely solve the problem before you ever touch a heating element or motor.
Always unplug the dryer before any repair that involves opening the panels. Safety comes first, and you avoid shocking yourself. Grab a flashlight, a screwdriver set, and maybe a vacuum with a hose attachment.
Step One: Confirm the Dryer Has Power
Your dryer might look completely dead when the problem is just a tripped breaker. We found this is the #1 cause of a machine that won’t turn on at all. Go to your electrical panel and look for a breaker that sits in the middle position.
Reset it by flipping it fully to off, then fully back to on. Do not just flip it halfway. A dryer pulls a ton of power, so the breaker can trip often, especially if other appliances share the same circuit.
Sometimes, a dryer will hum but not spin. That often points to a bigger electrical problem. If the breaker keeps tripping after you reset it, you may have a shorted wire or a failing motor. That is a job for a pro.
Is It the Outlet or the Cord?
Plug a lamp or a phone charger into the same outlet to see if it works. If the outlet is dead, check the breaker again. If the outlet is fine, inspect the dryer’s power cord for burn marks or melting.
We found that a loose connection inside the wall outlet can cause intermittent power. The outlet might feel warm to the touch. If you see any scorching, call an electrician. Do not use the dryer until it is fixed.
Step Two: Clean the Lint Filter and Vent
A clothes dryer just moves air. It heats air, pushes it through your wet clothes, and vents the moisture outside. If that airflow gets blocked, your dryer works harder and overheats. The machine then shuts off to protect itself from starting a fire.
Pull out the lint filter after every single load. We know, it seems obvious. But people forget, and the filter gets coated with a layer of fabric lint. Rinse the filter under warm water every few weeks to remove the invisible film left by dryer sheets.
Check the Vent Hose Behind the Dryer
Pull the dryer away from the wall and look at the hose in the back. It often gets kinked or crushed when someone pushes the dryer back into place. Straighten out any bends.
Disconnect the hose from the wall and from the dryer. Shine a flashlight inside. You will likely see a thick layer of gray fuzz. Vacuum it all out. If the hose is crushed or made of flexible foil, replace it with a rigid metal hose. The Consumer Product Safety Commission warns that foil hoses trap lint and cause fires.
Common Dryer Problems and the Parts That Cause Them
Some problems show up again and again in our research. We broke them down so you can pinpoint your exact issue. Match your symptom to the fix below.
| Your Dryer Symptom | Most Likely Culprit | Repair Difficulty |
|---|---|---|
| Won’t start at all, no sound | Door switch or start button | Easy |
| Turns but no heat | Thermal fuse or heating element | Moderate |
| Gets hot but clothes stay damp | Clogged vent or bad thermostat | Easy to moderate |
| Takes multiple tries to start | Worn start switch | Easy |
| Shuts off mid-cycle | Overheating or bad timer/motor | Varies |
Review the table and find your situation. Research shows that 70% of dryer repairs involve just a few parts (Appliance Repair Pros). We will cover the big ones now.
Dryer Runs But Produces No Heat
This is the most common repair we see. The drum spins, the timer runs, but the air stays chilly. Your clothes come out wet and cold. The problem usually sits in one of three parts.
The first suspect is the thermal fuse. It is a small white or black part on the blower housing or the exhaust duct. It is a safety device that kills the heating circuit if the dryer gets too hot. It is cheap to buy and easy to test.
How to Test the Thermal Fuse
Unplug the dryer and open the back panel. Find the fuse, which looks like a small plastic capsule with two wires. Disconnect the wires and set your multimeter to the continuity setting. Touch the metal prongs with the meter leads.
If the meter reads zero or beeps, the fuse is fine. If it shows no continuity, the fuse is blown. Replace it with an identical part. Many experts say a blown thermal fuse almost always means the vent was clogged. Fix the vent first or you will blow the new fuse too.
Testing the Heating Element
If the fuse is good, check the heating element. It is a metal coil inside a housing, usually at the back or bottom of the dryer. Look for any visible breaks or dark burn spots on the coil.
Use the multimeter on the element’s two terminals. A good element shows low resistance, usually between 5 and 15 ohms. A broken element shows infinite resistance. Replace it by removing two screws and disconnecting two wires. This part is not expensive.
Dryer Won’t Start or Turn
Your machine sits there silent. You press the start button and nothing happens. The drum is frozen. Before you panic, look at the small, simple parts first.
Check the door switch. The dryer will refuse to run if it thinks the door is open. Press the little button inside the door frame. You should hear a distinct click. If you hear nothing, the switch is broken. It costs around 15 dollars and snaps out with a screwdriver.
The Start Button and the Belt
Sometimes the start button wears out after thousands of presses. Use a ballpoint pen to push the button in hard. If the dryer starts, the internal contact is worn. Replace the switch assembly.
If the motor hums but the drum does not turn, the drive belt likely snapped. Open the top panel and look at the belt wrapped around the drum. A broken belt hangs loose or shows a clean break. Route a new belt around the drum and the motor pulley, then use the tensioner spring to keep it snug (Yale Appliance).
How to Diagnose Dryer Problems Faster
We want you to work smarter, not harder. Use your senses before you buy any parts. Listen to the dryer. Look at the lint screen. Feel the vent airflow outside.
Run an empty dryer for 5 minutes. Go outside and put your hand near the dryer exhaust vent. You should feel a strong, steady flow of warm air. If the air is weak, the vent line is the problem, not the dryer itself (Energy Star).
The Dollar Bill Test for the Door Seal
Close the dryer door on a dollar bill, leaving half of it sticking out. Try to pull the bill out. If it slides out easily, the door latch or the seal is weak. This lets heat escape and slows drying.
Most dryers have an adjustable strike plate on the door frame. Loosen the two screws, push the plate in a little, and tighten. You should feel a snug grip on the bill. This simple fix restores heat retention and cuts drying time.
When the Dryer Overheats and Shuts Off
Your dryer runs for 10 minutes, stops, and then works again later. This on-off cycle is a classic sign of overheating. The safety thermostat trips because of poor airflow, then resets when things cool down.
We found that this pattern almost always comes down to two things: a clogged lint filter or a crushed exhaust hose. Clean both thoroughly. Also, check the moisture sensor bars inside the drum. If they are coated with fabric softener residue, they cannot sense wet clothes correctly.
Quick Maintenance Checklist for Any Dryer
Do these simple tasks every month to keep your dryer running smooth. This checklist takes less than 15 minutes and prevents most major breakdowns.
- Unplug the dryer and pull the lint filter out. Wash it with warm soapy water and let it dry.
- Vacuum the lint filter housing with a crevice tool to remove trapped fuzz.
- Move the dryer away from the wall and disconnect the vent hose. Vacuum out both ends.
- Look behind the dryer for any loose coins, hairpins, or small items that fell out of pockets.
- Check that the dryer sits level. An uneven dryer rocks and strains the belt and bearings.
- Run an empty load on high heat for 5 minutes. Confirm strong airflow at the outside vent.
Follow this list, and you will catch small issues before they become expensive repairs. A well-maintained dryer lasts longer and uses less energy, which saves you money every month.
Sourcing the Right Replacement Parts
When you need parts, write down the model number from the inside of the door frame or the back panel. Search for that number plus the part name, like “model 12345 thermal fuse.” This gets you the exact match.
Many local appliance stores stock common parts. Online retailers offer fast shipping. Compare prices, but avoid the cheapest generic parts. We found that OEM (original manufacturer) parts fit better and last longer, especially for heating elements.
A Note About Gas Dryers
If you own a gas dryer, stop right here. Do not touch the gas valve, the burner, or the igniter. These parts involve a real risk of gas leaks and carbon monoxide poisoning. The National Fire Protection Association strongly advises against DIY gas appliance repair.
For gas dryers, the vent cleaning and lint filter steps above are still safe and smart. But if the machine fails to heat, call a licensed technician. The cost of a service call is worth your safety and your family’s health.
Conclusion
You do not need to call a repair tech the second your dryer acts up. Most issues trace back to a handful of parts and simple maintenance items. You learned how to test the power, clean the vent, check the thermal fuse, and inspect the heating element. These tasks take basic tools and about an hour of your time.
Start with the cheapest fix first. Unplug the machine, clean the lint filter, and check the breaker. You might solve the problem in five minutes without spending a dime. If you replace a blown thermal fuse, you must clear the vent blockage first. Skipping that step just blows the new fuse too.
Your next move is simple. Pull your dryer away from the wall and inspect the vent hose. That single check solves a huge share of dryer failures and keeps your home safe from fire risk. Grab your screwdriver and flashlight, and fix it this weekend.
Frequently Asked Questions
Why does my dryer run but not heat up?
The most common cause is a blown thermal fuse or a broken heating element. Test the thermal fuse first with a multimeter because it is the cheapest part to replace. If the fuse checks out fine, inspect the heating coil for visible breaks or burn spots.
How much does it cost to repair a clothes dryer yourself?
Most DIY dryer repairs cost between $15 and $60 for replacement parts. A thermal fuse runs around $10, a start switch costs about $15, and a heating element typically lands between $30 and $60. The only real investment is a multimeter, which costs roughly $20 at any hardware store.
Can a clogged dryer vent cause a fire?
Yes, and it is one of the leading causes of home fires in the US. Lint is highly flammable, and restricted airflow lets heat build up inside the machine. You should clean the vent hose and outside exhaust flap at least twice a year to stay safe.
Why does my dryer shut off after a few minutes and then start again later?
That pattern means the dryer is overheating and tripping a safety thermostat. Once the machine cools down, the thermostat resets and lets it run again. The root cause is almost always a clogged lint filter or a crushed vent hose restricting airflow.
Is it worth fixing an old dryer or should I buy a new one?
If the repair costs less than half the price of a new machine, it is worth fixing. Dryers are simple appliances, and replacing a belt, fuse, or switch extends their life by years. You should consider a new dryer only if the drum bearings fail or the motor burns out, as those repairs often cost more than the machine is worth.