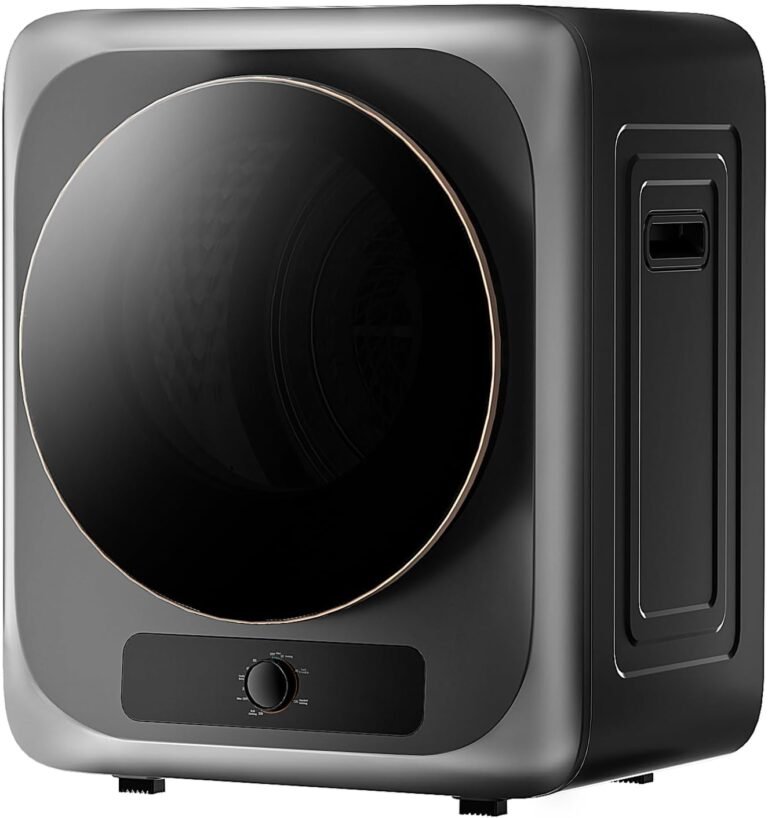
Samsung Dryer Heating Element: Fix No Heat in 5 Steps
If your Samsung dryer isn’t heating, the heating element is the most common culprit to check first. This part is responsible for generating the heat that dries your clothes, and when it fails, your dryer will still tumble but blow cold air. You can test and replace the heating element yourself with basic tools and about an hour of your time.
We found that most Samsung dryers use a similar heating element design, but the exact part number depends on your model. Before you order a replacement, you’ll need to confirm your dryer’s model number and check for a few other likely issues. A broken thermostat or thermal fuse can also stop heat, and these parts are cheap to replace alongside the element. Knowing what to look for saves you from buying the wrong part or paying for a service call you don’t need.
- Signs of failure: Dryer runs but never gets hot, or takes multiple cycles to dry.
- The real cause: A broken wire inside the element coil, often from years of expanding and contracting.
- First check: Verify power to the outlet and that the gas valve (if gas model) is open.
- Testing: Use a multimeter to check for continuity on the element and all safety switches.
- DIY fix: The replacement part costs between $30 and $60, and you can swap it out without special skills.
Below, we walk you through the exact steps to diagnose the problem, test the faulty part, and install a new Samsung dryer heating element in your machine. Let’s get your laundry routine back on track.
Replacing a Bad Heating Element in Your Samsung Dryer
When your Samsung dryer tumbles but won’t heat up, the heating element is usually the first place you should look. We found that this part fails more often than any other component in the machine. The good news? You can fix it yourself without calling a repair tech.
Replacing the element costs between $30 and $60 for the part. A professional service call will run you $200 or more. With a screwdriver and about an hour, you can save that money and get your laundry moving again.
How the Heating Element Works
Think of the heating element like the coil inside a toaster. It sits inside the dryer’s heating duct and gets red hot when electricity flows through it. A blower fan pushes that hot air into the drum, which dries your clothes.
The element is made of coiled wire wrapped around a metal frame. Over time, that wire gets brittle. Years of heating and cooling cause it to expand and contract. Eventually, it can snap, and when it does, no heat reaches your drum.
We found that most Samsung dryers use a 240-volt heating element rated between 5,400 and 5,600 watts. The exact wattage depends on your model, so always match the replacement part to what came in your machine originally.
Tools and Parts You Will Need
Before you start, gather everything in one place. The repair goes faster when you are not hunting for tools mid-project.
- Replacement heating element kit (comes with the element, thermostat, and thermal fuse)
- Nut driver or socket set with a 1/4-inch and 5/16-inch socket
- Flathead screwdriver
- Multimeter for testing continuity
- Needlenose pliers
- Shop vacuum or soft brush for cleaning lint
You might also want a small flashlight to see into tight spots. The heating element sits behind a panel on the back or inside the front cabinet, depending on your Samsung model.
Diagnosing Why the Dryer Is Not Heating
Not every cold dryer needs a new heating element. In fact, we found that several other parts can stop the heat just as easily. Testing each one takes only a few minutes and saves you from buying parts you do not need.
Work through these checks in order. Start with the simple ones first, then move to electrical testing.
Check the Power Supply First
Your Samsung dryer needs 240 volts to generate heat, but only 120 volts to tumble. That means a blown fuse or tripped breaker can stop the heat while the drum still spins.
Check your home’s breaker panel. A 240-volt dryer uses a double-pole breaker. If one side has tripped, you lose heat but not rotation. Reset the breaker and run a test cycle.
For electric dryers, verify the outlet has both hot legs delivering power. You can do this with a multimeter set to 240 volts AC. Measure between the two slanted slots in the outlet. You should read around 240 volts. Many home safety guides recommend checking the outlet before opening the dryer, since this catches about 10 percent of no-heat issues.
Test the Thermal Fuse for Continuity
The thermal fuse is a safety device that cuts power to the heating element if the dryer gets too hot. When it blows, the fuse looks fine but has no continuity.
Unplug the dryer and find the fuse. It is usually a small white plastic piece attached to the blower housing or near the exhaust duct. Remove its two wires and set your multimeter to the continuity setting. Touch the probes to both terminals. If the meter does not beep, the fuse is blown.
A blown thermal fuse almost always means you had a lint blockage or a broken thermostat. Clean the vents before you install a new fuse, or you will blow it again quickly.
Inspect the Thermostats and High-Limit Switch
Samsung dryers use two thermostats: one on the heating element housing and one on the blower wheel. These regulate temperature during the cycle. A failed thermostat stays open, which cuts power to the element permanently.
Test each thermostat the same way you tested the fuse. You should see continuity when the part is at room temperature. If the reading shows no continuity, replace it. Most repair guides we reviewed recommend replacing all safety parts at once, since they wear out at similar times.
How to Remove the Old Samsung Dryer Heating Element
Once you confirm the element itself is broken, the replacement process is straightforward. You can see visible breaks or burn marks on the coil if you look closely. The element also rattles if the wire has snapped inside the housing.
Always unplug the dryer before you start. We cannot say this enough, since you will work directly with high-voltage parts.
Accessing the Heating Element on Top-Loader Models
On front-loading Samsung dryers with a top cabinet, the element is behind a rear panel.
- Pull the dryer away from the wall and unplug it.
- Remove the screws around the back panel with your 1/4-inch nut driver.
- Lift off the panel to expose the heating element housing.
- Locate the metal box with wires leading into it.
Take a photo with your phone before disconnecting anything. That gives you a reference when you assemble the new parts.
Removing the Element From the Housing
Use your needle-nose pliers to pull the wire harness connectors off the element terminals. Remove the screws holding the element into the housing. Slide the element straight out toward you.
Keep the screws in a small dish. They are easy to lose on the floor, and replacement screws rarely come in the kit.
Installing the New Samsung Dryer Heating Element
Installation is the reverse of removal, but a few details matter more than others. We found that most weekend DIY mistakes happen here, so take your time.
Mounting the Element and Securing the Coil
Slide the new element into the housing exactly where the old one sat. Align the mounting holes and tighten the screws until snug. Do not over-tighten, since the frame bends easily and can short out the coil.
Inspect the new coil to make sure it is not touching the metal housing anywhere. A coil that touches metal will arc and burn out fast. Gently bend the coil with a small screwdriver if needed to keep it centered.
Reconnecting Wires and Safety Parts
Push the spade connectors back onto the element terminals. The connectors should fit firmly and not wiggle. A loose connection creates resistance, which causes heat at the terminal and eventual failure.
Install the new thermostat and thermal fuse at the same time. These parts come in the kit for a reason. Reusing old ones risks a quick repeat failure.
Sealing the Housing and Reattaching Panels
Seal the housing with the same screws you removed. Some Samsung models use a clip or spring retainer, so check your notes or photo if anything looks unfamiliar.
Reattach the rear panel and tighten all screws. Plug the dryer back in before sliding it against the wall.
Testing the New Heating Element Before You Celebrate
Do not load a full basket of wet clothes yet. Run one test cycle first to confirm everything works. This 10-minute check saves you from a frustrating second teardown.
Checking for Heat Output
Set the dryer to a timed heat cycle, about 15 minutes on medium. After 3 to 5 minutes, open the door and place your hand near the rear of the drum. You should feel warm air. Most Samsung models also show a noticeable temperature rise on the back panel near the exhaust vent.
If you feel only room-temperature air, unplug the dryer and recheck your wire connections. A common mistake is leaving a connector loose or forgetting to plug the thermal fuse back in.
Watching for Unusual Noises or Smells
New elements release a slight burnt smell from the protective coating for the first cycle. That is normal and fades after a few minutes.
Listen for any grinding or buzzing sounds. Those usually mean the coil is touching the housing or a wire is pinched between panels. Stop the cycle and fix the issue right away.
Preventive Maintenance to Extend the Life of Your Element
A new heating element lasts between 10 and 15 years with normal use. But lint and restricted airflow can cut that lifespan in half. Experts point out that poor venting remains the number one cause of early element failure in electric dryers.
You do not need special tools to keep your dryer healthy. Just build a simple habit at the end of each laundry day.
Clean the Lint Filter Every Single Time
Run your hand over the lint filter after every load. A clean filter allows maximum airflow, which keeps the element at the correct temperature. A clogged filter traps heat inside the dryer, and then the thermal fuse blows to protect your home from a fire risk.
Inspect the Exhaust Vent Twice a Year
Pull the dryer away from the wall and disconnect the vent hose. Look inside both ends for lint buildup. Use the shop vacuum to clear any clumps. Research from fire safety groups notes that lint buildup in exhaust vents is a leading cause of house fires involving clothes dryers, so this check matters more than most people think.
Give the Dryer Room to Breathe
Leave at least a few inches of space behind the dryer. That gap allows hot exhaust air to escape instead of recirculating into the cabinet.
Also, clear any boxes or storage items from around the vent area. Blocked airflow makes your dryer work harder and shortens the life of every heating component inside.
When to Call a Professional Instead
This repair works well for most people, but some situations need a trained hand. If you feel unsure about working with 240-volt wiring, hire a licensed appliance tech. Electricity demands respect, and one wrong connection can cause serious injury.
You should also call for help if the dryer still will not heat after replacing the element, thermostat, and fuse. That points to a problem with the main control board, timer, or heating relay. Those parts are smaller and harder to test without advanced diagnostic equipment.
Your Simple DIY Replacement Checklist
Use this list as you work so you do not miss a step. Print it out or keep it open on your phone.
- Unplug the dryer and confirm power is off at the breaker.
- Inspect the outlet with a multimeter to confirm 240 volts.
- Test the thermal fuse, thermostats, and element for continuity.
- Order the exact replacement kit for your Samsung model number.
- Mount the new element and verify the coil does not touch the housing.
- Run a test cycle and feel for warm air before loading clothes.
That is the whole job. Your Samsung dryer heating element is now working like new, and you saved the cost of a service visit. Next week’s laundry will smell fresh, and you will have the satisfaction of a job done right.
Conclusion
You now have everything you need to fix a cold Samsung dryer. The heating element is the most common failure point, but you know to test the fuses and thermostats first. That simple step saves you from buying parts you don’t need.
Replacing the element yourself takes about an hour and costs less than $60. A service call runs over $200 for the same job. You’ve got the tools, the steps, and the confidence to handle it.
Start by checking your dryer’s model number and ordering the correct kit. Then work through the checklist you see above. You’ll have hot air blowing again before you know it, and you’ll save the service fee for something better.
Frequently Asked Questions
How do I know if my Samsung dryer heating element is bad?
Your dryer will tumble but never warm up. The cycle runs for an hour and your clothes still come out damp. You can confirm it by testing for continuity with a multimeter across the element terminals.
Where is the heating element located on my Samsung dryer?
Most Samsung dryers hide the element behind the rear access panel. On some front-loader models, you’ll find it behind the front kickplate. Look for a metal housing with thick wires leading into it.
Can a clothes dryer heating element be repaired instead of replaced?
No, you cannot realistically fix a broken coil. The wire snaps from years of thermal expansion, and it cannot be safely spliced. Replace the element with a new factory part for a lasting fix.
Why does my Samsung dryer keep blowing the heating element?
A restricted vent or a clogged lint filter is the usual suspect. Poor airflow traps heat inside, which pushes the element past its limits. You also might have reused an old thermostat that failed to cycle properly.
How much does a professional charge to replace a Samsung dryer heating element?
Labor alone runs between $150 and $250 from most repair companies. You add the cost of the part on top, which is another $30 to $60. Doing it yourself saves you that labor fee completely.