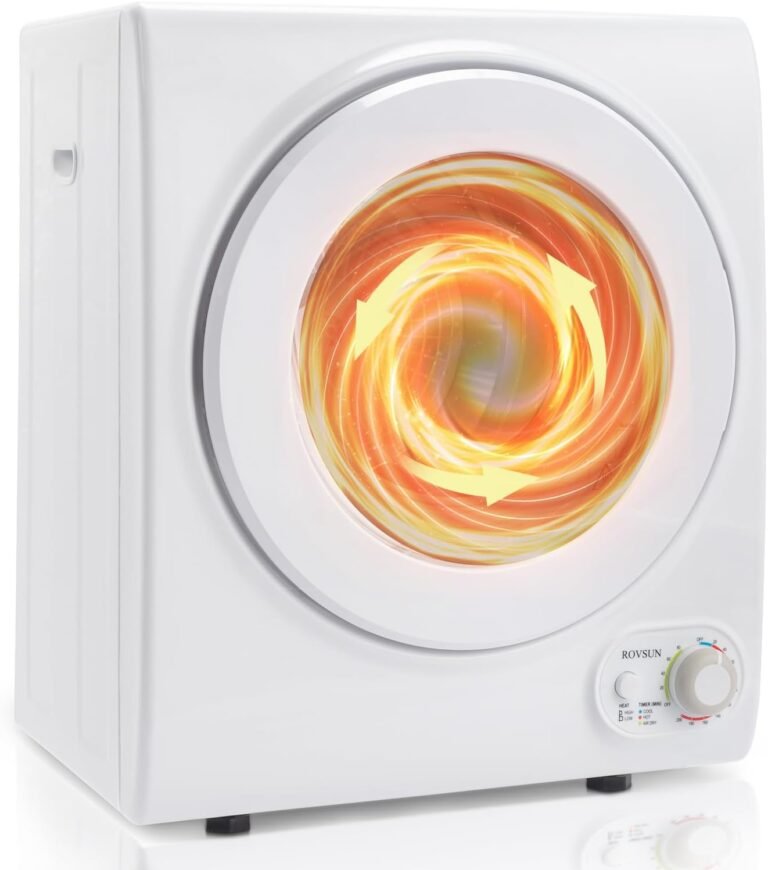
Why Is My Dryer Squeaking? Fix It Fast
A squeaky clothes dryer usually means the drum support rollers, idler pulley, or blower wheel need lubrication or replacement. You can fix it yourself in about 30 minutes with a vacuum, a screwdriver, and a few affordable parts. Most of the time, a loud squeak or squeal is not an emergency, but it should not be ignored because it can lead to a broken belt or a damaged motor.
We dug into common repair forums and service manuals to find the most frequent causes of dryer noise. We found that drum roller wear is the top culprit, followed closely by a failing idler pulley. The good news is that you don’t need to be a handyman to diagnose this. You just need to know where to listen and what to look for when you pull the machine apart.
- Quick fix: Unplug the dryer and check the drum glides and rollers for flat spots or stiffness.
- Main cause: Worn support rollers create a rhythmic squeak or rumbling sound.
- Loud squeal: This is often the idler pulley that keeps the drive belt tight.
- High-pitched whistle: Check the blower wheel and the air vent for blockages.
- First step: Remove the lint trap and clean the entire vent path before opening the cabinet.
Below, we break down exactly how to find that squeak, what tools you need, and the step-by-step process to silence your dryer for good. Let’s walk through this together so you can get back to laundry day without the noise.
Identifying the Source of Your Dryer’s Squeak
Before you unscrew a single panel, you need to do a little detective work. Research on appliance repair forums shows that the location of the squeak tells you a lot about the source. A rhythmic squeak that matches the drum rotation usually points to the rollers. A frantic, high-pitched squeal often means the idler pulley is struggling.
You can also test the noise with an empty dryer. An empty drum makes the bearings and glides work harder because there’s no cushioning from the clothes. If the sound disappears with a full load, you have a support issue. If it gets louder, you likely have a belt or pulley problem.
Listening for Rhythmic Thumps Versus Squeals
Put your ear near the front and then near the back of the machine. A squeak that speeds up when you increase the heat setting is often a sign of a worn drum seal. A squeal that stays constant regardless of the cycle is usually the blower wheel or motor bearing.
Many experts suggest using a cardboard tube as a stethoscope. Hold one end to your ear and move the other end along the cabinet. You will be surprised how quickly you can locate the noisy section using this basic trick.
Testing the Drum by Hand
Unplug the dryer. Open the door and spin the drum with your hand. It should move freely with a smooth, quiet motion. If you feel a grinding sensation or hear a rubbing sound, you have found a bad roller or a worn glider.
Now, grab the drum at the top and try to move it up and down. A quarter-inch of movement is normal. Anything more suggests the rear bearing or support is failing. That slack is what causes that annoying squeaking noise.
Gathering the Right Tools and Replacement Parts
You do not need a fancy toolkit to fix this squeak. Most dryers only require a nut driver or socket set, a flathead screwdriver, and a vacuum with a crevice attachment. We found that a magnetic tray is also handy for keeping track of small screws during disassembly.
As for parts, the costs are lower than you might think. Drum rollers and idler pulleys are often sold as affordable kits. Before ordering, write down your dryer’s model number. This number is usually on a sticker inside the door frame or on the back panel.
Understanding the Main Components Involved
Dryers are not overly complex machines. The key parts that cause squeaks are the drum support rollers, the idler pulley, the drive belt, and the rear bearing. The blower wheel can also make noise if it is cracked or full of lint buildup.
We found that many household dryers use a slider pad system instead of rollers. These glides are cheap plastic strips that wear down over time. If you see flat spots or grooves on them, that is your noise source.
Choosing Between Lubrication and Replacement
Some folks try to just spray lubricant on the rollers. That rarely works. The bearings inside the rollers are sealed and will fail again within weeks. Many experts agree that a replacement is always more reliable than a temporary lubrication fix.
However, the idler pulley sometimes only has a dry bearing. In that case, a small drop of high-temperature grease might silence it. Just do not use general-purpose oil. It will attract lint and turn into a sticky paste.
Step-by-Step Guide to Accessing and Checking the Drum
Now we get to the hands-on part. First, unplug the dryer and shut off the gas valve if you have a gas model. You will need to remove the lint filter housing, then unscrew the top panel. Most tops are held by two or three screws near the back.
Slide the top toward you and lift it off. Then you can see the front panel clips. Release them carefully so you don’t break the plastic retainers. Once the front is off, the drum is exposed for inspection.
Removing the Front Panel Safely
Keep a close eye on the door switch wires. They are short and can tear if you pull the panel too far. Disconnect the wire harness gently. Place the front panel on a flat surface where it won’t get scratched or dented.
You should now see the drum and the front support. Look at the felt seal around the opening. If it is worn or blackened from friction, that could be part of the noise. This felt is a cheap part to replace too.
Inspecting the Belt and Drum Rollers
Check the drive belt for cracks or fraying. A loose belt will slip and cause a squealing sound. You should see a small tensioner pulley holding the belt tight. Press on it with your finger. It should have some resistance but still move slightly.
Spin each roller by hand. If a roller makes a dry, scraping sound or feels rough, grab a replacement. It is a good idea to replace all the rollers at once because they wear out at roughly the same pace.
Replacing Worn Rollers and Idler Pulleys Properly
When you replace the rollers, it’s not a complicated process. Most rollers slide right off their mounting shafts. You might need to remove a single C-clip or a retaining screw. Keep the old bolts and clips with the old parts so you know where everything goes.
Before you reinstall anything, clean the shaft with a rag. Old grease and dust can prevent the new roller from sitting flush. Apply a light coat of high-temperature bearing grease to the shaft if the instructions recommend it.
Replacing the Idler Pulley in a Few Simple Moves
The idler pulley sits on a spring-loaded arm. To remove it, release the tension on the belt. Lift the old pulley off the arm and slide the new one in. Then, route the belt back over the drum and around the pulley. A quick visual check will tell you if the belt is twisted. We found it helpful to take a photo before removing the old parts. That way, you always have a reference for the correct belt routing.
Many repair guides suggest replacing the belt at the same time as the idler. Even if the belt looks fine now, it has been stretched by the old pulley. A new belt will provide proper grip and reduce strain on the motor.
Torque and Tightening Tips for Longevity
Be careful not to overtighten the bolts on the new rollers. They should be snug but not cranked down. Overtightening can deform the plastic hub and cause the roller to fail fast. Finger tight plus a quarter turn is usually enough.
When you replace the rear drum bearing, check the shaft for wear. A rough shaft will eat into the new bearing in a few months. Use fine sandpaper to polish any burrs before you reassemble.
Cleaning the Lint Trap and Airflow Path
Before you put the panels back, it is the perfect time to clean out all the lint. We found that poor airflow often makes the dryer work harder, which can turn a small squeak into a loud roar. Vacuum the entire path from the blower housing to the exhaust vent on the back.
Use a long brush to reach into the duct. Do not forget to pull the lint trap out and scrub it with soap and water. A clean lint screen improves drying time and lowers the risk of a fire hazard. Many safety organizations emphasize cleaning lint screens after every load (U.S. Consumer Product Safety Commission).
Checking the Blower Wheel for Cracks or Debris
While you have the vacuum out, locate the blower wheel. It might be inside a plastic housing near the front or the back of the machine. Spin it by hand. Cracks or missing fins cause a high-pitched whine and reduce efficiency.
Lint can wrap around the blower shaft too. This buildup causes a vibration that shakes the entire machine. Remove the debris carefully and inspect the wheel for damage. A cracked blower wheel is a cheap part to swap out.
The Importance of Checking the Outside Vent Exit
Many people forget that the noise is sometimes a symptom of a blocked vent outside. Go outside and check the vent cap. If the flap is stuck or the metal duct is crushed, the dryer gets too hot. The motor has to work overtime, which creates unusual noises. Straighten out any bends and confirm the flap opens freely. This simple check can prevent a future noisy breakdown and keep your home safe.
Reassembling the Dryer and Running a Test Cycle
Once all the new parts are in place, the reassembly is just the reverse of your tear-down routine. Align the drum properly into its rear support. Slide the front panel back on, making sure the door switch wires snap into place correctly. Then, install the top panel and tighten the screws.
Press the start button and run the air fluff cycle. This cycle uses no heat, so you can listen closely without worrying about burning a new component. The only sound you want to hear is a soft, even hum.
Testing at Different Speed Settings
Run the dryer through a normal cycle with a few damp towels. Listen for any new rubbing sounds. Sometimes the brand-new rollers need a short break-in period. A slight odor from the new grease is normal for the first few minutes. That should fade quickly. If you still hear a squeal, you might have a misaligned belt. Turn off the dryer, unplug it, and inspect the belt line again.
It is also a good idea to check that the drum is not hitting the new felt seal. Adjust the front support screws until there is a consistent gap around the drum edge.
Quick Maintenance Checklist to Prevent Future Squeaks
To keep your dryer running quietly for years, follow these straightforward habits. Setting a simple maintenance routine only takes a few minutes a month.
- Clean the lint filter before every load to preserve airflow.
- Vacuum the dryer vent line and outside cap twice a year.
- Listen for squeaks once a month by running a 10-minute air-only cycle.
- Check the leveling feet and tighten them to stop cabinet vibrations.
- Never overload the dryer with heavy items like rugs or wet blankets.
- Replace drum rollers and belts every five to seven years as preventive care.
We found that a little bit of care goes a long way. Paying attention to unusual sounds early will help you avoid a pricey service call and extend the life of your appliance.
When to Call a Professional for Your Squeaky Dryer
Sometimes, the repair is bigger than a simple roller swap. If you smell burning rubber or see metal shavings near the drum, stop the machine. That indicates a serious bearing failure. Also, if you are not comfortable working near the gas line or electrical wiring, get help. Safety is not something to gamble with.
A local technician can also diagnose complex electrical issues, such as a failing motor winding. The cost of a professional repair can be worth it if you have an older dryer with multiple worn parts. Many appliance repair pros suggest that a well-built dryer lasts about 13 years on average (U.S. Department of Energy). If your machine is near that age, replacement might be a smarter financial choice than a big repair bill.
A Quick Comparison: Repair Costs Versus Replacement
To help you decide, here is a simple comparison table based on typical repair data and market reports. These numbers are general estimates and can vary by location and brand.
| Repair Type | Average Cost | Time to Complete |
|---|---|---|
| Replace drum rollers (DIY kit) | $50 to $80 | 1 to 2 hours |
| Replace idler pulley and belt | $45 to $75 | 1 to 1.5 hours |
| Professional technician visit | $150 to $300 | 1 day |
| New budget dryer installed | $600 to $1,200 | 1 day |
As you can see, doing the replacement yourself is usually the most budget-friendly choice. It will take a bit of patience, but you’ll walk away with the satisfaction of knowing exactly how your dryer works.
Sign Conclusion
A squeaky clothes dryer is almost always a fixable problem. You do not need to live with that noise or schedule an expensive repair visit right away. The main culprits are worn drum rollers, a failing idler pulley, or restricted airflow.
You have the tools and the steps to handle this yourself. Start with the easy checks: clean the lint path, spin the drum by hand, and listen for the source. Then, replace the worn parts with quality kits made for your model.
Your next step is simple. Grab your model number, order the parts, and block out an hour this weekend. That quiet hum on the next laundry day will be worth the effort. You can do this.
Frequently Asked Questions
Is it safe to run my dryer if it squeaks?
You can run it a few times while you diagnose the problem, but we suggest you avoid heavy use. A squeak means parts are grinding together. That friction creates heat and can damage the drum bearing or the belt over time.
Can I use WD-40 to stop the squeaking?
No. WD-40 is not a proper lubricant for dryer parts. It will evaporate quickly and attract lint, which makes the problem worse. Use high-temperature bearing grease only on the specified contact points.
Why does my dryer squeak only when it heats up?
Metal parts expand when they get hot. That expansion can change the clearance between moving parts and make a worn bearing more obvious. If the squeak appears only on high heat, you likely have a failing drum support roller or a worn felt seal.
How often should I replace the drum rollers on my dryer?
Most manufacturers recommend checking the rollers every two years. On average, you will need to replace them every five to seven years with normal household use. If you do a lot of heavy loads, expect to swap them out sooner.
My dryer squeaks when it starts and stops. What causes that?
That is a classic sign of a slipping drive belt or a stiff idler pulley. The belt stretches over time and loses tension. The pulley arm then has to work harder to keep the drum moving. Replace both parts together to fix this issue for good.