

How to Use Vintage Singer Sewing Machine: Expert Guide
Vintage Singer sewing machines are old but gold. They are strong and reliable. Many people still use them today. But, using them can be tricky. Don’t worry, this guide will help you. Follow these steps to use your vintage Singer sewing machine.
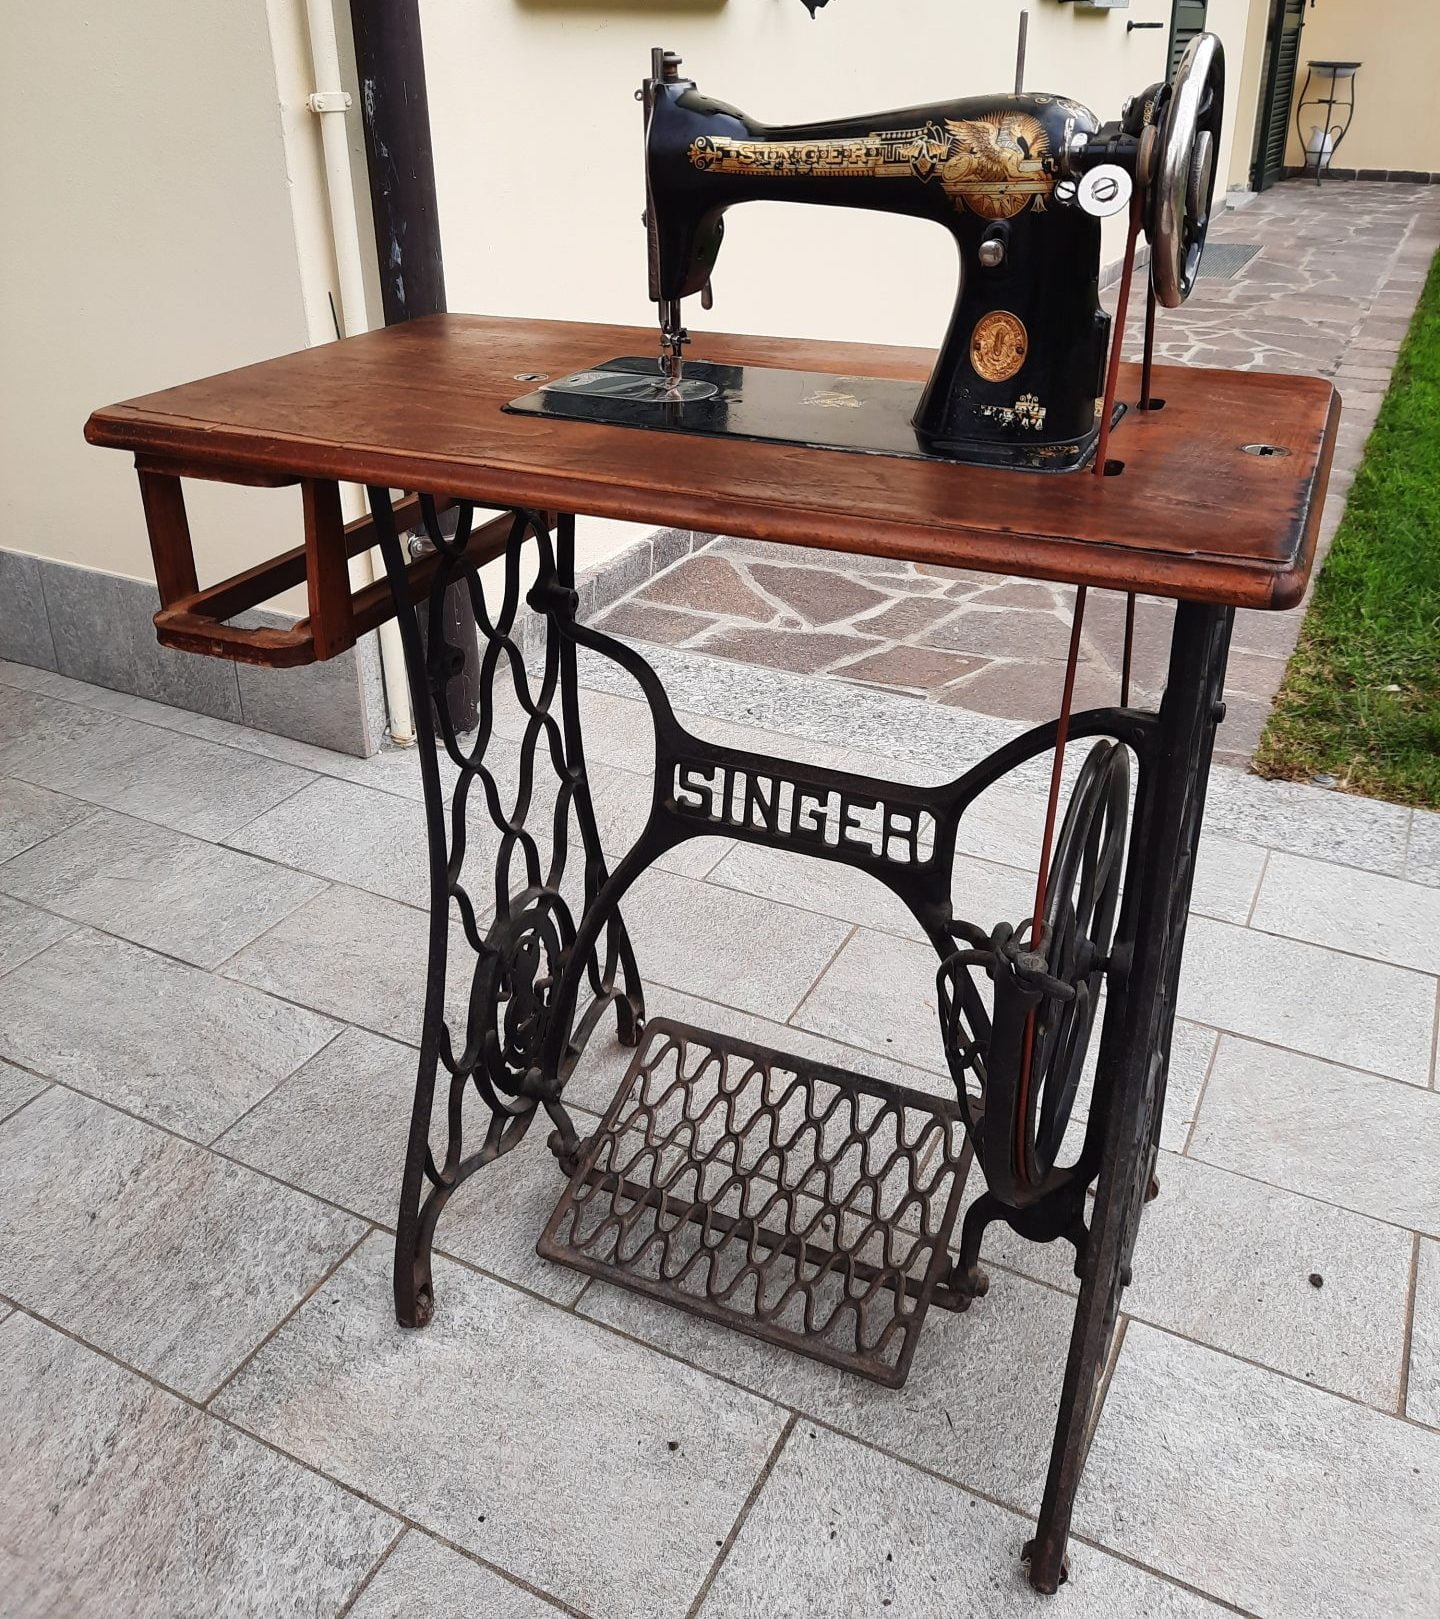
Understanding Your Vintage Singer Sewing Machine
Before using, you need to know your machine. Look at the parts. Here are some important parts:
- Hand Wheel: This makes the needle move up and down.
- Spool Pin: This holds the thread spool.
- Needle: This pierces the fabric to make stitches.
- Bobbin: This holds the lower thread.
- Foot Pedal: This controls the speed of sewing.
Setting Up the Sewing Machine
First, find a good place. The table should be flat and stable. Make sure there is enough light. This helps you see better. Now, follow these steps:
Step 1: Plug In The Machine
Connect the power cord. Plug it into the wall. Make sure the machine is off.
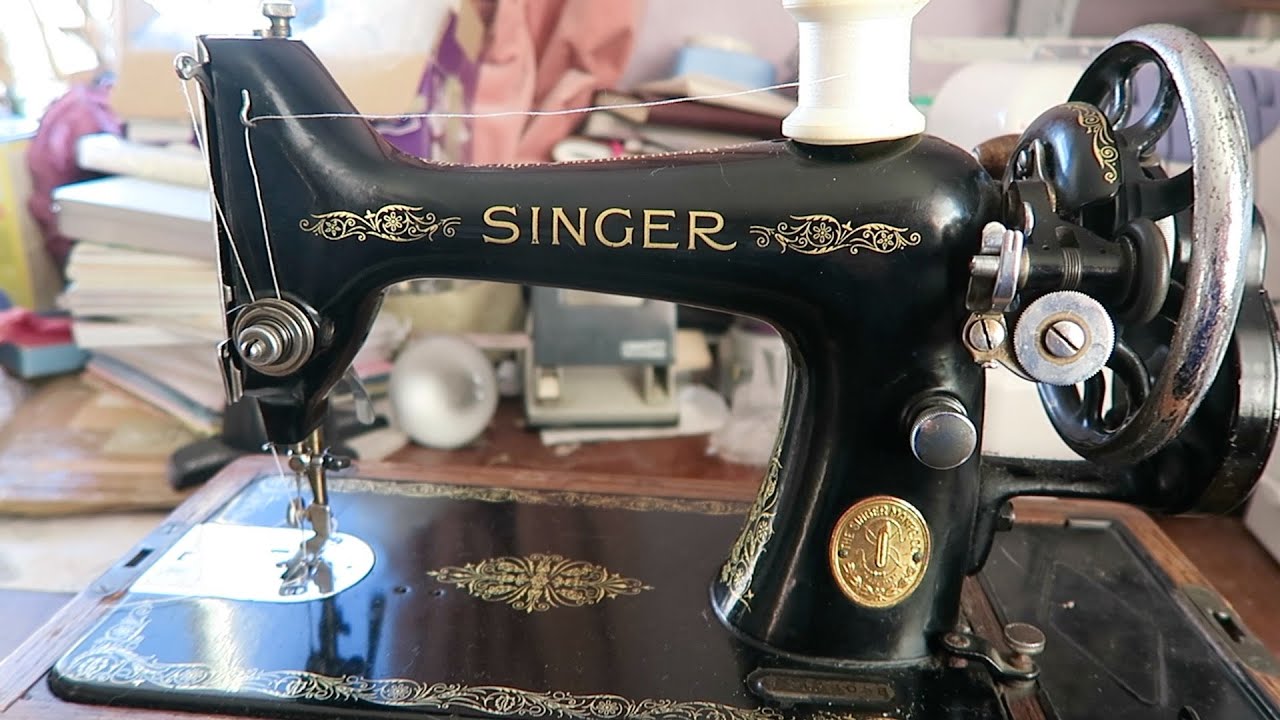
Step 2: Winding The Bobbin
Place the thread on the spool pin. Pull the thread through the guides. Wrap the thread around the bobbin. Place the bobbin on the bobbin winder. Turn the hand wheel to engage the winder. Press the foot pedal. Stop when the bobbin is full.
Step 3: Inserting The Bobbin
Open the bobbin case. Place the bobbin inside. Make sure it turns clockwise. Pull the thread through the slit. Close the bobbin case.
Step 4: Threading The Needle
Pull the thread from the spool. Pass it through the guides. Pull it down to the needle. Thread the needle from front to back.
Credit: www.lrcrafts.it
Operating the Sewing Machine
Now, you are ready to sew. Follow these steps:
Step 1: Preparing The Fabric
Take the fabric. Place it under the needle. Lower the presser foot. This holds the fabric in place.
Step 2: Starting To Sew
Turn on the machine. Press the foot pedal gently. The needle will move. Guide the fabric with your hands. Do not pull the fabric. Let the machine do the work.
Step 3: Controlling The Stitch Length
Use the stitch length dial. Turn it to change the length. For strong seams, use short stitches. For basting, use long stitches.
Step 4: Finishing The Stitch
When you finish, stop the machine. Turn the hand wheel to raise the needle. Lift the presser foot. Pull the fabric away. Cut the thread.
Maintaining Your Vintage Singer Sewing Machine
Taking care of your machine is important. It keeps your machine working well.
Cleaning The Machine
Dust can harm your machine. Use a brush to clean. Remove dust from the bobbin area. Wipe the surface with a soft cloth.
Oiling The Machine
Oil helps the machine run smoothly. Use sewing machine oil. Put a drop on moving parts. Do not use too much oil.
Checking The Needle
Needles can become dull. Change the needle often. A sharp needle makes better stitches. Use the right needle for your fabric.
Credit: www.youtube.com
Tips for Using a Vintage Singer Sewing Machine
Here are some tips for you:
- Read the manual. It has useful information.
- Practice on scrap fabric. This helps you learn.
- Keep extra needles and thread. You might need them.
- Sew slowly. Take your time.
Frequently Asked Questions
What Is The Best Way To Thread A Vintage Singer Sewing Machine?
Start by raising the needle and presser foot. Then, follow the threading path marked on your machine.
How Do I Maintain An Old Singer Sewing Machine?
Regularly clean and oil the machine. Check for any worn-out parts and replace them if needed.
Can I Find Spare Parts For Vintage Singer Machines?
Yes, many online shops and specialty stores sell parts for vintage Singer models. Check local classifieds too.
Why Is My Singer Machine Skipping Stitches?
It could be due to a dull needle or incorrect threading. Try rethreading and replacing the needle.
Conclusion
Using a vintage Singer sewing machine can be fun. It takes practice and care. Follow these steps and tips. Soon, you will sew like a pro. Enjoy your sewing time!
![What Is The Best Bernina Quilting Sewing Machine [In 2026]](https://homeunderstandable.com/wp-content/uploads/2025/07/best-bernina-quilting-sewing-machine.jpg)

![What Is The Best Affordable Quilting Sewing Machine [In 2026]](https://homeunderstandable.com/wp-content/uploads/2025/07/best-affordable-quilting-sewing-machine.jpg)

![What Is The Best Brand Thread for Sewing Machine [In 2026]](https://homeunderstandable.com/wp-content/uploads/2025/07/best-brand-thread-for-sewing-machine-top-colorful-kits-and-options-768x768.jpg)