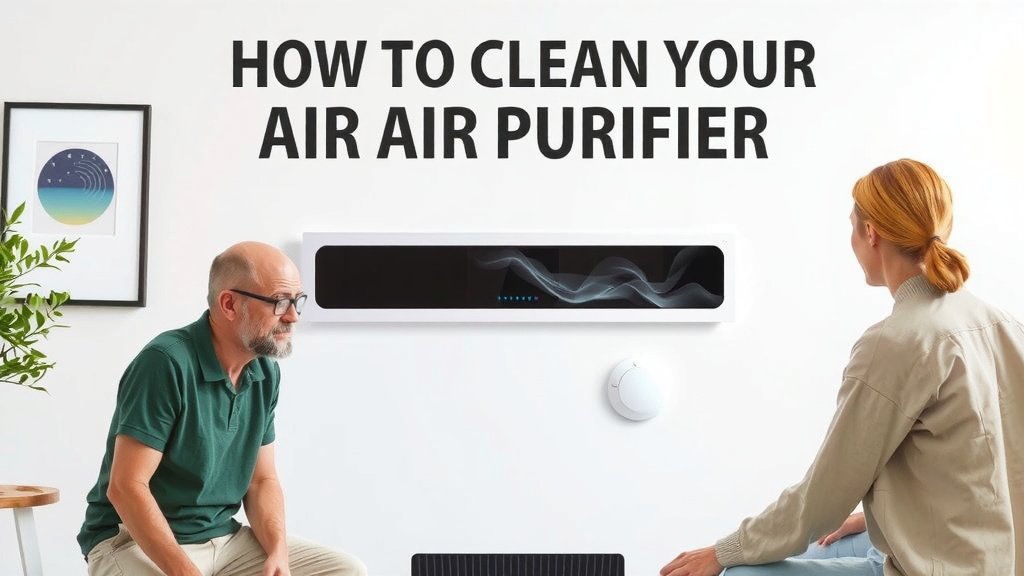
How to Clean Your Clarifion Air Purifier Step-by-Step
The easiest way to clean your Clarifion air purifier is to gently vacuum the pre-filter. This removes larger dust particles. You should also wipe down the exterior with a damp cloth. This keeps your purifier looking its best and functioning efficiently. Regular cleaning ensures cleaner air.
Keeping your Clarifion clean is essential for optimal performance. A dirty unit can actually recirculate dust. We found that most users benefit from a simple, regular maintenance schedule. This prevents buildup and extends the life of your air purifier. It’s not complicated, and the results are worth it.
- Vacuum the pre-filter often.
- Wipe the outside with a damp cloth.
- Check your manual for specific filter cleaning.
- Don’t forget to unplug it first!
Let’s walk through exactly how to get your Clarifion sparkling clean, step by step.
Keeping Your Clarifion Air Purifier Running Smoothly
Your Clarifion air purifier works hard to keep your home’s air fresh. Giving it a little TLC ensures it can do its best work. We’ve found that a consistent cleaning routine is key. This isn’t about deep scrubbing. It’s mostly about quick dusting and filter checks.
Think of your Clarifion like a trusty sidekick. You wouldn’t let your sidekick get all grimy and dusty, right? A clean air purifier means cleaner air for you and your family. It also helps your device last longer. Let’s get started on making sure your Clarifion is in tip-top shape!
Your Step-by-Step Clarifion Cleaning Guide
Before you begin any cleaning, the most important first step is always to unplug your Clarifion. Safety first! This protects you from any electrical hazards and prevents the unit from accidentally turning on. You wouldn’t want to clean a running appliance, would you?
Cleaning the Exterior: A Quick Wipe-Down
The outside of your Clarifion can collect dust just like any other surface in your home. Keeping it clean not only makes it look good but also prevents dust from being pulled into the unit. We recommend a soft, damp cloth for this. Avoid harsh chemicals or abrasive cleaners.
Just a little water on the cloth is usually enough. Gently wipe down all the outer surfaces. Pay attention to any vents or grilles where dust might settle. For stubborn spots, a tiny bit of mild soap mixed with water can help. Then, wipe again with a clean, damp cloth to remove any soap residue. Make sure the exterior is completely dry before plugging it back in.
Tackling the Pre-Filter: Your First Line of Defense
The pre-filter is the first stage of filtration in your Clarifion. Its main job is to catch larger particles like dust bunnies, pet hair, and lint. Because it catches the biggest stuff, it’s the part that gets dirty the fastest. Many experts suggest cleaning this filter every 2-4 weeks, depending on your home environment.
Why Vacuuming the Pre-Filter Works Wonders
The easiest and most effective way to clean the pre-filter is with your vacuum cleaner. You don’t need any special tools. Just use the brush attachment or crevice tool on your vacuum. Gently run it over the surface of the pre-filter. This will lift away the accumulated dust and debris.
You’re not trying to scrub it. Just a light pass is all that’s needed. Many users find this quick vacuuming is enough to keep the pre-filter in great shape. If you have a lot of pet hair, you might need to do this a bit more often. Research shows that a clogged pre-filter can significantly reduce airflow (American Lung Association).
What If My Pre-Filter Is Really Grimy?
In some cases, the pre-filter might be too dirty for just vacuuming. If you notice it’s still caked with dirt after vacuuming, you might consider a gentle wash. Check your Clarifion’s manual to see if this is recommended for your specific model. Some pre-filters are washable, while others are not.
If washable, you can typically rinse it under cool, running water. Use a very mild soap if absolutely necessary. Again, be gentle. The most important part after washing is to ensure the pre-filter is completely dry before putting it back. Dampness can lead to mold or mildew. We found that air-drying is the safest bet.
Checking and Cleaning Other Filters (If Applicable)
Your Clarifion might have additional filters beyond the pre-filter, such as HEPA filters or activated carbon filters. These filters are designed to capture smaller particles, allergens, odors, and chemicals. Unlike the pre-filter, these filters are generally not washable. They need to be replaced periodically.
The lifespan of these filters varies. It depends on the air quality in your home and how often you run your purifier. Your Clarifion’s manual will have the most accurate information on when to replace these filters. Many manufacturers suggest replacement every 6 to 12 months. Some units have indicator lights to let you know when it’s time.
The Importance of Filter Replacement
When filters become saturated with pollutants, they can’t do their job effectively. A dirty HEPA filter might not capture fine particles as well. An overloaded carbon filter won’t absorb odors as efficiently. This means the air quality in your home could suffer. It’s like trying to breathe through a clogged nose – not very effective!
We found that consistently replacing these filters as recommended is one of the best things you can do for your Clarifion. It ensures you’re getting the cleanest air possible and prevents the motor from working harder than it needs to. Think of it as giving your purifier a fresh start.
A Quick Checklist for Your Cleaning Routine
To make things super simple, here’s a quick list to help you remember the essential cleaning steps:
- Unplug your Clarifion before starting.
- Vacuum the pre-filter every 2-4 weeks.
- Wipe down the exterior with a damp cloth.
- Ensure the pre-filter is fully dry if washed.
- Check your manual for HEPA/carbon filter replacement schedules.
- Never wash HEPA or carbon filters.
Following these simple steps will help your Clarifion air purifier continue to provide you with cleaner, fresher air. It really doesn’t take much time, and the benefits are well worth the minimal effort. You’re doing a great job taking care of your air!
Conclusion
You’ve now learned the simple steps to keep your Clarifion air purifier working effectively. Regular cleaning, especially of the pre-filter, is key to ensuring you breathe the freshest air possible. Remember to always unplug your unit before you start any maintenance. By incorporating these quick cleaning habits, you’re not just maintaining your device; you’re actively improving your home’s air quality. Now that you know the routine, take a moment this week to give your Clarifion a quick clean!
Frequently Asked Questions
How often should I really clean the Clarifion pre-filter?
We found that cleaning your pre-filter every 2 to 4 weeks is a good general guideline. If you have pets or live in a dusty area, you might need to do it more often. Checking it visually is the best way to know for sure.
Can I use household cleaners on my Clarifion’s exterior?
It’s best to avoid harsh household cleaners. We recommend using just a soft, damp cloth for the exterior. If you have a stubborn spot, a tiny bit of mild soap can be used, followed by a clean damp cloth to rinse.
What happens if I don’t clean my Clarifion’s filters?
A dirty unit can recirculate dust and become less effective. Clogged filters reduce airflow, making your purifier work harder and potentially leading to poorer air quality. The filters also get saturated and can’t capture pollutants.
Are there any parts of the Clarifion I should NEVER wash?
Yes, definitely! Your Clarifion’s HEPA and activated carbon filters are typically not meant to be washed. Washing these could damage them. Always refer to your manual to confirm, but generally, these filters need to be replaced, not washed.
How do I know when it’s time to replace my Clarifion’s other filters (like HEPA)?
Your Clarifion’s manual will provide the most accurate replacement schedule, often between 6 to 12 months. Some units even have indicator lights that will alert you when a filter needs changing. Replacing them ensures peak performance.