How to Clean Your Blueair Purifier for Fresh Air
Cleaning your Blueair purifier is simple. You can usually wipe down the exterior and vacuum the pre-filter with ease. For the main filter, it’s generally a good idea to replace it according to the manufacturer’s schedule. Keeping your purifier clean ensures it runs efficiently and provides the best air quality for your home.
Regular maintenance not only helps your Blueair purifier perform optimally but also extends its lifespan. Neglecting it can lead to reduced airflow and less effective air purification. We found that a little attention goes a long way in maintaining a healthy home environment.
- Unplug your Blueair purifier before cleaning.
- Wipe the outside with a damp cloth.
- Vacuum the washable pre-filter regularly.
- Check your model for filter replacement needs.
Let’s walk through exactly how to get your Blueair air purifier sparkling clean, step by step.
Caring for Your Blueair Purifier: A Simple Cleaning Guide
Keeping your Blueair air purifier in top shape doesn’t need to be a chore. With just a few regular steps, you can ensure it continues to purify your home’s air effectively. We found that a little bit of attention goes a long way.
Getting Started: Safety First!
Before you even think about touching your Blueair purifier, there’s one essential step: unplug it. This protects you from any electrical mishaps and ensures you can clean without any power interrupting your work. It’s like putting on your oven mitts before handling a hot pan. Safety is always the first thing we consider when working with appliances.
Cleaning the Exterior: A Quick Wipe-Down
Your Blueair purifier sits out in the open, so it can gather dust just like any other piece of furniture. We found that the exterior panels are usually made of smooth plastic or metal. A simple wipe-down is often all that’s needed to keep it looking its best. This helps maintain the clean aesthetic of your home.
What You’ll Need
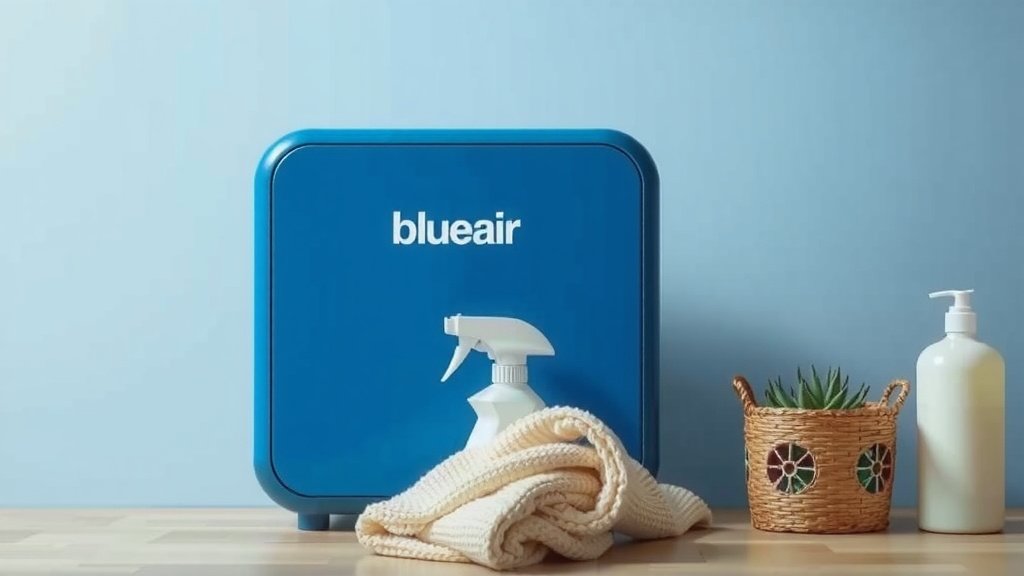
- A soft, damp cloth
- A dry cloth
The Simple Process
First, dampen your soft cloth with plain water. You don’t need any harsh chemicals. In fact, many manufacturers advise against them. Harsh cleaners can sometimes damage the finish or even get into the internal components. Just a little moisture is perfect. Gently wipe down all the exterior surfaces of your Blueair unit. Pay attention to the top, sides, and front. Make sure you don’t let any water drip into the vents or openings. Once you’ve wiped it down, use the dry cloth to give it a quick polish. This removes any streaks and leaves it looking fresh. We found this simple routine can be done weekly or bi-weekly, depending on how dusty your environment is.
Maintaining the Pre-Filter: Your First Line of Defense
Many Blueair models come with a washable fabric pre-filter. This is the first layer that captures larger particles like dust and pet hair. Keeping this clean is super important. It prevents finer dust from reaching the main filters, which helps them last longer. Think of it as a screen door on your house – it stops the big stuff before it gets inside.
How Often to Clean the Pre-Filter
We recommend checking your pre-filter at least once a month. If you have pets or live in a particularly dusty area, you might need to check it more often, perhaps every two weeks. You’ll know it’s time when you can visibly see a buildup of dust and debris. A clean pre-filter means better airflow for your purifier.
The Vacuuming Technique
The easiest way to clean your pre-filter is with a vacuum cleaner. Make sure your Blueair unit is unplugged. Carefully remove the pre-filter from your unit. Consult your Blueair manual if you’re unsure how to do this for your specific model. Once removed, use the brush attachment on your vacuum cleaner. Gently vacuum the surface of the pre-filter to remove all the accumulated dust and hair. Be thorough but don’t scrub too hard, as you don’t want to damage the fabric. If the pre-filter is especially grimy, you might be able to hand-wash it with mild soap and water. Always allow it to air dry completely before reattaching it. We found that a dry vacuuming is usually sufficient for most situations.
Understanding Your Main Filters: Replacement is Key
Now, let’s talk about the heart of your Blueair purifier: the main filters. These are the HEPA filters that capture the really fine particles like allergens, mold spores, and bacteria. Unlike the pre-filter, these main filters are generally designed to be replaced, not washed. Repeated washing can damage their delicate structure and reduce their effectiveness. Many air quality experts suggest replacing filters on schedule (Cleveland Clinic).
When to Replace Your Main Filters
Your Blueair unit will usually have an indicator light or a notification to let you know when it’s time to replace the main filters. This is typically based on usage hours. However, always refer to your specific Blueair model’s manual for the recommended replacement interval. Generally, this ranges from six months to a year of continuous use. Environmental factors can play a role, too. If you notice a decrease in airflow or if the air quality doesn’t seem to be improving, it might be a sign your filters are clogged and need replacing sooner.
How to Replace the Filters
Replacing the filters is usually a straightforward process. First and foremost, ensure the unit is unplugged. Open the main compartment where the filters are housed. This might involve releasing latches or removing a cover. Carefully remove the old filters. Be mindful not to disturb any internal components. Dispose of the old filters properly. Take your new, genuine Blueair replacement filters. Insert them into the unit, making sure they are seated correctly according to the manual’s instructions. Close up the unit securely. Don’t forget to reset the filter indicator light if your model has one. This lets the unit know that new filters are installed.
Why Genuine Filters Matter
We’ve found that using genuine Blueair replacement filters is highly recommended. Aftermarket filters may not fit perfectly or offer the same level of filtration performance. This can impact your purifier’s efficiency and potentially even damage the unit. Stick with the brand your purifier was designed for to get the best results.
Cleaning the Vents and Sensors
Don’t forget about the air intake and outlet vents. Dust can accumulate here, hindering airflow. Use a soft brush or a vacuum cleaner’s crevice tool to gently clean the vents. If your Blueair model has air quality sensors, check your manual for specific cleaning instructions. Often, a gentle wipe with a dry cloth is sufficient. Keeping these clear ensures the unit can accurately detect air quality and distribute clean air effectively.
A Quick Checklist for Ongoing Maintenance
To make things even easier, here’s a quick checklist to help you stay on top of your Blueair purifier’s care:
- Monthly: Check and vacuum the washable pre-filter.
- Monthly: Wipe down the exterior surfaces.
- As needed: Clean air intake and outlet vents.
- Check Indicator: Note when the filter replacement light comes on.
- Every 6-12 Months: Replace main HEPA filters (refer to manual for exact timing).
- After Filter Change: Reset the filter indicator light.
Conclusion
You’ve now learned how easy it is to keep your Blueair purifier running smoothly. By regularly wiping down the exterior, vacuuming the pre-filter, and knowing when to replace the main filters, you’re ensuring the best air quality for your home. We found that these simple steps really make a difference. Consistent maintenance not only extends your purifier’s life but also guarantees it performs at its best. Your next step? Make a quick note to check your pre-filter this week!
Frequently Asked Questions
Can I use cleaning sprays on my Blueair purifier?
We strongly advise against using harsh cleaning sprays or chemicals on your Blueair purifier. These can damage the unit’s finish or internal components. A soft, damp cloth with plain water is usually all you need for the exterior, and dry dusting for internal parts.
How often should I replace the main HEPA filters?
Generally, main HEPA filters need replacement every 6 to 12 months, depending on your specific Blueair model and usage. Always check your unit’s manual and pay attention to any filter replacement indicator lights.
What happens if I don’t clean the pre-filter regularly?
If you neglect to clean the pre-filter, dust and debris will build up. This reduces airflow to the main filters, making your purifier less effective and potentially shortening the lifespan of the main filters by clogging them prematurely.
Is it okay to wash the main HEPA filters?
No, it’s generally not recommended to wash the main HEPA filters. They are designed for replacement, not washing. Water can damage the delicate filtration material and compromise their ability to capture fine particles effectively.
My Blueair unit has a strange smell, what could be wrong?
A strange smell often indicates it’s time to check or replace your filters. A clogged pre-filter or exhausted main HEPA filters can trap odor-causing particles. Ensure your filters are clean or replaced according to the manufacturer’s schedule, and give the unit a general wipe-down.
![What Is The Best Air Purifier for Car Pollution [In 2026]](https://homeunderstandable.com/wp-content/uploads/2025/06/best-air-purifier-for-car-pollution-top-picks-for-fresh-drives.jpg)
![5 Best Hepa Room Air Purifier for Allergies [In 2026]](https://homeunderstandable.com/wp-content/uploads/2025/05/best-hepa-room-air-purifier-for-allergies-top-picks-for-clean-air-768x512.jpg)
![What Is The Best Air Purifier for Dust [In 2026]](https://homeunderstandable.com/wp-content/uploads/2025/06/best-air-purifier-for-dust.jpg)