How to Clean Your Clarifion Air Purifier for Best Results
To clean your Clarifion air purifier, you’ll want to focus on regularly cleaning the pre-filter and safely handling the HEPA filter. This routine will help maintain optimal air quality and ensure your purifier runs efficiently. Keeping the outside of your unit clean is also important for its performance and appearance. Always make sure the unit is unplugged before you begin any cleaning tasks.
A clean air purifier means cleaner air for your home. Dust and debris can clog filters, reducing airflow and making your Clarifion work harder. We found that a consistent cleaning schedule prevents this buildup. This extends the life of your filters and ensures you’re breathing the freshest air possible. It’s a simple step with big rewards for your home’s air.
- Unplug your Clarifion before cleaning.
- Clean the pre-filter often.
- Handle the HEPA filter carefully.
- Wipe down the exterior surfaces.
- Consult your manual for specific instructions.
Ready to get your Clarifion sparkling clean and breathing fresh air again? Let’s walk through exactly how to do it, step by step.
Keeping Your Clarifion Air Purifier Clean for Peak Performance
Regular cleaning is key to making sure your Clarifion air purifier works its best. A clean unit means cleaner air for you and your family. We found that dust and debris can quickly build up. This buildup can clog filters and make the motor work harder. This can lead to reduced airflow and less effective air purification.
Understanding Your Clarifion’s Components
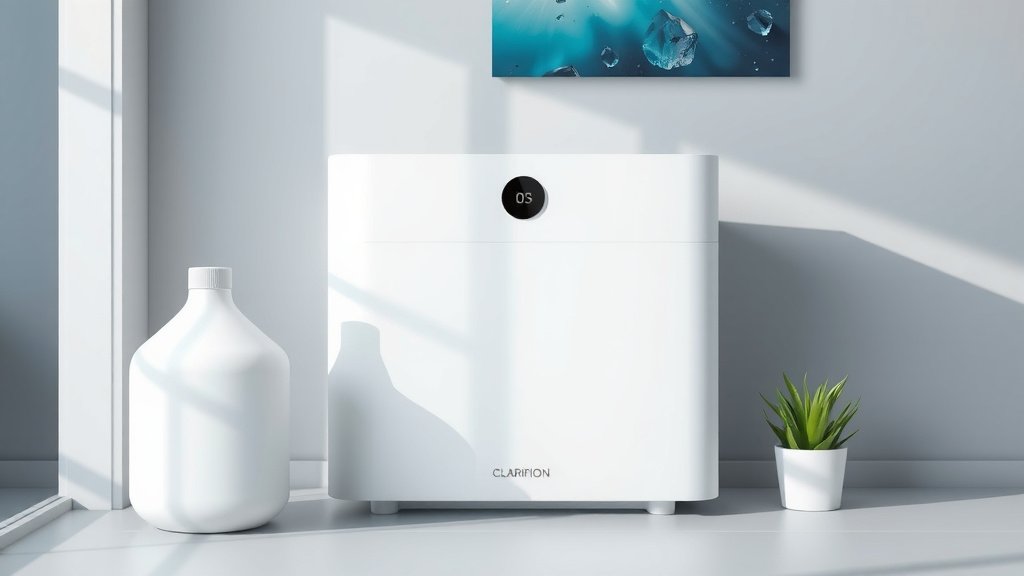
Before you start cleaning, it’s helpful to know the main parts you’ll be working with. Your Clarifion likely has a pre-filter, a HEPA filter, and an outer casing. The pre-filter is usually the first line of defense. It catches larger particles like dust and pet hair. The HEPA filter traps smaller allergens and pollutants. The casing is what you see and touch every day.
The Pre-Filter: Your First Line of Defense
The pre-filter is designed to be cleaned regularly. Think of it like a reusable coffee filter. It catches the big stuff so the main filter can do its job better. Most manufacturers suggest cleaning the pre-filter about once a month. You might need to clean it more often if you have pets or live in a dusty area.
Cleaning the pre-filter is usually a simple process. Always start by unplugging your Clarifion. Then, locate and remove the pre-filter. You can typically do this by opening a panel or drawer on the unit. Some pre-filters are washable. You can rinse them gently under cool water. Make sure it’s completely dry before putting it back.
The HEPA Filter: Handle with Care
The HEPA filter is the workhorse of your air purifier. It traps tiny particles like pollen, mold spores, and smoke. Unlike the pre-filter, you generally cannot wash a HEPA filter. They are designed to be replaced. We found that trying to clean a HEPA filter can damage its delicate structure.
When it’s time to replace your HEPA filter, follow your Clarifion manual’s instructions precisely. Carefully remove the old filter. Dispose of it properly. Then, insert the new filter, making sure it’s seated correctly. Most HEPA filters need to be replaced every 6-12 months, depending on usage and air quality.
Step-by-Step Cleaning Guide for Your Clarifion
Let’s get down to the actual cleaning process. A little bit of effort now will make a big difference in the air you breathe. Remember, safety first!
Step 1: Unplug and Prepare
This is the most important step. Always unplug your Clarifion from the power outlet before doing any cleaning. This prevents any accidental starts and protects you from electric shock. Find a well-lit area where you have enough space to work comfortably. Have a soft cloth, a vacuum cleaner with a brush attachment, and possibly a mild soap solution ready.
Step 2: Cleaning the Exterior Surfaces
The outside of your Clarifion can collect dust and grime just like any other furniture. Use a soft, damp cloth to wipe down the outer casing. If there are stubborn smudges, you can use a cloth lightly dampened with water and a mild dish soap. Wipe gently to avoid scratching the finish. Make sure to dry the unit thoroughly with a clean, dry cloth afterwards.
Don’t forget to clean the air intake and outlet grilles. Dust can accumulate here and block airflow. You can use a vacuum cleaner with a brush attachment to gently remove dust from these areas. For tighter spots, a soft brush or a cotton swab can be helpful. Keep liquids away from any vents or openings to prevent internal damage.
Step 3: Cleaning the Pre-Filter (If Applicable)
If your Clarifion has a removable and washable pre-filter, this is where you’ll focus your attention. Consult your user manual to see if your pre-filter can be washed. If it can, gently remove it from the unit. You might need to unlock latches or slide it out.
Take the pre-filter to a sink. Rinse it under cool running water. You can use a soft brush to dislodge any stubborn dust or debris. Avoid using harsh detergents or hot water, as this can damage the filter material. Once it’s clean, shake off any excess water. Allow it to air dry completely. Never put a damp filter back into the purifier.
Step 4: Replacing the HEPA Filter
The HEPA filter has a lifespan, and it needs to be replaced periodically. Your Clarifion will likely have an indicator light or a notification system to tell you when it’s time. However, it’s a good practice to check your user manual for the recommended replacement interval.
To replace it, unplug the unit. Open the compartment where the HEPA filter is located. This usually involves removing a back panel or a filter cover. Carefully pull out the old HEPA filter. Note the correct orientation of the old filter before removing it so you can install the new one correctly. Place the new HEPA filter into the slot, ensuring it fits snugly. Close up the unit securely.
We found that many people forget to reset the filter indicator light after replacement. Make sure you follow the instructions in your manual for resetting this light. Otherwise, your purifier might continue to signal that the filter needs changing.
A Quick Cleaning Checklist for Your Clarifion
Here’s a handy checklist to help you remember the essential cleaning tasks:
- Unplug your Clarifion from the power outlet.
- Wipe down the exterior casing with a soft, damp cloth.
- Vacuum dust from air vents and grilles.
- Check and clean or replace the pre-filter as needed.
- Replace the HEPA filter according to the manufacturer’s recommendation.
- Reset any filter indicator lights after replacement.
When to Consult Your User Manual
While these general steps cover most Clarifion models, your specific unit might have unique cleaning requirements. Always refer to your Clarifion’s user manual for detailed instructions tailored to your model. The manual is your best resource for information on filter types, replacement schedules, and any special cleaning procedures recommended by the manufacturer. Many experts agree that following manufacturer guidelines is crucial for optimal performance and longevity of your appliance.
Conclusion
You’ve learned how essential regular cleaning is for your Clarifion air purifier. By focusing on the pre-filter and knowing when to replace the HEPA filter, you ensure your unit performs at its best. A clean exterior also contributes to its efficiency and your home’s aesthetic. Remember to always unplug your purifier before starting any cleaning task for your safety. Your commitment to these simple steps means you’ll enjoy fresher, cleaner air for longer. Take action today by scheduling your next cleaning session!
Frequently Asked Questions
How often should I clean my Clarifion’s pre-filter?
We found that cleaning the pre-filter about once a month is a good starting point. If you have pets or live in a particularly dusty environment, you might need to clean it more frequently. Regular cleaning of the pre-filter helps protect the HEPA filter and maintains optimal airflow.
Can I wash my Clarifion’s HEPA filter?
No, you generally cannot wash a HEPA filter. These filters are designed to trap very fine particles and washing them can damage their delicate structure. When it’s time to clean, you’ll need to replace the HEPA filter with a new one.
What should I do if my Clarifion has a strange smell after cleaning?
A strange smell could indicate that a component, most likely the HEPA filter, is still damp or has reached the end of its lifespan. Ensure all cleaned parts, especially the pre-filter, are completely dry before reassembly. If the smell persists, it’s likely time to replace the HEPA filter.
How do I know when to replace the HEPA filter?
Most Clarifion models have a filter indicator light that will signal when it’s time for a replacement. Refer to your user manual for the specific indicator and recommended replacement intervals, typically every 6-12 months depending on usage and air quality.
What’s the best way to clean the exterior vents of my Clarifion?
For the exterior vents, we recommend using a vacuum cleaner with a brush attachment. This will gently remove accumulated dust without forcing it further into the unit. For hard-to-reach spots, a soft brush or cotton swabs can also be helpful. Always ensure the unit is unplugged.