How to Clean Your Bissell Air Purifier: A Quick Guide
The easiest way to clean your Bissell air purifier is to regularly wipe down the exterior and clean or replace the filters as recommended. Keeping your air purifier clean ensures it runs efficiently, removing more dust and allergens from your home. A well-maintained unit means fresher air for you and your family.
Just like any appliance, your Bissell air purifier needs a little TLC. Neglecting cleaning can lead to reduced performance and potentially shorten its lifespan. Many users find that a simple, routine cleaning schedule prevents bigger problems down the road. It’s about keeping your air as pure as possible, and that starts with a clean machine.
- Unplug your air purifier before cleaning.
- Wipe the outside casing with a damp cloth.
- Vacuum the pre-filter to remove larger debris.
- Clean or replace HEPA and carbon filters as instructed.
- Ensure all parts are dry before reassembling.
Below, we’ll walk you through the simple steps to get your Bissell air purifier sparkling and working its best. Let’s make sure your air is as clean as it can be!
Keeping Your Bissell Air Purifier in Top Shape
You’ve got a Bissell air purifier working hard to keep your home’s air fresh and clean. That’s fantastic! To make sure it continues to do its best work, a little regular cleaning is key. Think of it like giving your trusty air cleaner a spa day. It helps it run more efficiently and can even extend its life. We’ll guide you through the simple steps to maintain your unit.
Understanding Your Air Purifier’s Components
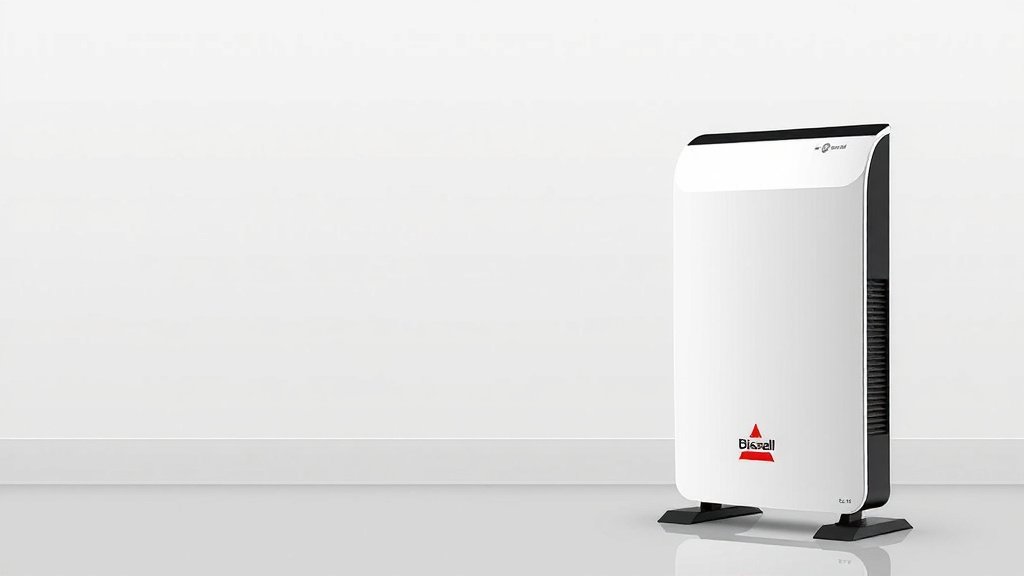
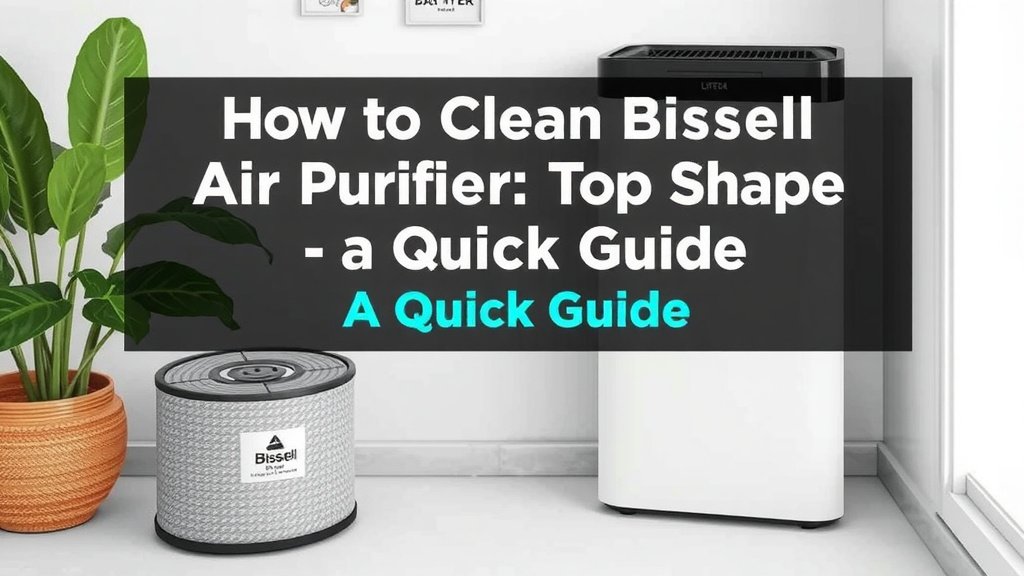
Before we dive into cleaning, let’s get familiar with the main parts. Your Bissell air purifier typically has a few key components that need attention. These include the exterior casing, the pre-filter, and the main HEPA and carbon filters. Each plays a role in capturing pollutants and requires specific care.
The Exterior Casing: A Simple Wipe-Down
The outside of your air purifier is the first line of defense against dust bunnies. Regularly wiping it down prevents a buildup of surface grime. This keeps your unit looking good and prevents dust from being recirculated. A clean exterior is a good indicator of overall care.
You’ll want to start with a clean, damp cloth. Make sure the cloth isn’t soaking wet, as excess moisture can damage the electronics. Gently wipe down all the outer surfaces. Pay attention to any vents or grilles where dust might collect.
For tougher spots, a mild, non-abrasive cleaner can be used sparingly. Always test a small, inconspicuous area first. After cleaning, dry the casing thoroughly with a soft, dry cloth. This simple step can make a big difference.
The Pre-Filter: Capturing the Big Stuff
The pre-filter is your air purifier’s first layer of defense. Its main job is to catch larger particles like pet hair, lint, and visible dust. This protects the more sensitive HEPA filter from getting clogged too quickly. Cleaning the pre-filter regularly is essential for good airflow.
Most Bissell pre-filters are designed to be vacuumed. You can usually do this with your household vacuum cleaner’s brush attachment. Gently vacuum the surface of the pre-filter to remove accumulated debris. This should be part of your routine cleaning schedule.
If the pre-filter seems particularly dirty or has stubborn particles, some models allow for rinsing. Check your specific Bissell model’s manual for guidance. If rinsing is an option, ensure the filter is completely dry before reinstalling it. Moisture can lead to mold or mildew growth, which is exactly what you’re trying to avoid.
The HEPA and Carbon Filters: The Heart of Purification
These are the workhorses of your air purifier. The HEPA filter captures microscopic particles like pollen, mold spores, and pet dander. The carbon filter absorbs odors, gases, and volatile organic compounds (VOCs). These filters are critical for improving your air quality.
It’s important to know that HEPA and carbon filters are typically not washable. They are designed to be replaced. Trying to wash them can damage the delicate filter media and compromise their effectiveness. Many experts recommend replacing these filters every 6-12 months, depending on usage and air quality (Cleveland Clinic).
Your Bissell air purifier’s manual will provide specific recommendations for filter replacement. Many units also have a filter indicator light that alerts you when it’s time for a change. Replacing them on schedule ensures your purifier continues to capture those tiny pollutants effectively.
When to Replace Your Filters
Filter life depends on several factors. High-allergy seasons or homes with pets may require more frequent replacements. You might also notice a decrease in air purification performance or an increase in odors. These are clear signs it’s time for new filters. Replacing filters is often the quickest way to restore performance.
Step-by-Step Cleaning Checklist
Let’s put it all together. Having a checklist makes the process straightforward. This will help you remember each important step for a thorough clean.
- Unplug the unit: Safety first! Always disconnect power before cleaning.
- Wipe the exterior: Use a damp cloth to clean the outside casing.
- Vacuum the pre-filter: Remove surface dust and debris.
- Check main filters: Note their condition and replace if needed.
- Ensure dryness: Make sure all parts are completely dry.
- Reassemble and plug in: Put everything back together and power up.
Frequency of Cleaning: A Helpful Guide
How often should you perform these cleaning tasks? A good rule of thumb is to do a quick exterior wipe-down and pre-filter vacuuming every 2-4 weeks. This keeps things tidy and prevents major buildup. Consider this your air purifier’s regular tune-up.
The HEPA and carbon filters need replacement based on usage and manufacturer recommendations, typically every 6-12 months. Regularly check your air purifier’s indicator light or consult your manual. Keeping a log can help you track replacement times. This consistent approach ensures optimal air purification.
Troubleshooting Common Cleaning Issues
Sometimes, you might run into a snag. For instance, what if you can’t easily access a part? Always refer to your Bissell air purifier’s specific user manual. It’s your best resource for model-specific instructions.
If you notice an unusual smell after cleaning, it might be that a part wasn’t fully dry. Disassemble the unit again and let all components air dry completely. This is especially important for the filter housing. A thorough drying process prevents mold and keeps your air fresh.
Remember, gentle care is key. Harsh chemicals or abrasive scrubbers can damage your air purifier. Stick to mild cleaners and soft cloths. Your goal is to clean, not to cause wear and tear.
Conclusion
Keeping your Bissell air purifier clean is a straightforward process that pays off with fresher air. You’ve learned that regular exterior wipe-downs and timely filter maintenance are key. The pre-filter catches larger debris, while the HEPA and carbon filters work hard on microscopic particles and odors. Remember, these main filters are for replacement, not washing. By following a simple cleaning schedule, you ensure your purifier runs efficiently and effectively.
Your next step is to check your air purifier’s manual for specific filter replacement intervals and get your cleaning supplies ready. A little consistent care means a lot for your home’s air quality.
Frequently Asked Questions
How often should I clean the exterior of my Bissell air purifier?
You should aim to wipe down the exterior of your Bissell air purifier every 2 to 4 weeks. This prevents dust from accumulating on the surface and potentially getting pulled back into the air. A quick wipe with a damp cloth is usually all it takes.
Can I wash my Bissell air purifier’s HEPA filter?
No, you should never wash your HEPA or carbon filters. These filters are designed to trap very fine particles and washing them can damage their delicate structure, making them less effective. Always replace them according to your manual’s recommendations.
My Bissell air purifier has an indicator light for filters. What does it mean?
The filter indicator light on your Bissell air purifier is a helpful reminder that it’s time to replace your main HEPA and carbon filters. This light is typically triggered by usage hours, so it’s a good indication that the filters are no longer performing optimally.
What’s the best way to clean the pre-filter?
The easiest way to clean the pre-filter is by using your household vacuum cleaner with a brush attachment. Gently vacuum the surface of the pre-filter to remove pet hair, lint, and larger dust particles. This helps maintain good airflow to the main filters.
What if my air purifier still smells after cleaning?
If your air purifier emits an unusual smell after cleaning, it’s likely that a component wasn’t fully dry before reassembly. Disassemble the unit again and ensure all parts, especially the filter housing, are completely dry before putting it back together. This prevents potential mold or mildew growth.