
Mooka Air Purifier: Your Complete User Guide
Using your Mooka air purifier is simple and effective for cleaner air. You just need to plug it in, select your desired fan speed, and let it work its magic. It’s designed for easy operation right out of the box.
Many people wonder about the best way to get the most out of their air purifier. We found that understanding its core functions, like the fan speeds and filter indicator, helps you ensure you’re always breathing the freshest air possible. It’s about making smart, simple choices for your home’s air quality.
- Plug it in and turn it on.
- Choose your preferred fan speed.
- Watch for the filter change indicator.
- Keep it running for best results.
Ready to get started? Let’s walk through exactly how to use your Mooka air purifier step by step to get it running and keep your air fresh.
Getting Started with Your Mooka Air Purifier
So, you’ve unboxed your new Mooka air purifier, and you’re ready for some cleaner air. That’s fantastic! Using it is designed to be super straightforward. We’ve found that most users get the hang of it in no time at all. It’s really about a few key steps to ensure you’re getting the best possible air quality right away.
Unpacking and Initial Setup
First things first, let’s make sure you have everything. You should have your Mooka air purifier unit and its power cord. Inside the unit, there’s a filter – often pre-installed. If you need to install the filter, you’ll typically open the back or bottom panel. Consult your specific model’s manual for the exact location. We found that double-checking the filter is seated correctly is a common first step.
Once the filter is in place, close up the panel securely. Now, find a good spot for your purifier. It needs a little breathing room. Experts suggest placing it away from walls or furniture by at least a foot. This helps air circulate freely, which is key to its effectiveness. Think of it like giving it space to take a big, clean breath.
Plugging In and Powering On
Locate the power port on your Mooka unit. Plug the power cord firmly into the purifier and then into a standard wall outlet. You should see a light or hear a beep indicating it has power.
Your Mooka air purifier will likely have a power button. It might be a simple on/off switch or a touch-sensitive icon. Press it to turn the unit on. Many models will start on a medium fan speed by default. If yours does, that’s perfectly fine to start with. You’re already on your way to fresher air!
Understanding Your Mooka Air Purifier’s Controls
Your Mooka air purifier comes with simple controls to help you manage your air quality. Understanding these buttons will let you tailor the purifier’s performance to your needs. We found that most users quickly become familiar with these basic functions.
Selecting the Right Fan Speed
Your Mooka likely has multiple fan speed settings. These are usually labeled with icons or numbers, like ‘Low,’ ‘Medium,’ ‘High,’ or ‘1,’ ‘2,’ ‘3.’ Pressing the fan speed button will cycle through these options. What’s the best speed for you? It often depends on the situation.
For continuous purification, especially when you’re home or sleeping, a lower setting is often ideal. It’s quieter and still works to clean your air. When you need a quick refresh, perhaps after cooking or if there’s a noticeable smell, you might choose a higher speed. This will clear the air more rapidly, though it will be a bit louder. Research shows that consistent air cleaning is key for allergy sufferers (Cleveland Clinic).
Understanding Special Modes (If Applicable)
Some Mooka models might include special modes. These could be things like an ‘Auto’ mode, which uses sensors to adjust the fan speed automatically. Or perhaps a ‘Sleep’ mode that dims the lights and runs the fan on its quietest setting. If your model has these, they offer added convenience.
The ‘Auto’ mode is quite handy. It takes the guesswork out of setting the fan speed. If the air quality changes, the purifier adjusts. This means it’s working efficiently without you needing to touch it. We found that many users appreciate the ‘set it and forget it’ nature of auto modes. The ‘Auto’ mode is quite handy for automatic adjustments.
The Filter Change Indicator Light
One of the most important features is the filter change indicator. This light will turn on or change color when it’s time to replace your air filter. It’s a crucial reminder. A dirty filter can’t do its job effectively, and sometimes it can even recirculate pollutants.
Don’t worry when this light comes on; it’s just doing its job! It’s your purifier telling you it needs a little maintenance. The timing can vary based on usage and air quality. So, keep an eye on this light. It’s your clearest signal for optimal performance. Replacing the filter is usually a simple process, similar to initial installation.
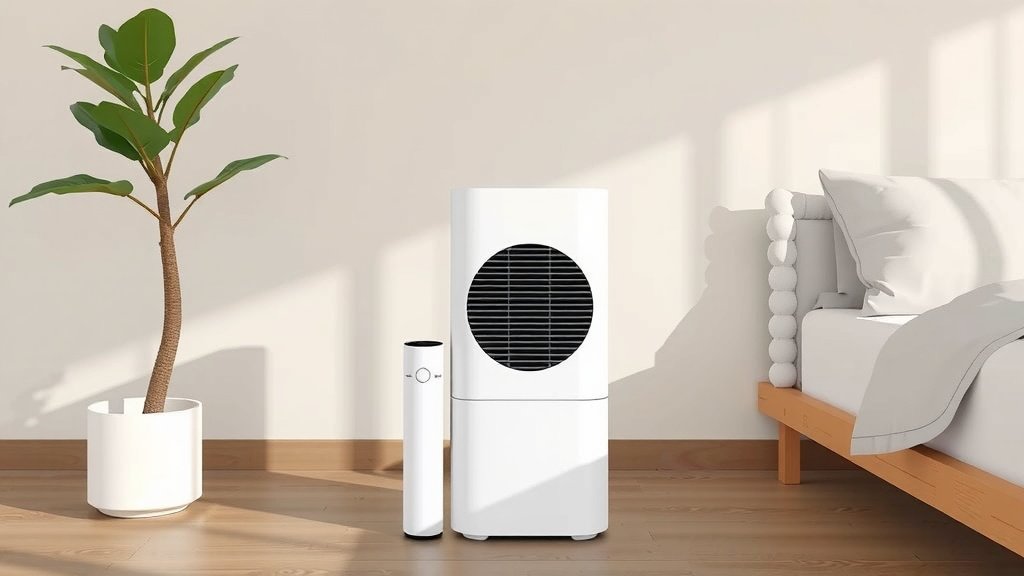
Tips for Optimal Mooka Air Purifier Use
To get the absolute best performance from your Mooka air purifier, a few simple practices go a long way. It’s like giving your purifier the best conditions to succeed at its job of cleaning your air.
Placement Matters for Airflow
As we touched on earlier, where you put your purifier is really important. Avoid placing it in tight corners or directly behind large pieces of furniture. Good airflow means the intake and outtake vents are clear. This allows the unit to draw in polluted air and release clean air efficiently. Think of it like ensuring good ventilation in a room – your purifier needs that too.
Running Your Purifier Consistently
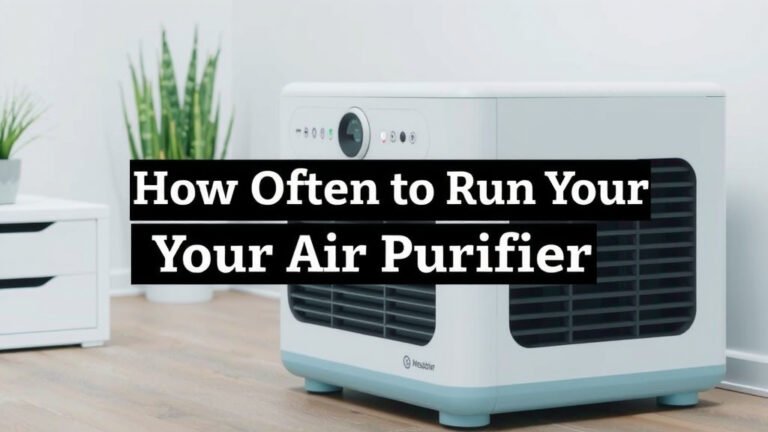
For the most benefit, especially if you have allergies or live in an area with poor air quality, it’s best to keep your Mooka air purifier running as much as possible. Running it 24/7 on a low or medium setting provides continuous air cleaning. This constantly removes airborne particles and allergens.
While you can turn it off, you lose that constant protective barrier. Many experts suggest that consistent use yields the best results for reducing indoor air pollutants (Environmental Protection Agency). It helps maintain a baseline of clean air in your home, which is especially helpful during peak allergy seasons.
Keeping it Clean and Maintained
Beyond filter changes, a little external cleaning keeps your Mooka looking good and working well. You can wipe down the exterior with a soft, dry cloth. Periodically, you might want to gently vacuum the air intake grilles. This prevents dust buildup from hindering airflow.
When to Use Different Settings
Let’s think about when you might adjust your settings. Here’s a quick guide:
| Situation | Recommended Setting | Why? |
|---|---|---|
| Sleeping or Quiet Time | Low or Sleep Mode | Minimizes noise for undisturbed rest. |
| Cooking or Pet Odors | High | Quickly removes strong smells and particles. |
| General Daily Use | Medium or Auto | Balances quiet operation with effective cleaning. |
| Allergy Season Peak | Medium or High (if noise is acceptable) | Maximizes particle capture when you need it most. |
Checklist for Happy Purifier Operation
To recap, here’s your quick checklist for optimal Mooka air purifier use:
- Ensure the filter is properly installed.
- Place the purifier with ample space around it.
- Plug it in and turn it on.
- Select a fan speed or use Auto mode.
- Keep it running consistently for best results.
- Watch for the filter change indicator light.
By following these simple steps, you’ll ensure your Mooka air purifier is always working efficiently to bring you cleaner, fresher air. It’s a straightforward process for a significant improvement in your home environment.
Conclusion
You’re now equipped to get the most out of your Mooka air purifier. Remember, proper setup, understanding the fan speeds, and paying attention to the filter indicator are your keys to consistently clean air. Placing your purifier correctly and running it consistently will make a noticeable difference in your home’s air quality. You’ve learned how to make simple adjustments for optimal performance. Your next step is to ensure your purifier is set up in its ideal spot and running to start enjoying fresher air right away.
Frequently Asked Questions
How often should I run my Mooka air purifier?
For the best results, especially if you have allergies or pets, we recommend running your Mooka air purifier 24/7. A low or medium setting is usually sufficient for continuous purification. Consistent use helps maintain a cleaner environment by constantly removing airborne particles.
What’s the best place to put my Mooka air purifier?
Place your Mooka air purifier where it has at least one foot of clear space around it. Avoid corners or placing it directly against walls or large furniture. Good airflow allows the unit to draw in air effectively and circulate cleaner air throughout your room.
When should I replace the filter in my Mooka air purifier?
Your Mooka air purifier has a filter change indicator light that will turn on when it’s time. The exact timing depends on how often you use the purifier and your home’s air quality. Don’t hesitate to replace it when the light illuminates; it ensures optimal performance.
Can I use my Mooka air purifier in multiple rooms?
Yes, you can move your Mooka air purifier between rooms. However, for continuous air cleaning, it’s best to have a unit in each main living area or bedroom. Moving it means you’ll only be purifying the air in the room it’s currently in.
Is my Mooka air purifier supposed to be loud?
Your Mooka air purifier will produce some noise, especially on higher fan settings. If you find it too loud for sleeping, try using the ‘Low’ or ‘Sleep’ mode. We found that the quieter settings still offer effective purification for undisturbed rest.
![What Is The Best Air Purifier for My Home [In 2026]](https://homeunderstandable.com/wp-content/uploads/2025/05/best-air-purifier-for-my-home.jpg)