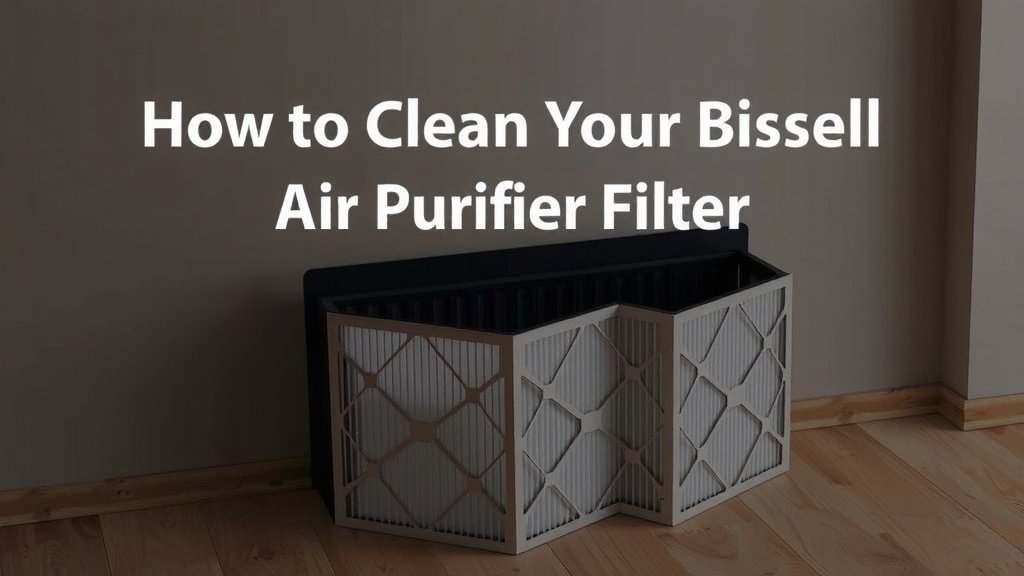
How to Clean Your Bissell Air Purifier Filter
The easiest way to clean your Bissell air purifier filter is to gently vacuum it regularly. For a deeper clean, you can sometimes use a damp cloth or even wash it with mild soap and water, depending on your specific filter type. Always check your Bissell’s manual to confirm the correct cleaning method for your model to avoid damage and ensure it keeps your air fresh and clean.
Keeping your Bissell air purifier filter clean is essential for its performance. A dirty filter can clog airflow, making your purifier work harder and less effectively. This means more dust and allergens in your home. Regular maintenance, like a simple filter clean, can significantly improve your home’s air quality and extend the life of your appliance, saving you money in the long run.
- Vacuum your filter regularly.
- Wash some filters with mild soap and water.
- Always check your Bissell manual first.
- Clean filters improve air quality and purifier performance.
Ready to get your Bissell filter sparkling? Let’s walk through exactly how to do it, step by step, so you can breathe easier.
Maintaining Your Bissell Air Purifier Filter
Keeping your Bissell air purifier filter clean is key for fresh air. You might wonder, “How often should I clean my Bissell air purifier filter?” Many experts recommend a quick clean every 2-4 weeks. A thorough cleaning might be needed every 3-6 months. This helps your purifier run efficiently. It also prevents dust and allergens from building up.
Understanding Your Bissell Filter Type
Bissell offers various air purifier models. Each might have a slightly different filter. Some filters are washable, while others are not. Always check your owner’s manual for the exact type of filter you have. This is the most reliable way to know how to clean it correctly. Using the wrong method can damage the filter.
Pre-filters vs. HEPA Filters
Most Bissell air purifiers have at least two filter stages. The first is often a pre-filter. This catches larger particles like pet hair and lint. Many pre-filters are designed to be cleaned. The second stage is usually a HEPA filter. These capture smaller allergens like pollen and mold spores. HEPA filters are often not washable. You typically need to replace them.
Step-by-Step Filter Cleaning Guide
Ready to get your hands a little dusty? Let’s break down the cleaning process. It’s not as complicated as it sounds. You’ll be breathing easier in no time.
Step 1: Safety First – Unplug Your Purifier
Before you do anything else, please unplug your Bissell air purifier. This is a critical safety step. You don’t want any accidental power surges or unexpected operation. Think of it like turning off the water before fixing a leaky faucet.
Step 2: Accessing the Filter
Next, you need to open up your air purifier. Your manual will show you exactly how to do this. Usually, there’s a back panel or a compartment you can unlatch. Be gentle when opening it. You don’t want to force anything. Once open, you can usually slide or pull the filter out. Note its orientation so you can put it back correctly.
Step 3: Cleaning the Filter – Method Matters
This is where knowing your filter type is essential. Here are the common methods we found:
Method A: Vacuuming (Most Common)
For most pre-filters, a simple vacuuming works wonders. Use the brush attachment on your vacuum cleaner. Gently go over the surface of the filter. This will remove trapped dust and debris. Work from top to bottom. Don’t press too hard, as you could damage the filter material. This method is usually recommended for regular maintenance.
Method B: Gentle Washing (For Washable Filters)
If your manual says your filter is washable, you’re in luck! You can give it a more thorough clean. Start by vacuuming off any loose dust. Then, rinse the filter under cool, running water. You can use a very mild soap if needed. Gently rub any stubborn grime. Make sure to rinse thoroughly. Any soap residue can affect performance.
Method C: What NOT to Do
It’s equally important to know what to avoid. Never use harsh chemicals or abrasive cleaners. Hot water can also damage some filter materials. And remember, if your filter is not marked as washable, do NOT try to wash it. You could ruin its ability to capture allergens (Mayo Clinic).
Step 4: Drying and Reinstallation
This is a crucial step, especially if you washed your filter. Filters must be completely dry before you put them back. Even a little moisture can lead to mold growth inside your purifier. Air dry them thoroughly. This might take several hours or even overnight. Once dry, carefully place the filter back into the purifier. Make sure it’s seated correctly and in the right orientation. Close up the housing securely.
Step 5: Power Up and Breathe Easy
Plug your air purifier back in. Turn it on and let it run. You should notice a difference in how quietly and efficiently it operates. A clean filter means better airflow. This helps your unit capture more pollutants.
When to Replace Your Bissell Air Purifier Filter
Even with regular cleaning, filters don’t last forever. You’ll eventually need to replace them. How do you know when?
- Visual Check: If the filter looks very dirty, discolored, or damaged after cleaning, it’s time for a new one.
- Reduced Performance: If your purifier seems to be working harder or not cleaning the air as effectively, the filter might be clogged beyond cleaning.
- Manufacturer Recommendations: Bissell usually suggests replacement intervals. This could be every 6-12 months for HEPA filters. Always refer to your manual for specific timings.
- Filter Change Indicator: Many Bissell models have a light that tells you when it’s time to change the filter. Don’t ignore this!
We found that replacing filters on schedule is just as important as cleaning them. It ensures your air purifier always performs at its best.
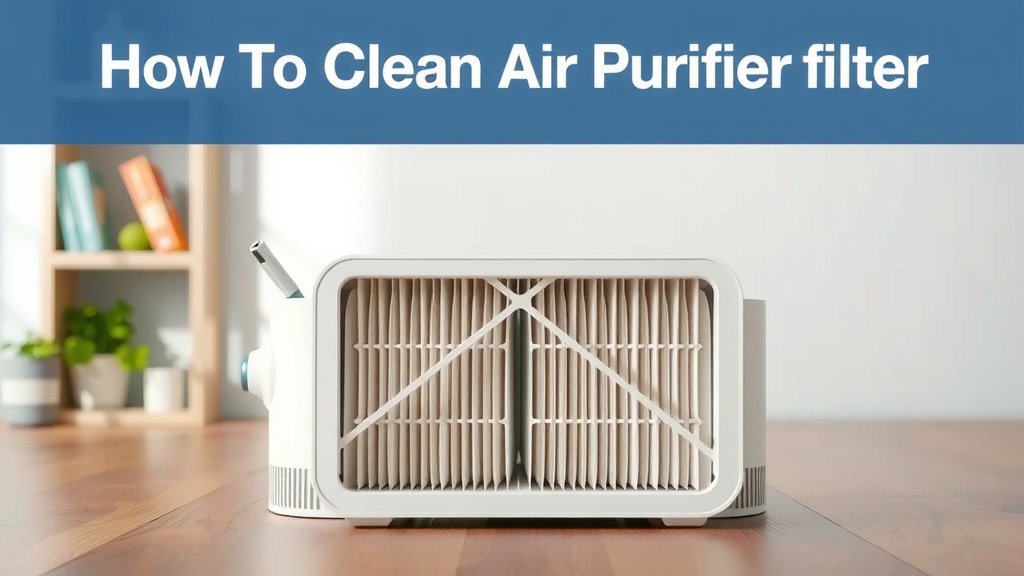
Filter Cleaning Checklist
Here’s a quick rundown to keep your filter maintenance on track:
- Unplug your air purifier before starting.
- Identify your filter type (washable or not).
- Vacuum the filter gently for regular cleaning.
- Wash only if your manual confirms it’s safe.
- Dry completely before reinstallation.
- Replace when visibly dirty or at recommended intervals.
Conclusion
You’ve learned that keeping your Bissell air purifier filter clean is key to fresh air. Remember to always check your manual for your specific filter type. Most pre-filters benefit from regular vacuuming, while some can be gently washed. The most important steps are to unplug your unit, ensure filters are completely dry before reinstallation, and know when it’s time for a replacement. By following these simple guidelines, you’ll ensure your Bissell purifier runs efficiently, keeping your home’s air quality high. Your next step is to schedule your filter cleaning in your calendar for the next few weeks!
Frequently Asked Questions
How often should I vacuum my Bissell air purifier filter?
We found that most manufacturers recommend a quick vacuuming of your filter every 2 to 4 weeks. This regular maintenance helps remove loose dust and prevents larger particles from clogging the filter. It’s a simple step that greatly impacts your purifier’s performance.
Can I use soap to clean my Bissell HEPA filter?
Generally, no. HEPA filters are designed to capture very fine particles and are typically not washable. Washing a HEPA filter can damage its delicate fibers and make it ineffective. Always check your manual, but most HEPA filters need to be replaced, not cleaned with soap and water.
What’s the biggest mistake people make when cleaning Bissell filters?
The most common mistake we’ve seen is not letting the filter dry completely after washing. Reinstalling a damp filter can lead to mold and mildew growth within your air purifier. Always ensure your filter is 100% dry before putting it back.
My Bissell has a filter indicator light. Should I still vacuum it regularly?
Yes, absolutely. The filter indicator light usually signals when a filter is heavily saturated or nearing the end of its lifespan, often indicating it’s time for a replacement. However, regular vacuuming between these indicators helps maintain optimal performance and extend the filter’s effectiveness. Think of vacuuming as daily care and the light as a signal for major service.
What should I do if my manual isn’t clear about cleaning my filter?
If your Bissell owner’s manual is unclear or you can’t find specific instructions for your filter type, we recommend erring on the side of caution. Avoid washing it and stick to gentle vacuuming. You can also try contacting Bissell customer support directly for precise guidance for your model.
![5 Best Large Room Air Purifier for Dust [In 2026]](https://homeunderstandable.com/wp-content/uploads/2025/05/best-large-room-air-purifier-for-dust-top-picks-for-clean-air-768x512.jpg)