
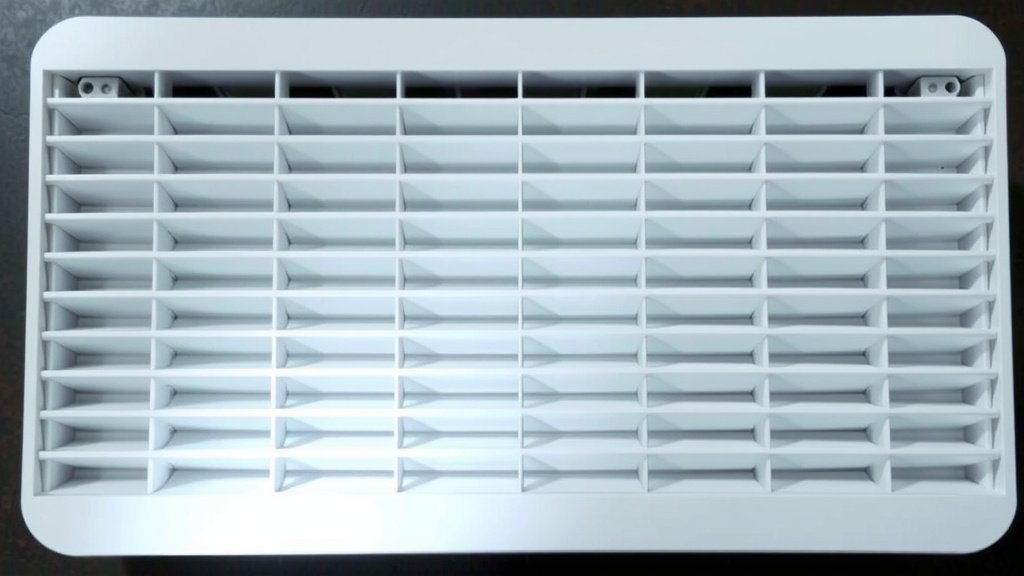
How to Clean Your Crane Air Purifier Filter Step-by-Step
The easiest way to clean your Crane air purifier filter is by gently vacuuming it with a soft brush attachment. This helps remove loose dust and debris, keeping your air purifier running efficiently. For a deeper clean, some models allow for washing, but always check your specific manual first to avoid damage and ensure optimal performance.
Keeping your Crane air purifier filter clean is key to breathing healthier air at home. Dirty filters can make your purifier work harder, costing you more in energy and reducing its effectiveness. We found that regular maintenance, including filter cleaning, is essential for maintaining cleaner indoor air and extending the life of your appliance.
- Always check your manual before cleaning.
- Vacuum with a soft brush attachment for most filters.
- Hand wash if your model permits, but allow it to dry completely.
- Replace filters as recommended by the manufacturer for best results.
Let’s walk through exactly how to get that Crane air purifier filter looking (and working!) like new, step by step.
Caring for Your Crane Air Purifier: A Simple Filter Cleaning Guide
Your Crane air purifier is working hard to keep your air clean. Like any hardworking appliance, it needs a little TLC. Keeping the filter clean is one of the most important maintenance tasks. We found that a dirty filter can really hamper your purifier’s ability to do its job. It can also lead to higher energy bills. Let’s get your filter back in top shape!
Understanding Your Crane Air Purifier Filter Types
Before you start cleaning, it’s good to know what kind of filter you’re dealing with. Crane air purifiers typically come with a pre-filter and often a HEPA filter. Some might also have an activated carbon filter. The pre-filter is usually the first line of defense against larger particles like dust and pet hair. HEPA filters are designed to capture much smaller particles. Activated carbon filters help with odors and gases.
The Role of the Pre-Filter
This is the filter you’ll clean most often. It’s usually made of a mesh material. Its main job is to catch the big stuff. Think of it as the welcome mat for your air purifier. It prevents larger debris from reaching the more sensitive HEPA filter. Regular cleaning of the pre-filter helps extend the life of the entire unit. We found that a clogged pre-filter can reduce airflow significantly.
What About HEPA and Carbon Filters?
HEPA and activated carbon filters are often not washable. They are designed to trap very fine particles or absorb odors. Washing these can damage their delicate structure. This would make them less effective. Manufacturers generally recommend replacing these types of filters. We advise checking your user manual for specific instructions. Your manual is the ultimate guide for your model.
Step-by-Step Filter Cleaning: The Vacuum Method
For most Crane air purifier models, the primary cleaning method for the pre-filter is vacuuming. This is a straightforward process that won’t take much time. You’ll want to be gentle to avoid damaging the filter material.
Gather Your Cleaning Supplies
You don’t need much for this job. Just your vacuum cleaner and its brush attachment. A soft brush attachment is ideal. You want to avoid anything too stiff that could tear the filter. Having a damp cloth handy might also be useful for wiping down the air purifier’s exterior.
Accessing the Filter
First, make sure your air purifier is unplugged. Safety first! Then, you’ll need to open the unit to get to the filter. This usually involves removing a cover or grille. Crane air purifiers typically have a simple mechanism for this. Look for latches or screws. Consult your manual if you’re unsure how to open your specific model. We found that most covers come off easily.
Gently Vacuum the Filter
Once you have the filter out, it’s time to vacuum. Use the soft brush attachment on your vacuum cleaner. Gently run the brush over the surface of the filter. Work in one direction. This will help lift the dust and debris. Pay attention to both sides if possible. You want to remove as much loose material as you can. Don’t press too hard. We discovered that a thorough vacuuming can make a noticeable difference.
Wiping Down the Unit
While the filter is out, take a moment to wipe down the inside of the air purifier. Use a dry or slightly damp cloth. This will remove any dust buildup inside the unit itself. Ensure all surfaces are dry before reassembling. This prevents any moisture from damaging the electronic components.
When Washing Might Be an Option (Check Your Manual!)
Some pre-filters might be designed to be washed. This is less common for HEPA or carbon filters. Always, always check your user manual before attempting to wash any filter. Washing a filter that isn’t meant to be washed can ruin it. It could also damage your air purifier.
How to Wash if Permitted
If your manual says it’s okay, use cool water. You can rinse the filter under a gentle stream of water. Mild soap might be acceptable for some filters, but plain water is often best. Avoid harsh detergents or chemicals. Gently agitate the filter in the water to loosen dirt. Rinse thoroughly until all soap residue is gone. Many experts suggest this is a good way to tackle stubborn grime.
Drying is Critical!
This is the most important part if you wash your filter. It needs to be completely dry before you put it back in the air purifier. Even a little moisture can cause mold or mildew growth. It can also damage the unit. Let the filter air dry naturally. You can place it in a well-ventilated area. Avoid direct sunlight or heat sources. This drying process can take several hours. We found that patience here is key for optimal performance.
Putting It All Back Together
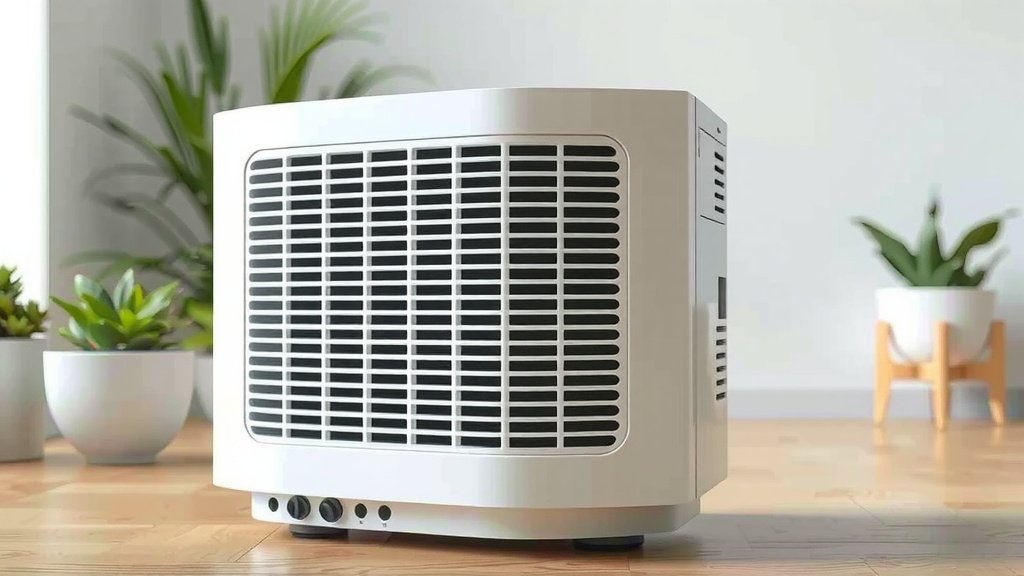
Once your filter is clean and completely dry, it’s time to reassemble. Carefully place the filter back into its proper position in the air purifier. Make sure it’s seated correctly. Then, reattach the cover or grille. Ensure all latches or screws are secured. Plug your air purifier back in. You’re ready to go!
When to Replace Your Crane Air Purifier Filter
Cleaning is great, but filters don’t last forever. Eventually, they need to be replaced. Manufacturers provide guidelines for filter replacement. These are usually based on hours of use or a specific time frame (e.g., every 6-12 months). We found that following these recommendations is vital for maintaining air quality.
Signs Your Filter Needs Replacing
Even with regular cleaning, a filter might reach the end of its life. You might notice a decrease in air purifier performance. If your air quality doesn’t seem to improve, it’s a good sign. Unusual noises from the unit can also indicate a struggling filter. Visible damage or discoloration on the filter itself is another indicator. Many sources suggest replacing filters when they appear visibly dirty or clogged beyond cleaning.
The Importance of Replacement Filters
Using genuine Crane replacement filters is recommended. They are designed to fit your specific model perfectly. They also meet the performance standards set by the manufacturer. Aftermarket filters might not offer the same level of filtration. Always check your manual for the correct filter model number.
Here’s a quick checklist to remember:
- Unplug your air purifier before starting.
- Check your manual for specific cleaning instructions.
- Gently vacuum pre-filters with a soft brush attachment.
- Only wash filters if your manual explicitly permits it.
- Ensure any washed filter is 100% dry before reinstallation.
- Replace filters according to manufacturer recommendations.
Conclusion
You’ve now learned how to keep your Crane air purifier filter in tip-top shape. We found that regular vacuuming is your go-to method for maintaining clean indoor air. Remember, always check your manual before attempting any washing. Proper filter care means your purifier works efficiently, saving you energy and ensuring you breathe healthier air. Your next step is to schedule your filter cleaning. A quick vacuum can make a big difference!
Frequently Asked Questions
How often should I clean my Crane air purifier filter?
We found that cleaning your filter depends on your home environment. If you have pets or live in a dusty area, you might need to clean it more often. Aim for at least once a month. Regular checks help you stay ahead of buildup.
Can I use a vacuum cleaner on a HEPA filter?
Generally, HEPA filters are not designed to be vacuumed. The delicate fibers can be damaged by suction or brush attachments. Manufacturers usually recommend replacing HEPA filters rather than cleaning them. Always refer to your specific model’s manual.
What if my Crane air purifier filter smells musty after washing?
A musty smell usually means the filter wasn’t dried completely. Moisture trapped inside can lead to mold or mildew. Ensure the filter is 100% dry before putting it back. If the smell persists, you may need to replace the filter.
Are Crane replacement filters expensive?
The cost of replacement filters can vary. We found that genuine Crane filters are an investment in your air quality. Consider the lifespan of the filter and the performance benefits. Sometimes, buying filters in a multi-pack can offer savings.
My filter looks dirty, but my manual doesn’t mention washing. What should I do?
If your manual doesn’t explicitly state that a filter is washable, assume it’s not. Stick to gentle vacuuming for pre-filters. For HEPA or carbon filters, replacement is usually the recommended course of action. Using the wrong cleaning method can damage the filter.
![What Is The Best Air Purifier for 600 Sq Ft [In 2026]](https://homeunderstandable.com/wp-content/uploads/2025/06/best-air-purifier-for-600-sq-ft.jpg)
