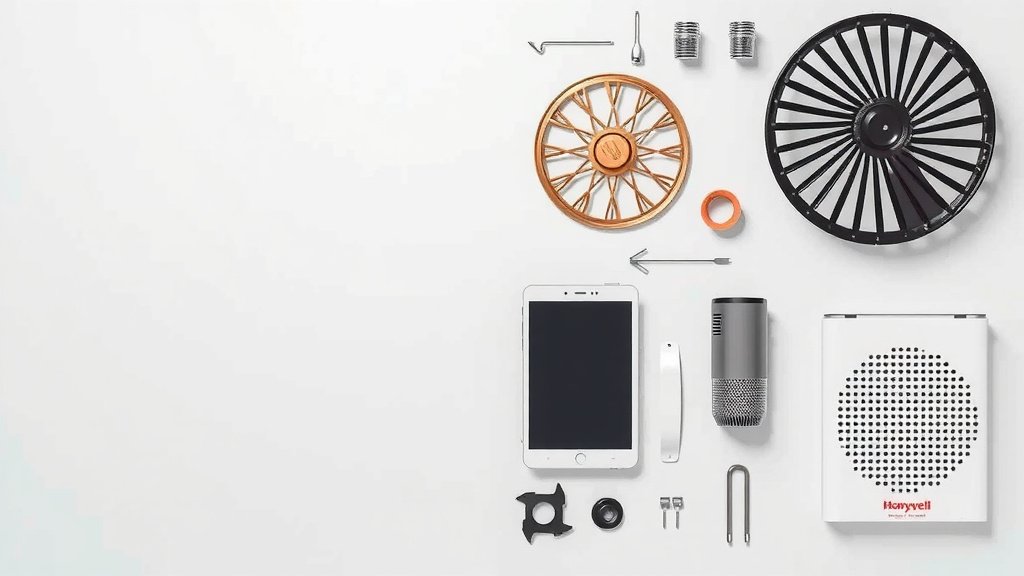
How to Take Apart Honeywell Air Purifier: Step-by-Step Guide
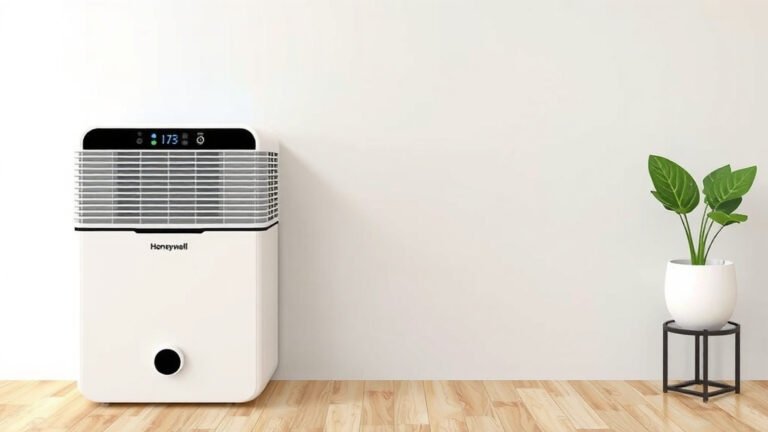
Taking apart your Honeywell air purifier is pretty straightforward. You’ll typically need to remove the outer casing to access the filters. This often involves unclipping or unscrewing a few main parts. Always make sure your unit is unplugged for safety before you begin.
Understanding how to disassemble your purifier is key for effective filter replacement and thorough cleaning. Many users find that a little familiarity with the process saves them time and hassle. We’ve found that most Honeywell models share similar disassembly steps, making it easier than you might think.
- Unplug your air purifier first.
- Locate and remove the main filter cover.
- You may need to unclip or unscrew the housing.
- Access the old filters for removal.
- Clean the unit while it’s open.
Ready to get your hands dirty? Let’s walk through the simple steps to safely take apart your Honeywell air purifier together.
Getting Your Honeywell Air Purifier Apart for Maintenance
Taking apart your Honeywell air purifier is a simple process. You’ll primarily need to access the filters. Most models are designed for easy filter changes. Let’s walk through how to open up your unit safely.
Preparing for Disassembly
Before you begin taking anything apart, there are a couple of important things you should do. Safety is the number one priority here. We want to make sure you don’t accidentally injure yourself or damage your purifier. Following these initial steps will make the entire process smoother and safer for you.
Step 1: Always Unplug Your Unit
This might sound obvious, but it’s the most critical step. Never attempt to disassemble your Honeywell air purifier while it’s plugged into a power outlet. Even if it’s turned off, there can still be residual electrical charge. Unplugging the unit eliminates any risk of electric shock. You can then move the purifier to a comfortable workspace.
Step 2: Gather Your Tools (If Any)
For most Honeywell air purifiers, you won’t need a lot of tools. Often, it’s just your hands! Some models might have a few screws holding the casing together. If yours does, a simple Phillips head screwdriver should do the trick. We recommend having a small bowl or container nearby. This is helpful for keeping any screws organized so you don’t lose them.
Accessing the Main Filter Compartment
Honeywell purifiers typically have a main filter compartment that is easily accessible. This is usually located on the side or back of the unit. The design is generally intuitive, making it straightforward to open. Think of it like opening a cabinet door or a small drawer. The goal is to expose the filters inside so you can clean or replace them.
Locating the Filter Cover or Grille
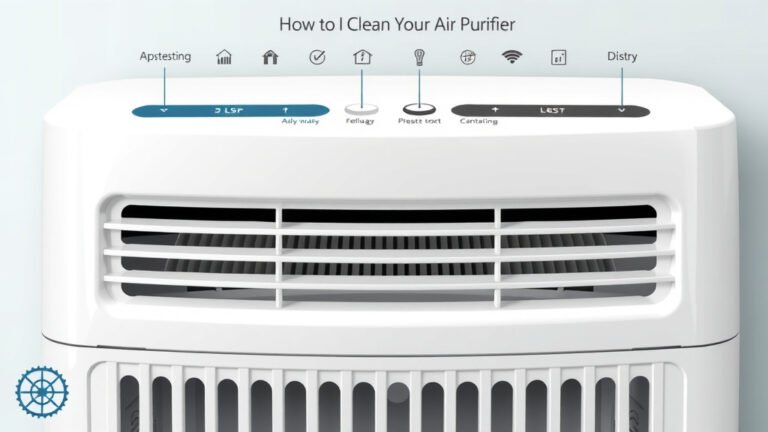
Look closely at the exterior of your air purifier. You’ll likely see a large panel or a grille that seems to be the main access point. This is often the cover that hides the filters. Some models have a small latch or a button you press. Others might have a seam where you can gently pull or slide the cover off. Refer to your specific model’s manual if you’re unsure, but generally, this part is quite visible.
Removing the Filter Cover
Once you’ve found the cover, it’s time to remove it. Many Honeywell models use clips. You might need to press a specific spot to release the clips. If your model has screws, this is where your screwdriver comes in handy. Carefully remove the screws and set them aside. For models without screws, you may need to apply gentle pressure. Pull or slide the cover away from the unit. If it feels stuck, don’t force it. Double-check for any hidden latches or tabs.
Dealing with Stubborn Covers
Occasionally, a filter cover can become a bit sticky or stiff. This is especially true if it hasn’t been removed in a while. Try wiggling it gently from side to side. Sometimes, a light tap on the edges can help loosen it. Remember, excessive force can lead to breakage. If you’re struggling, take a short break and look for any guides online for your specific model number. You might find a helpful video tutorial.
Replacing or Cleaning the Filters
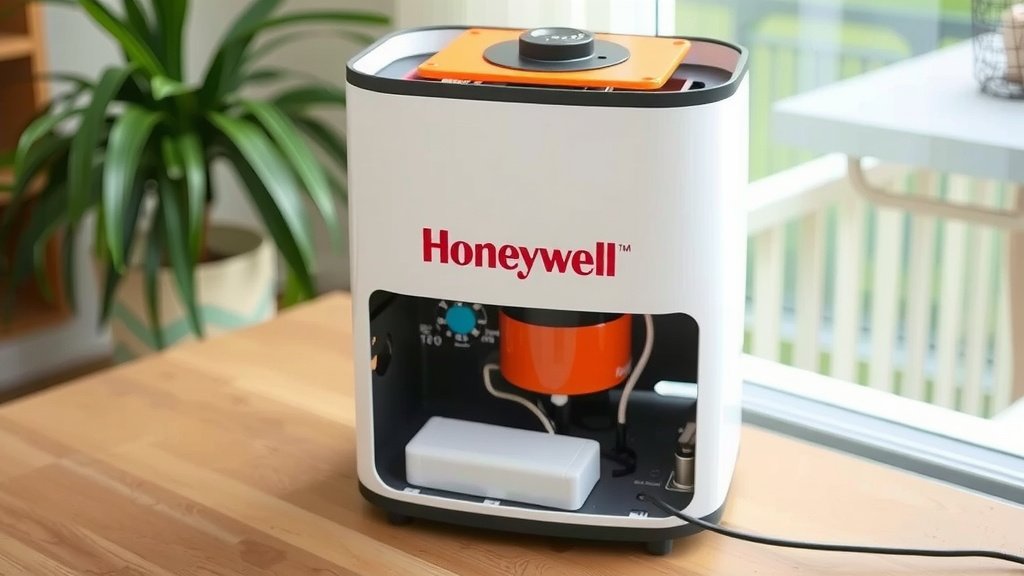
With the filter cover removed, you should now see the filters inside your Honeywell air purifier. This is the main reason you’re taking it apart, after all! You’ll typically find a pre-filter, a HEPA filter, and sometimes an activated carbon filter.
Identifying Each Filter Type
Honeywell units often have a multi-stage filtration system. The pre-filter is usually the outermost layer, often made of a mesh material. It catches larger particles like dust bunnies and pet hair. Behind that, you’ll find the HEPA filter, which is a denser material designed to capture very fine particles. The activated carbon filter, if present, often looks like a dark, porous sheet and is responsible for absorbing odors and gases.
Removing the Old Filters
To remove the filters, you usually just need to pull them straight out. They are often designed to slide out easily. Make a note of their orientation so you can put the new ones in the correct way. Some filters might have a small tab or handle to help with removal. Be gentle, as some filter materials can be delicate. Avoid crushing or bending them as you take them out.
Cleaning the Interior of the Purifier
While the filters are out, this is the perfect opportunity to clean the inside of your air purifier. Use a dry or slightly damp microfiber cloth to wipe down the interior surfaces. Pay attention to any areas where dust has accumulated. You can also use a vacuum cleaner with a brush attachment to remove dust from the housing and fan blades. A clean interior helps your purifier run more efficiently. Many experts recommend this step for optimal performance (CDC).
Reassembling Your Honeywell Air Purifier
Once you’ve cleaned the unit and installed your new filters, it’s time to put everything back together. The reassembly process is essentially the reverse of disassembly. Taking your time here ensures everything is properly secured and functioning as it should. A well-assembled unit will operate more quietly and effectively.
Inserting New Filters Correctly
Make sure you are inserting the new filters in the correct order and orientation. If your filters have arrows indicating airflow direction, ensure these are pointing the right way. Most HEPA filters can only go in one way. Gently slide them back into their slots until they are seated properly. You should feel them click or settle into place. Double-check that they are fully inserted and not at an angle.
Attaching the Filter Cover
Now, reattach the filter cover or grille. If your model uses clips, align the cover with the housing and press firmly until the clips engage. You should hear a click for each clip. If you removed screws, align the cover and reinsert the screws. Tighten them gently; over-tightening can strip the threads or crack the plastic. Ensure the cover is flush with the rest of the unit and there are no gaps.
Final Check
Give your air purifier a gentle shake to ensure all parts are secure. If you used any tools, put them away. You’ve successfully taken apart and reassembled your Honeywell air purifier! Now you can confidently plug it back in and turn it on. You’ve just completed an important maintenance task that will help keep your air clean and fresh.
Conclusion
You’ve now learned how to safely and effectively take apart your Honeywell air purifier. Accessing the filters for cleaning or replacement is a simple process, often requiring just your hands or a basic screwdriver. By following these steps, you ensure your purifier runs efficiently and keeps your air clean. Remember to always unplug your unit first and be gentle during disassembly. Don’t forget to clean the interior while it’s open – a quick wipe-down makes a big difference! Now, go ahead and schedule your next filter change. Your clean air journey continues!
Frequently Asked Questions
How often should I take apart my Honeywell air purifier?
You should aim to disassemble your Honeywell air purifier for filter replacement or cleaning roughly every 6-12 months. Check your specific model’s manual for exact recommendations. Regular maintenance ensures optimal performance and air quality.
What if my Honeywell air purifier cover won’t budge?
If the filter cover is stuck, avoid using excessive force. Sometimes, gently wiggling it or checking for hidden latches can help. If it’s very stiff, a light tap on the edges might loosen it. You can also look for model-specific videos online.
Can I wash my Honeywell air purifier filters?
Typically, only the pre-filter is washable. HEPA and activated carbon filters are usually designed for replacement, not washing. Washing them can damage the filter material and reduce their effectiveness. Always consult your user manual to be sure.
Do I need special tools to disassemble my Honeywell air purifier?
For most Honeywell models, you won’t need any special tools; your hands are often sufficient. Some units may have a few screws holding the casing together, which can be removed with a standard Phillips head screwdriver. Keep any screws organized in a small container.
Is it safe to clean the inside of my Honeywell air purifier?
Yes, it’s safe and highly recommended to clean the interior while the unit is disassembled. Use a dry or slightly damp microfiber cloth to wipe down the inside. A vacuum with a brush attachment can help remove dust from the fan and housing.