How to Clean Your Germ Guardian Air Purifier Filter
The easiest way to clean your Germ Guardian air purifier filter is to vacuum it regularly. For a deeper clean, you can often wash the pre-filter. This helps maintain cleaner air and extends the life of your purifier. Always check your model’s manual first.
Keeping your air purifier filter clean is key to its effectiveness. A dirty filter struggles to capture airborne pollutants like dust and allergens. This can reduce airflow and lead to less purified air circulating in your home. Many users wonder if washing is an option.
- Vacuum your filter often.
- Wash the pre-filter if allowed.
- Check your model’s specific instructions.
- A clean filter means better air quality.
Below, we’ll walk you through the steps to properly clean your Germ Guardian filter and keep your air as fresh as possible.
“`htmlCaring For Your Germ Guardian Air Purifier Filter
So, you’ve got a Germ Guardian air purifier humming away, keeping your air fresh. That’s fantastic! But what happens when the filter starts looking a little… lived-in? Don’t worry, maintaining your filter is simpler than you might think. Proper filter care helps your purifier work its best. It ensures you’re breathing the cleanest air possible. We’ll guide you through the steps to keep your filter in top shape.
Understanding Your Germ Guardian Filter Types
Before we dive into cleaning, it’s good to know what you’re working with. Germ Guardian models often use a multi-stage filtration system. This typically includes a pre-filter, a HEPA filter, and an activated carbon filter. Each plays a unique role in cleaning your air.
The Role of the Pre-Filter
Think of the pre-filter as the first line of defense. It’s usually a fine mesh or a thin layer. Its main job is to capture larger particles. We’re talking about things like pet hair, lint, and bigger dust bunnies. This layer protects the more delicate HEPA filter. Keeping the pre-filter clean is essential. It prevents it from getting clogged too quickly.
The Mighty HEPA Filter
The High-Efficiency Particulate Air (HEPA) filter is the star player. It’s designed to trap very fine particles. Studies show HEPA filters can capture 99.97% of airborne particles. These include dust mites, pollen, mold spores, and pet dander (CDC). This filter is generally not washable. Its dense material can be damaged by water.
The Odor-Absorbing Carbon Filter
Next up is the activated carbon filter. This one is your go-to for tackling odors. It works by adsorbing gases and volatile organic compounds (VOCs). This means smells from cooking, pets, or smoke are absorbed. Like the HEPA filter, this one is also typically not meant to be washed. Water can reduce its effectiveness.
How to Clean Your Germ Guardian Air Purifier Filter: Step-by-Step
Now, let’s get down to business. The most common and effective cleaning method focuses on the pre-filter. For the other filters, replacement is usually the way to go. Always consult your specific Germ Guardian model’s manual first. It has the definitive instructions for your unit.
Step 1: Safety First – Power Down!
This might seem obvious, but it’s crucial. Always unplug your air purifier before you start any cleaning. You don’t want any accidental power surges or electric shocks. Safety is always our top priority when dealing with electronics.
Step 2: Accessing the Filter
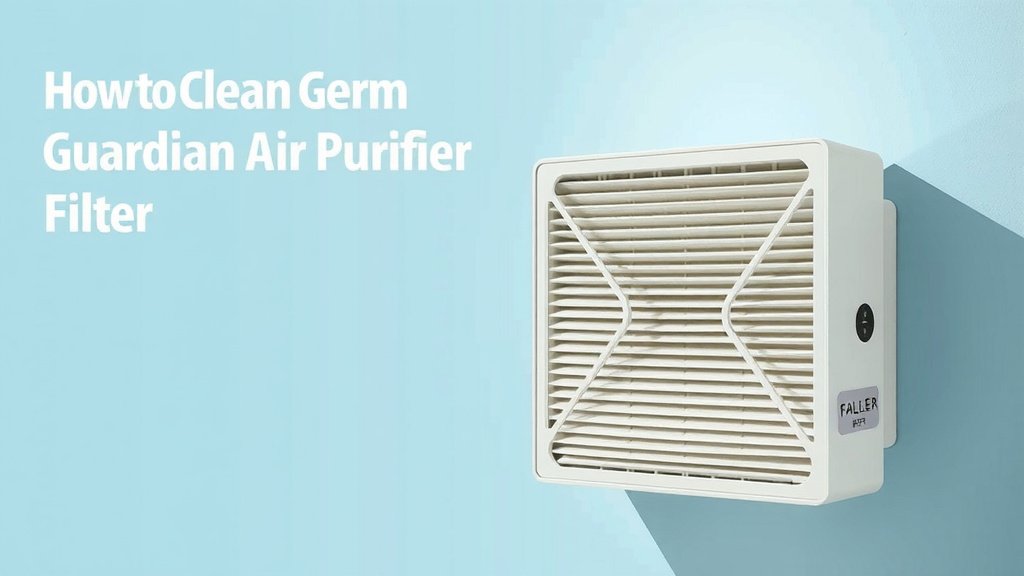
Locate the filter compartment on your air purifier. This is usually on the back or side. Most units have a simple latch or panel that you can open. You might need to gently pull or slide a cover off. It’s usually pretty straightforward.
Step 3: Removing the Filters
Once the cover is off, you’ll see the filters. Carefully slide or lift them out. Pay attention to their order and orientation. Many filters have arrows or labels indicating which way they should face. Taking a quick photo with your phone can be helpful for reassembly.
Step 4: Cleaning the Pre-Filter (The Washable Part!)
This is where you can really make a difference. For washable pre-filters:
- Gentle Vacuuming: Use a brush attachment on your vacuum cleaner. Gently go over the surface of the pre-filter. This will suck up loose dust and debris. Do this regularly to keep it from building up.
- Rinsing: If your manual permits, you can rinse the pre-filter. Use cool or lukewarm water. Avoid hot water, as it can sometimes warp or damage the material. Gently run water over the filter.
- Washing Agent (Use Sparingly!): Some manufacturers suggest a *very* mild soap. If you use soap, make sure it’s diluted. Rinse thoroughly afterward. We found that often, just water is sufficient.
- Drying is Key: This is a critical step. The pre-filter MUST be completely dry before you put it back. Air dry it. Never put a damp filter back into the purifier. Moisture can lead to mold growth. This would defeat the purpose of clean air!
Step 5: Dealing with the HEPA and Carbon Filters
Here’s the hard truth: HEPA and activated carbon filters are generally not cleanable. They are designed for capturing tiny particles. Washing them can damage their structure. It can also reduce their ability to trap pollutants effectively. Many experts recommend replacing these filters on a schedule. Check your manual for recommended replacement intervals. This is often every 6-12 months, depending on usage and air quality.
Step 6: Reassembly and Power Up
Once your pre-filter is bone dry and the other filters are ready (either new or the ones you removed if they weren’t cleaned), put them back. Make sure they are in the correct orientation. Secure the filter cover. Plug your air purifier back in. You’re ready to go!
How Often Should You Clean Your Filter?
The frequency of cleaning depends on a few things. Your home environment plays a big role. Do you have pets? Do allergies run rampant in your household? Is there a lot of cooking or smoking? These factors mean more particles in the air.
We found that a good general guideline is to vacuum the pre-filter weekly. If you notice dust buildup sooner, give it a quick vacuum. For a deeper clean or wash of the pre-filter, consider doing it monthly. If your purifier has an indicator light, pay attention to it!
Here’s a quick breakdown:
- Weekly: Quick vacuum of the pre-filter.
- Monthly: Washable pre-filter rinse and full dry.
- Every 6-12 Months: Replace HEPA and carbon filters.
When It’s Time for a Replacement
Sometimes, cleaning just won’t cut it. HEPA and carbon filters have a lifespan. They become saturated with trapped pollutants. If you notice:
- A decrease in airflow from the unit.
- A return of unpleasant odors.
- The filter looks visibly dirty or damaged even after cleaning attempts (for the pre-filter).
It’s likely time for a replacement. Using genuine Germ Guardian replacement filters ensures compatibility and performance. It’s an investment in your home’s air quality.
| Filter Type | Cleaning Method | Frequency |
|---|---|---|
| Pre-Filter | Vacuuming, Rinsing (if allowed) | Weekly vacuum, Monthly wash |
| HEPA Filter | Replacement Only | Every 6-12 months |
| Activated Carbon Filter | Replacement Only | Every 6-12 months |
Taking these simple steps will help ensure your Germ Guardian air purifier continues to provide you with cleaner, fresher air. It’s a small effort for a significant improvement in your living space.
“`Conclusion
You’ve learned that keeping your Germ Guardian air purifier humming is quite manageable. Remember, your pre-filter is your cleaning workhorse. Regular vacuuming and occasional rinsing can make a big difference in its performance. For the HEPA and carbon filters, replacement is key to maintaining optimal air quality. Don’t forget to always check your model’s manual for precise instructions. By following these simple maintenance steps, you’re ensuring your purifier continues to deliver the fresh, clean air you deserve in your home. Your next step? Grab your vacuum and give that pre-filter a quick clean!
Frequently Asked Questions
Can I wash my Germ Guardian HEPA filter?
No, you should not wash your Germ Guardian HEPA filter. HEPA filters are made of delicate material designed to trap microscopic particles. Washing can damage this material and make it less effective at purifying your air. It’s best to replace HEPA filters according to your model’s recommendations.
How often should I vacuum the pre-filter?
We found that vacuuming your Germ Guardian pre-filter at least once a week is a good practice. This helps remove larger dust and debris before it can clog the filter. If you have pets or live in a dusty environment, you might need to do this more often.
What should I do if I can’t find my Germ Guardian manual?
If you’ve misplaced your manual, don’t worry! You can usually find a digital copy on the official Germ Guardian website. Simply search for your specific air purifier model number, and the manual should be available for download. This will give you the most accurate cleaning and replacement advice.
Can I use soap to clean the pre-filter?
If your manual permits washing the pre-filter, some manufacturers suggest using a very mild, diluted soap. However, we found that often, just cool or lukewarm water is sufficient and safer. Always rinse the pre-filter thoroughly if you do use any soap.
When should I replace the activated carbon filter?
Activated carbon filters are designed to absorb odors and gases. They become saturated over time and lose their effectiveness. Typically, you’ll need to replace your Germ Guardian activated carbon filter every 6 to 12 months, depending on your home’s air quality and usage.