How to Clean Your Water Air Purifier Easily
The easiest way to clean your water air purifier involves a few simple steps. You’ll generally need to disassemble it, rinse the tank, and wipe down the exterior. Regular cleaning prevents mold and keeps your air fresh. It’s an important part of maintaining your appliance.
Keeping your water air purifier clean is key to its performance. A dirty unit can spread unwanted particles and odors. Many experts agree that regular maintenance is essential for optimal air quality. This also helps prolong the life of your purifier.
- Turn off and unplug the unit.
- Empty and rinse the water tank.
- Wipe down all removable parts.
- Clean the exterior casing.
- Allow everything to dry completely.
Ready to get your water air purifier sparkling clean? Let’s walk through exactly how to do it step by step.
Keeping Your Water Air Purifier Clean and Fresh
A clean water air purifier means cleaner air for you and your family. We know life gets busy, but a little regular maintenance goes a long way. Think of it like changing the oil in your car. It keeps everything running smoothly and prevents bigger problems down the line. Let’s break down how to give your purifier a good spa day.
Gathering Your Cleaning Supplies
Before you start, make sure you have everything you need. This will make the process much smoother. You won’t want to stop halfway to search for a cloth. Most of these items are probably already in your home.
Essential Cleaning Tools
- A soft, clean cloth or microfiber towel.
- A mild dish soap or a dedicated purifier cleaning solution.
- A small brush (like an old toothbrush) for tight spots.
- A cup or bowl for rinsing.
- A basin or sink for cleaning parts.
- Optional: White vinegar or a bleach solution for stubborn mold (use with caution and proper ventilation).
Disassembling Your Water Air Purifier
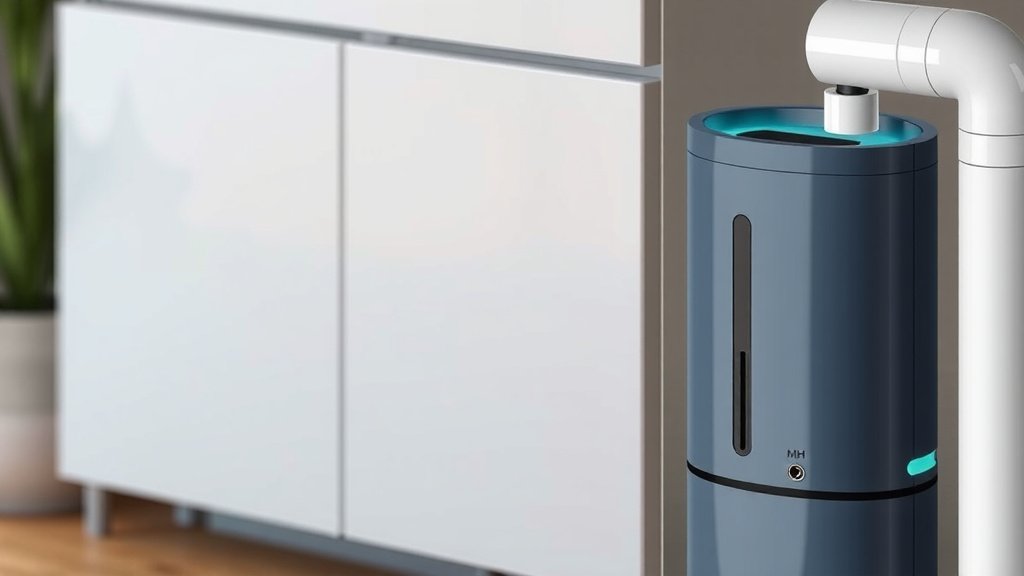
The first step is to carefully take your unit apart. Always ensure the purifier is unplugged from the power source. This is a safety first measure. Most water air purifiers have a water tank and a main body. You’ll want to separate these. Refer to your user manual if you’re unsure how your specific model comes apart.
Separating the Water Tank
Gently lift the water tank away from the main unit. Set it aside on a stable surface. You might find a lid or seal that needs to be removed. Take note of how it fits together. This will help you when it’s time to reassemble everything.
Accessing Internal Components
Depending on your model, there might be other removable parts. These could include filters, diffusers, or other components. Check your manual for specific instructions on how to access and remove them. Handle these parts with care to avoid damage.
Cleaning the Water Tank
The water tank is where the magic (and sometimes, the grime) happens. It’s important to clean this thoroughly. Stagnant water can become a breeding ground for mold and bacteria if not cleaned regularly. Many experts recommend cleaning the tank weekly to prevent this (CDC).
Emptying and Rinsing
Pour out any old water. Rinse the tank with cool, clean water. Swish it around to loosen any loose debris. Get rid of any visible slime or film. A thorough rinse is your first line of defense against buildup.
Washing the Tank
Add a few drops of mild dish soap to the tank. Fill it with warm water. Use your cloth or a soft sponge to gently scrub the inside of the tank. Pay special attention to corners and any areas where residue might cling. Rinse the tank completely until all soap suds are gone. If you notice any persistent mold or mildew, a solution of one part white vinegar to four parts water can be effective. Let it sit for about 30 minutes, then scrub and rinse thoroughly. For severe cases, a very dilute bleach solution (1 teaspoon bleach per gallon of water) can be used, but ensure you rinse it out extremely well and ventilate the area.
Cleaning Other Removable Parts
Now, let’s tackle those other components you removed earlier. These parts also collect moisture and can harbor unwanted growth.
Washing Filters and Diffusers
If your purifier has washable filters, follow the manufacturer’s instructions. Some can be rinsed under cool water. Others might need a gentle wipe-down. Diffuser stones or other parts can usually be washed with mild soap and water. Use your small brush to get into any nooks and crannies. A clean diffuser ensures the best mist output.
Drying is Key
After washing, it’s crucial to let all parts air dry completely. Lay them out on a clean towel in a well-ventilated area. Moisture is the enemy here. Ensure no part is reassembled while still damp. This step is vital to prevent mold and mildew regrowth. Patience is a virtue, especially when it comes to appliance care!
Wiping Down the Exterior
Don’t forget the outside of your purifier! Dust and grime can accumulate here too. A clean exterior is not only aesthetically pleasing but also helps maintain overall hygiene.
Cleaning the Main Casing
Use a soft, damp cloth to wipe down the exterior of the main unit. For tougher spots, you can use a cloth slightly dampened with soapy water. Be careful not to let any water seep into vents or openings. After wiping with a damp cloth, follow up with a dry cloth to ensure it’s completely dry. This prevents water spots and keeps your purifier looking its best.
Reassembling Your Purifier
Once all parts are completely dry, it’s time to put your purifier back together. This is like a satisfying puzzle. Carefully reattach the cleaned and dried components. Make sure everything clicks or locks into place securely. Double-check that the water tank is seated correctly before filling it with fresh water.
Checklist for a Sparkling Purifier
Here’s a quick rundown to ensure you haven’t missed a step:
- Purifier unplugged? Check.
- Tank emptied and rinsed? Check.
- All removable parts washed and dried? Check.
- Exterior wiped clean? Check.
- Unit fully reassembled? Check.
- Ready to fill with fresh water and plug in? Check.
Conclusion
You’ve now learned how to keep your water air purifier in top shape! A clean unit means better air quality for your home. Remember to regularly rinse and wash the tank and its parts. Don’t forget to wipe down the exterior, too. Following these simple steps will help your purifier run efficiently for a long time. Your next step is to grab your cleaning supplies and give your purifier a good clean this week!
Frequently Asked Questions
How often should I clean my water air purifier?
For best results, aim to clean your water air purifier weekly. This prevents mold and bacteria buildup in the water tank. Check your user manual for any specific recommendations from the manufacturer.
Can I use bleach to clean my water air purifier?
Yes, but use it with extreme caution. A very dilute bleach solution (1 teaspoon bleach per gallon of water) can help with stubborn mold. Always ensure you rinse the parts thoroughly afterward and use in a well-ventilated area.
What if I can’t get a component apart?
If you’re having trouble disassembling your purifier, consult your user manual. It will have specific instructions for your model. If you still can’t figure it out, contact the manufacturer’s customer support for assistance.
How do I know if my filters are washable?
Your water air purifier’s manual will tell you if its filters are washable. Some filters are designed to be rinsed, while others may need to be replaced. Always follow the manufacturer’s guidelines for filter care.
Why is it important to let parts dry completely?
Allowing all parts to air dry completely is essential to prevent mold and mildew. Moisture is the perfect breeding ground for these unwanted growths. Reassembling damp parts can quickly lead to a dirty tank again.