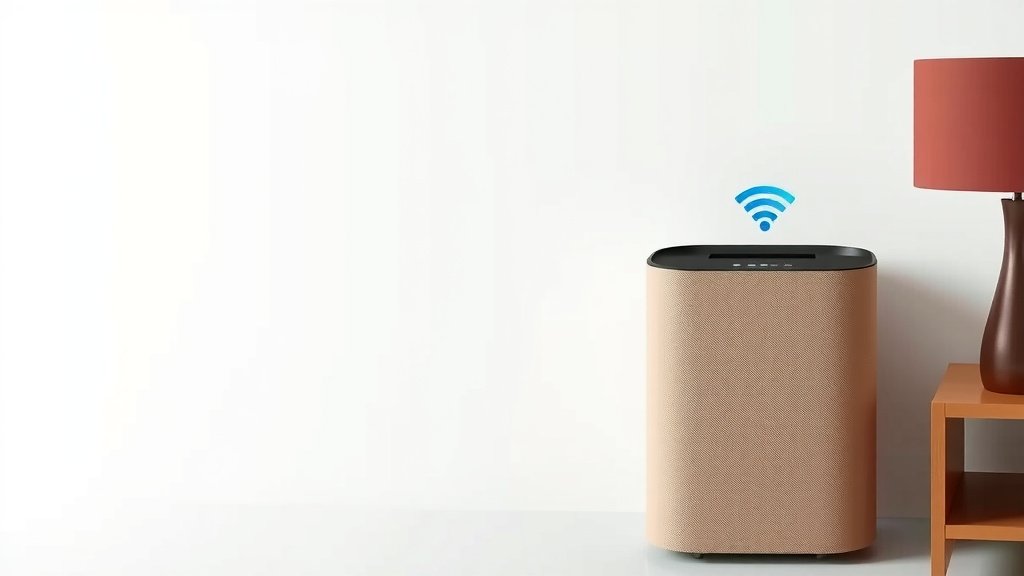
Connect Your Philips Air Purifier to WiFi: Step-by-Step
Yes, you can absolutely connect your Philips air purifier to Wi-Fi for smart control. This allows you to manage your purifier remotely, check air quality, and set schedules right from your smartphone. Connecting your Philips air purifier to Wi-Fi means better air quality management.
Many modern Philips air purifiers are designed with connectivity in mind. This smart feature lets you integrate your purifier with the Philips Clean Home+ app. You’ll find that this connectivity offers convenient operation and helps you stay informed about your home’s air. We found this setup is pretty straightforward for most users.
- Download the Philips Clean Home+ app.
- Ensure your purifier and phone are on the same Wi-Fi network.
- Follow the in-app instructions to pair your device.
- Enjoy remote control of your air purifier!
Ready to bring your Philips air purifier online? Let’s walk through the simple steps together to get your smart air purifier connected.
Getting Your Philips Air Purifier Online
You’ve got a Philips air purifier, and you’re wondering how to connect it to your Wi-Fi. It’s a fantastic way to supercharge its performance. Connecting your device to your home network opens up a world of smart features. You can control it from anywhere, anytime. Let’s make this connection happen for you.
Prerequisites for Smart Connection
Before you dive in, let’s make sure you have everything ready. Having these items in place will make the process smooth. You don’t want any frustrating roadblocks when you’re so close to smart control.
What You’ll Need
- Your Philips air purifier (obviously!).
- A stable 2.4 GHz Wi-Fi network. Most home networks have this.
- Your Wi-Fi network name (SSID) and password. Keep these handy.
- A smartphone or tablet (iOS or Android).
- The Philips Clean Home+ app downloaded and installed.
Understanding Your Wi-Fi Network
Philips air purifiers typically connect to a 2.4 GHz Wi-Fi band. This is different from a 5 GHz band. If you have a dual-band router, make sure your phone is connected to the 2.4 GHz network when you start the setup. This is a common point of confusion, and getting it right prevents connection issues.
Step-by-Step Connection Guide
Now for the exciting part! We’ll walk through connecting your Philips air purifier to your Wi-Fi. It’s usually a simple process that takes just a few minutes. Follow these steps carefully.
Download and Install the Philips Clean Home+ App
If you haven’t already, grab the Philips Clean Home+ app from your device’s app store. It’s available on both the Apple App Store and Google Play Store. This app is your central hub for smart control. Make sure you have the latest version installed.
Prepare Your Air Purifier
Turn on your Philips air purifier. Some models require you to press and hold a specific button to initiate pairing mode. Check your purifier’s user manual for exact instructions. Often, it’s a button with a Wi-Fi symbol or a network icon. You’re looking for an indicator light to start blinking, signaling it’s ready to connect.
Connecting Through the App
Open the Philips Clean Home+ app on your smartphone or tablet. You’ll likely need to create an account or log in if you already have one. Look for an option like “Add Device” or a “+” icon. The app will then guide you through finding your air purifier.
The Pairing Process
The app will prompt you to select your air purifier model. Once selected, it will ask you to join your air purifier’s temporary Wi-Fi network or to enter your home Wi-Fi credentials. Enter your 2.4 GHz Wi-Fi network name and password accurately. Double-check for typos!
Confirmation and Completion
Once the app has successfully connected your purifier to your network, you’ll usually see a confirmation message. The blinking Wi-Fi indicator light on your purifier should turn solid. You can then name your air purifier within the app, like “Living Room Purifier,” for easy identification.
Troubleshooting Common Connection Issues
Sometimes, technology doesn’t cooperate on the first try. If you run into problems, don’t worry! We’ve found a few common snags that are usually easy to fix.
Incorrect Wi-Fi Credentials
This is the most frequent culprit. Ensure you’ve entered your Wi-Fi password correctly. Remember, passwords are case-sensitive. We recommend typing it out somewhere first, then copying and pasting if the app allows. Verify your network name (SSID) too.
Wrong Wi-Fi Band (5 GHz vs. 2.4 GHz)
As mentioned, most Philips purifiers need a 2.4 GHz network. If your router broadcasts both, your phone might have automatically connected to the 5 GHz band, which the purifier can’t see. Disconnect from the 5 GHz network and manually connect your phone to the 2.4 GHz band before starting the setup process. Your router likely has separate names for each band, like “MyHomeWifi” and “MyHomeWifi_5G.” Connect to the one without the “_5G.”
Router Distance and Signal Strength
Is your air purifier too far from your Wi-Fi router? A weak signal can prevent a stable connection. Try moving your purifier closer to the router, or your router closer to the purifier, just for the setup process. Once connected, you can move it back to its preferred spot if the signal is still strong enough.
App and Device Updates
Ensure both the Philips Clean Home+ app and your air purifier’s firmware are up to date. Sometimes, older versions can cause compatibility problems. Check the app store for app updates and look within the app settings for any available firmware updates for your purifier.
Rebooting Your Devices
The age-old IT solution: turn it off and on again! Try restarting your air purifier, your smartphone, and your Wi-Fi router. This simple step often resolves temporary glitches. Wait about 30 seconds after unplugging before plugging them back in.
What You Can Do Once Connected
Congratulations, you’ve connected your Philips air purifier! Now you can enjoy all the smart features. It’s like giving your purifier a brain upgrade.
Remote Control and Monitoring
You can now turn your purifier on or off, adjust fan speeds, and change modes all from your phone. This is perfect for when you’re heading home and want to start purifying the air before you arrive. You can also check your indoor air quality in real-time.
Scheduling and Automation
Set schedules for your purifier to run automatically. For example, have it run on a high setting while you’re at work and switch to a quieter mode at night. Some users find this makes a noticeable difference in daily comfort.
Air Quality Insights
The app provides detailed information about your home’s air quality, including pollutant levels. Understanding these metrics can help you identify potential sources of indoor air pollution and make informed decisions about your home environment. Many sources suggest monitoring indoor air quality is a good practice (CDC).
Voice Assistant Integration
Depending on your Philips model and the app, you might be able to link your air purifier to voice assistants like Amazon Alexa or Google Assistant. This allows for hands-free control. Just say, “Hey Google, turn on the air purifier.”
Here’s a quick checklist to keep in mind:
- Download the Philips Clean Home+ app.
- Ensure your phone is on your 2.4 GHz Wi-Fi network.
- Have your Wi-Fi password ready.
- Put your purifier in pairing mode.
- Follow the in-app prompts carefully.
- Test control via the app.
Conclusion
You’ve successfully learned how to connect your Philips air purifier to your Wi-Fi network. This opens up a world of convenience, allowing you to control and monitor your home’s air quality right from your smartphone. Remember to ensure you’re using a 2.4 GHz network and have your Wi-Fi password handy. With the Philips Clean Home+ app, you can now enjoy remote operation, scheduling, and real-time air quality updates.
Ready to experience smarter air purification? Take the next step and connect your device today to start breathing easier!
Frequently Asked Questions
Why does my Philips air purifier only connect to a 2.4 GHz network?
Philips air purifiers are designed to connect to the 2.4 GHz Wi-Fi band because it offers a wider range and better penetration through walls compared to the 5 GHz band. This ensures a more stable connection, especially if your purifier is located further from your router.
What should I do if my Philips air purifier won’t enter pairing mode?
Check your user manual for the exact button combination to activate pairing mode, as it can vary by model. Typically, you’ll need to press and hold a specific button, often with a Wi-Fi icon, for several seconds. Ensure the purifier is powered on and not in sleep mode.
Can I control my Philips air purifier if I’m away from home?
Yes, once successfully connected to your home Wi-Fi and registered in the Philips Clean Home+ app, you can control your air purifier remotely from anywhere with an internet connection. This allows you to adjust settings or check air quality even when you’re not at home.
My phone is connected to Wi-Fi, but the app can’t find my air purifier. What’s wrong?
Ensure both your phone and your air purifier are on the *exact* same 2.4 GHz Wi-Fi network. Sometimes, dual-band routers can cause confusion. Try disabling your phone’s 5 GHz connection temporarily during the setup process and verify you’ve entered the correct Wi-Fi password in the app.
How do I update the firmware on my Philips air purifier through the app?
The Philips Clean Home+ app will usually notify you when a firmware update is available for your air purifier. You can typically find an option within the app’s settings or device management section to initiate and download the update. Keep your purifier connected to Wi-Fi during this process.

![5 Best Air Purifier for Flatulence [In 2026]](https://homeunderstandable.com/wp-content/uploads/2025/05/best-air-purifier-for-flatulence-top-picks-for-odor-free-homes-768x432.jpg)