How to Install Your Air Purifier Filter: A Simple Guide
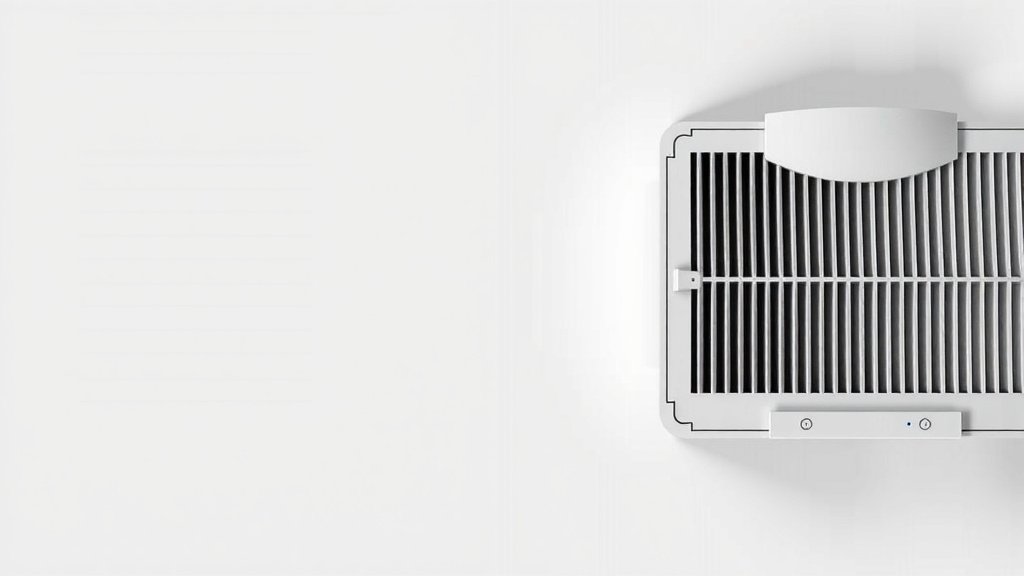
Installing a new air purifier filter is surprisingly simple and can be done in under 15 minutes. You just need to unplug your purifier, open the cover, remove the old filter, and pop in the new one. It’s a quick way to ensure your air stays fresh and clean.
Regularly changing your air filter is essential for your purifier to work at its best. A dirty filter means your purifier struggles to pull in air, reducing its effectiveness and potentially straining the motor. We found that many common household odors and allergens can be significantly reduced with a clean filter.
- Unplug your air purifier first.
- Locate and open the filter cover.
- Remove the old, dusty filter.
- Insert the brand new filter correctly.
- Close the cover and plug it back in.
Ready to get your hands a little dusty? Let’s walk through exactly how to swap out that old air purifier filter for a fresh one, step by step.
Swapping Out Your Air Purifier Filter: A Simple Guide
Replacing your air purifier’s filter is one of the most **important maintenance tasks** you can do. A fresh filter works like a charm. It helps your purifier catch dust, pollen, and other tiny particles. This keeps your indoor air cleaner and healthier. You’ll likely notice a difference in air quality.
When is it time for a change? Most manufacturers recommend replacing filters every 6 to 12 months. Check your air purifier’s manual for specific guidance. Factors like your home’s air quality and how often you run the purifier can affect this timeline. If you notice more dust settling or your allergies acting up, it might be time sooner.
Gathering Your Supplies
Before you begin, let’s make sure you have everything ready. This makes the process smooth and quick. You don’t want to be searching for things mid-job. A little preparation goes a long way.
What You’ll Need
- Your **new replacement air filter**. Make sure it’s the correct model for your purifier.
- A **clean, dry cloth** or paper towels.
- A **vacuum cleaner** with a brush attachment (optional, but helpful).
- Your air purifier’s **user manual** (just in case!).
Step-by-Step Filter Replacement Process
Now, let’s get down to business. This process usually takes just a few minutes. Think of it as giving your air purifier a much-needed spa treatment.
Step 1: Power Down Safely
This is the **most critical first step**. Always unplug your air purifier from the wall outlet. Never attempt to change a filter while the unit is powered on. This protects you from electric shock and prevents damage to the purifier. Safety first!
Step 2: Access the Filter Compartment
Most air purifiers have the filter located behind a panel or cover. This might be on the back, side, or even the bottom of the unit. Consult your manual if you’re unsure. You might need to press clips, slide panels, or unscrew a few fasteners. Some models have a simple lift-off cover.
Finding the Access Panel
Look for seams or edges that suggest a panel is removable. Many manufacturers design these to be intuitive. Sometimes, there’s a small latch or handle to help you open it. If it feels stuck, double-check for hidden clips or screws. Don’t force anything.
Step 3: Removing the Old Filter
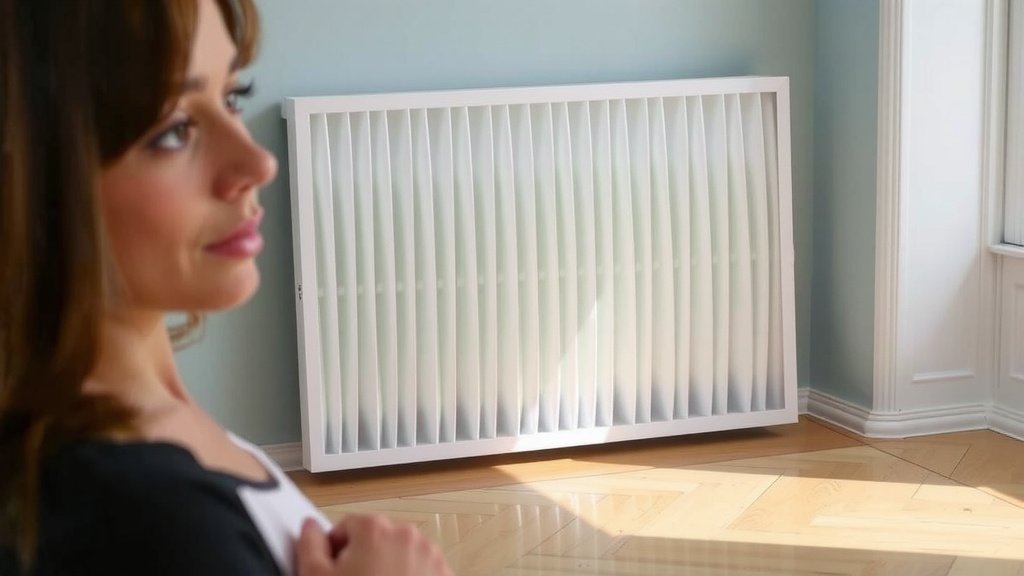
Once the compartment is open, you’ll see the old filter. It’s probably covered in a layer of dust and debris. Carefully slide or pull the old filter out. Note which way the filter was facing. There might be arrows indicating airflow direction.
Handling the Dirty Filter
Be prepared for a bit of dust to fall. It’s a good idea to have a trash bag nearby. You can gently shake the old filter over the bag. Some people find wearing gloves helpful, especially if they have allergies. We found that older filters can release a surprising amount of dust.
Step 4: Cleaning the Compartment (Optional but Recommended)
With the old filter removed, you have a clear view of the filter housing. This is a great opportunity to do a quick clean. Use your dry cloth or paper towels to wipe away any loose dust or debris inside the compartment. If you have a vacuum with a brush attachment, you can use it to gently suck out stubborn dust. This ensures the new filter performs at its best. A clean space means a cleaner airflow.
Step 5: Inserting the New Filter
Take your new, pristine filter. Check for any plastic wrapping that needs to be removed. Most filters have arrows on the side indicating the correct airflow direction. These arrows should point towards the inside of the unit, following the path the air takes. If you’re unsure, your manual will show you. Slide the new filter into the compartment, ensuring it fits snugly. It should feel secure.
Ensuring Proper Fit and Orientation
It’s **vital that the filter is correctly oriented**. An improperly installed filter won’t capture pollutants effectively. It could also cause air to bypass the filter, reducing the unit’s efficiency. If your filter has a different side for different functions (like an activated carbon layer), make sure that side is facing the right way as per your manual. A good seal is key.
Step 6: Reassembling the Air Purifier
Now, reverse the process you used to open the compartment. Securely reattach the cover or panel. Make sure all clips, screws, or fasteners are back in place. You should hear a click or feel a secure fit. Double-check that the cover is flush and there are no gaps.
Step 7: Powering Back On and Resetting
Plug your air purifier back into the wall outlet. Turn it on to ensure it’s working correctly. Many air purifiers have a filter replacement indicator light. You’ll need to reset this light to let the unit know a new filter is installed. Your manual will tell you how to do this. It often involves pressing and holding a specific button for a few seconds.
Filter Life Reset Checklist
Here’s a quick checklist to confirm you’ve completed the job:
- Air purifier is **unplugged** before starting.
- Old filter successfully **removed**.
- New filter installed in the **correct orientation**.
- Filter compartment is **closed and secured**.
- Unit is **plugged back in** and powered on.
- Filter indicator light has been **reset**.
That’s it! You’ve successfully replaced your air purifier filter. Your home’s air quality should start improving immediately. It’s a simple task that makes a big difference in your living environment.
Conclusion
You’ve now successfully navigated the simple process of changing your air purifier filter! It’s a straightforward task that can dramatically improve your home’s air quality. Remember, a clean filter means your purifier can efficiently capture those dust particles, allergens, and odors you want gone. Don’t put off this easy maintenance. Your lungs will thank you for it! Your next step is simple: schedule a reminder in your calendar for six months from now to check your filter again.
Frequently Asked Questions
How often should I really replace my air purifier filter?
Most manufacturers recommend changing your filter every 6 to 12 months. However, this can vary based on your home’s air quality and how often you run your purifier. If you notice more dust in your home or an increase in allergy symptoms, it might be time for an earlier change.
Can I wash my air purifier filter instead of replacing it?
Generally, no. Most air purifier filters are designed for single use and cannot be washed. Washing them can damage the filter material and reduce its effectiveness. Always refer to your user manual to confirm if your specific filter type is washable, though this is rare.
What happens if I don’t change my air purifier filter often enough?
A clogged filter struggles to pull air through the unit, significantly reducing its effectiveness. It can also lead to decreased airflow, put extra strain on the purifier’s motor, and potentially shorten its lifespan. Plus, you won’t be getting the clean air you paid for.
My new filter doesn’t seem to fit perfectly, what should I do?
Ensure you have purchased the exact replacement filter model specified for your air purifier. Sometimes, filters look similar but have slight size differences. Double-check the filter’s orientation and ensure no packaging is still attached. If it still feels wrong, consult your manual or the manufacturer.
Is it normal for the new filter to have a slight odor when I first turn it on?
Yes, it’s quite common for a new filter, especially those with activated carbon layers, to have a faint, new smell when you first turn on the purifier. This odor typically dissipates within a few hours of operation as the air circulates. If the smell is strong or bothersome, ensure the filter is correctly installed and all protective wrapping is removed.