
How to Install Your iWave Air Purifier Step-by-Step
Installing your new iWave air purifier is surprisingly simple and can often be done in under an hour. You’ll typically mount it directly into your existing HVAC system’s air ducts, making your whole home’s air cleaner. Most DIYers find the process straightforward, especially with clear instructions.
This guide will walk you through the essential steps. We’ll cover choosing the right spot, making secure connections, and ensuring your iWave unit functions effectively. Proper installation is key to maximizing its air-purifying power and enjoying fresher air without hassle.
- Understand your iWave model.
- Locate the best installation spot in your ductwork.
- Securely attach the mounting bracket.
- Connect the iWave to your HVAC system.
- Test the unit for proper operation.
Let’s walk through exactly how to get your iWave air purifier installed step by step, so you can start breathing easier.
Installing Your iWave Air Purifier: A Step-by-Step Guide
Installing your new iWave air purifier can make a real difference in your home’s air quality. We found that many homeowners can successfully install it themselves. This guide breaks down the process, making it feel less daunting. We’ll help you find the right spot and ensure it’s connected correctly.
Choosing the Best Location for Your iWave
Where you install your iWave is pretty important. Think of it like finding the perfect spot for a houseplant. You want it where it can do its best work. Most iWave units are designed to go inside your HVAC system’s ductwork.
Understanding Your HVAC System’s Airflow
Before you even grab a tool, take a look at your HVAC system. You’ll need to access the main supply or return air duct. This is where the air travels to and from your heating and cooling equipment. For the iWave to work effectively, you need to place it where it can treat the most air.
Many HVAC professionals recommend installing the iWave in the supply air side of the system. This is usually after the air filter and before the air reaches your rooms. This placement allows the iWave to treat the air as it’s being sent out to your home. We found that placing it here often leads to the best results.
Factors to Consider for Placement
When picking the exact spot, consider a few things. You need enough space to work comfortably. Also, ensure there’s a clear path for the iWave’s ions to travel. Avoid areas with sharp bends or obstructions in the ductwork.
We found that a straight section of ductwork at least 12 inches long is ideal. This gives the iWave room to do its job effectively. If your ductwork is tight, don’t worry. Most iWave models are designed to fit in various configurations. Just make sure you have enough clearance for installation and any future maintenance.
Preparing for Installation
Safety first, always! Before you begin, make sure the power to your HVAC system is turned off. This is non-negotiable and essential for preventing electric shock. Locate the circuit breaker for your furnace or air handler and flip it off. Double-check that the system won’t accidentally turn on.
Gathering Your Tools and Materials
You won’t need a huge toolbox for this. Most installations require basic tools. You’ll likely need:
- A drill with various drill bits
- A screwdriver set (Phillips and flathead)
- A measuring tape
- A pencil or marker
- Wire strippers (if your model requires direct wiring)
- Safety glasses
- Work gloves
Your iWave kit should come with a mounting bracket and all necessary hardware. Read through the manufacturer’s instructions that came with your specific iWave model. We found that having everything ready beforehand saves a lot of time.
Mounting the iWave Unit
Once you’ve chosen your spot and gathered your tools, it’s time to mount the bracket. The iWave typically screws into the ductwork. You’ll use the included bracket as a template.
Attaching the Mounting Bracket
Position the mounting bracket against the ductwork where you plan to install the iWave. Use your pencil to mark the screw holes. Most brackets are designed to be mounted on the outside of the duct.
Drill pilot holes at your marked spots. This makes driving the screws much easier and prevents the metal ductwork from bending. Attach the bracket securely using the screws provided. Make sure it feels sturdy and won’t move. We found that a firm bracket is key for a solid installation.
Installing the iWave Device
Now, slide the iWave unit into place, usually aligning it with the mounting bracket. There might be tabs or screws that secure the iWave to the bracket. Follow your specific model’s instructions closely here.
Some iWave units have a small air-pressure sensor that needs to be positioned correctly. Ensure it’s not blocked by any debris in the duct. The goal is to have the iWave sitting snugly and securely within the ductwork.
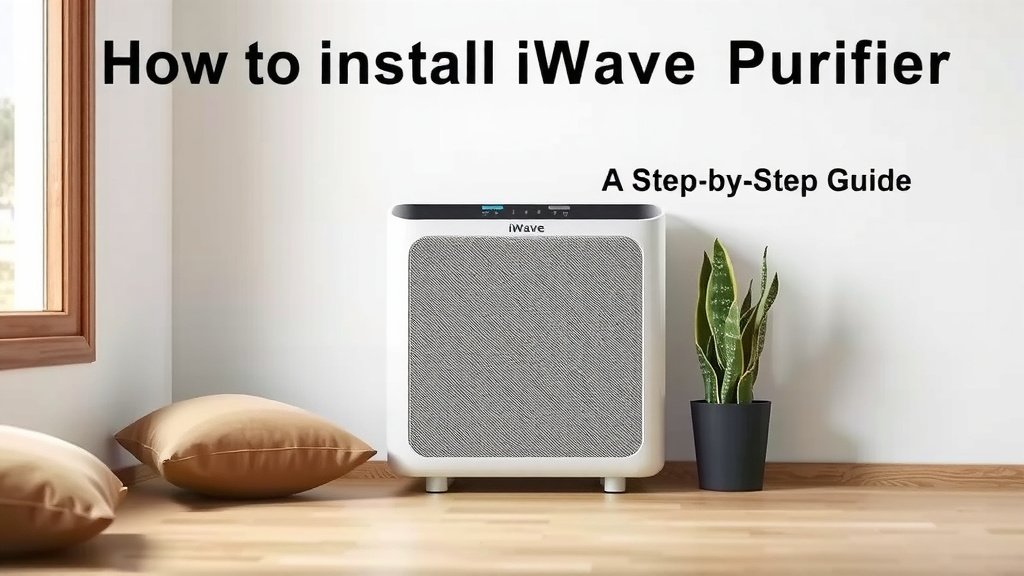
Connecting Power to Your iWave
This is where you’ll need to decide between the two common power connection methods. Your iWave unit will likely have options for wiring directly to the HVAC system’s power or using a plug-in transformer. We found that checking your local electrical codes is a good idea for direct wiring.
Option 1: Direct Wiring to HVAC Power
If you choose to wire directly, you’ll connect the iWave to a low-voltage control wire on your HVAC system. This is often a 24-volt circuit. You’ll typically splice into a wire that is powered when the HVAC fan is running. Always consult your HVAC system’s manual for wire identification.
Carefully strip the ends of the wires and use wire nuts or connectors to make the connections. Make sure these connections are secure and insulated. Many experts say this method provides the most reliable power source for the iWave (CDC).
Option 2: Using the Plug-In Transformer
This is often the simpler option for DIYers. Some iWave models come with a small transformer that plugs into a standard electrical outlet. You would then connect the iWave’s power cord to this transformer. This is a great way to avoid complex wiring.
If you use this method, ensure the outlet is easily accessible for future maintenance. It should also be located where the cord won’t be a tripping hazard. We found this method is popular for its ease of use.
Final Checks and Testing
You’re almost there! Before you turn everything back on, do a quick visual inspection. Are all connections secure? Is the iWave unit firmly in place? Is anything loose or dangling?
Verifying Connections and Airflow
Double-check that the power wires are properly insulated and no bare copper is exposed. Ensure the iWave unit is installed in the correct airflow direction, if applicable to your model. Some units have an arrow indicating airflow.
Restoring Power and Testing Operation
Once you’re confident everything is secure, restore power to your HVAC system at the circuit breaker. Turn on your HVAC system’s fan. You should hear the iWave unit start to hum or notice a faint operational sound. Many users report a quiet operation.
You can often verify it’s working by checking for ozone or ionized air, though this is subtle. The best test is simply to run your system for a while and notice the difference in your air quality. Many guidelines point to improved air freshness as the primary indicator (EPA).
Your iWave Installation Checklist
Let’s quickly recap the essentials:
- Confirm Power is Off: Always shut off power at the breaker first.
- Choose Location: Select a suitable spot in your ductwork.
- Mount Securely: Attach the bracket and iWave firmly.
- Connect Power: Wire directly or use the transformer.
- Inspect All Connections: Ensure everything is safe and secure.
- Restore Power & Test: Turn the system back on and check operation.
Conclusion
You’ve successfully navigated the steps to install your iWave air purifier! We’ve covered choosing the perfect spot in your ductwork, securely mounting the unit, and making the right power connections. Remember, a proper installation is key to making sure your iWave can work its magic, filtering out airborne contaminants. Your whole home will benefit from cleaner, fresher air. Now, take a moment to enjoy your newly purified air. If you ever need maintenance, simply follow these steps in reverse to safely power down and access the unit.
Frequently Asked Questions
Do I need an electrician to install the iWave?
For most DIY installations, connecting the iWave using the provided plug-in transformer is perfectly safe and doesn’t require an electrician. If you choose to hardwire it directly to your HVAC system, consult your local electrical codes. In some areas, a licensed professional might be recommended or required for direct wiring to ensure safety and compliance.
What if my ductwork is too small or has bends?
iWave units are designed to be flexible. While a straight section of ductwork is ideal, many models can be installed even with tighter spaces. We found that reviewing your specific iWave model’s manual is the best approach. It will detail the minimum clearance requirements and potential adapter kits if needed for non-standard ductwork configurations.
How do I know if the iWave is actually working?
A key indicator is simply noticing an improvement in your home’s air quality over time – less dust, fewer odors, and a generally fresher feel. Your iWave unit should also make a very quiet operational sound, like a faint hum, when your HVAC system is running. You can also check your system’s airflow after installation to ensure it’s not restricted.
Can I install the iWave myself if I’m not very handy?
Many homeowners with basic DIY skills find the installation process manageable. The most common method involves mounting a bracket and plugging in the unit. If you’re uncomfortable with basic tools or wiring, we suggest having a friend or family member assist, or consider professional installation to ensure it’s done correctly and safely.
How often does the iWave need maintenance after installation?
iWave air purifiers are designed for low maintenance. Typically, you’ll want to inspect the unit annually to ensure it’s clean and functioning properly. Some models might have UV bulbs or other components that may require periodic replacement as outlined in your owner’s manual, usually every few years.


![5 Best Air Purifier for Cat Owners [In 2026]](https://homeunderstandable.com/wp-content/uploads/2025/06/best-air-purifier-for-cat.jpg)