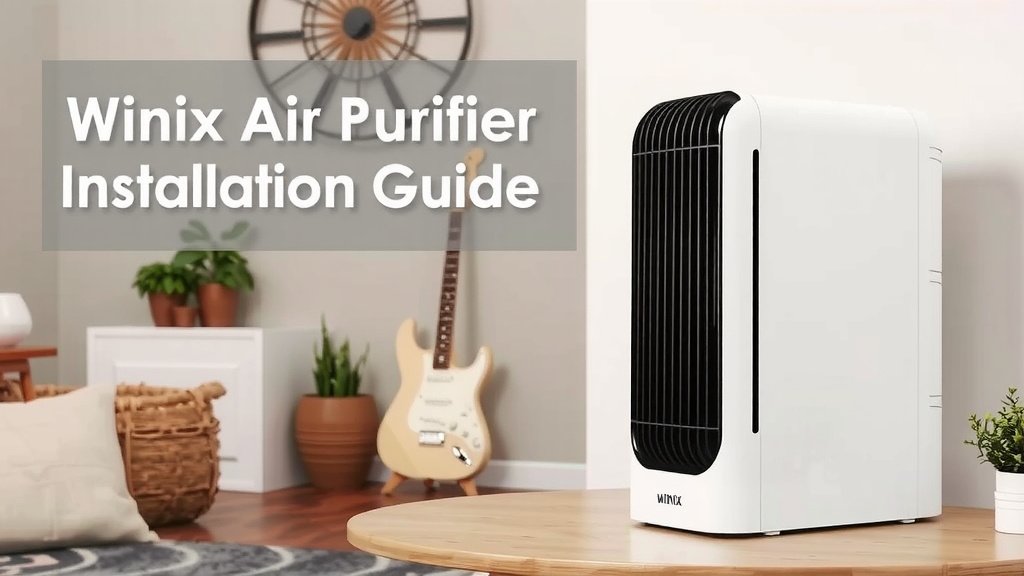
Easy Winix Air Purifier Installation Guide
Installing your new Winix air purifier is a surprisingly simple process. You can have it up and running in just a few minutes, ready to start cleaning your home’s air. Just follow these basic steps to get your purifier working its magic.
We know setting up new appliances can sometimes feel daunting. That’s why we found that most Winix air purifiers are designed with user-friendliness in mind. You’ll likely just need to remove packaging and plug it in to enjoy cleaner air quickly.
- Unpack your Winix purifier carefully.
- Remove any protective film or tape.
- Insert the filter(s) if they aren’t pre-installed.
- Find a good spot for it, away from obstructions.
- Plug it in and turn it on!
Let’s walk through exactly how this works step by step to get your Winix purifier ready to go.
“`htmlGetting Your Winix Air Purifier Set Up and Running
So, you’ve got your new Winix air purifier, and you’re eager to breathe in that cleaner air. Great choice! Installing your Winix purifier is designed to be straightforward. You won’t need any special tools or a degree in engineering. We found that most models follow a similar, simple setup process. Let’s get it ready for action.
Unpacking Your Winix Purifier: The First Steps
The very first thing you’ll want to do is carefully unpack your air purifier. You’ll find it nestled securely in its box, usually with foam or plastic protecting it. Take your time here. Sometimes, small parts can be hidden. Gently remove the unit from the packaging. Make sure you have the instruction manual handy, too. It’s your best friend for any specific details about your model.
Checking for Protective Materials
Once your Winix purifier is out of the box, give it a quick visual inspection. Manufacturers use protective film and tape to keep everything pristine during shipping. You’ll likely find clear plastic wrap on the exterior casing. There might also be tape holding parts together or covering vents. Peel these off carefully. Leaving them on can block airflow and affect performance. We always recommend checking all vents and compartments.
What to Do with the Packaging?
Keep the original packaging for a little while, at least a week or two. If you ever need to return or move your purifier, the original box is the safest way to transport it. Plus, it helps protect your investment. You can recycle the cardboard and plastic materials once you’re sure everything is working perfectly.
Installing and Preparing the Filters
Filters are the heart of your air purifier. Your Winix model will have at least one, and sometimes multiple, filters. This is often the most crucial step in the setup. Most Winix units are designed so you can access the filters easily. You’ll usually need to open a back or side panel.
Locating and Accessing the Filter Compartment
On the back or side of your Winix purifier, you’ll see a panel. This panel usually has latches or clips to secure it. Gently press or lift these clips to release the panel. Some models might require you to lay the unit on its side to access the filter compartment more easily. Your manual will show you the exact location and method for your specific model. Don’t force anything; these panels should open smoothly.
Inserting or Replacing Filters
Inside, you’ll find the filter(s). They might be pre-installed, or they might be packaged separately for you to insert. If they’re pre-installed, they might have a plastic bag around them. You must remove this bag before operating the purifier. The air needs to pass through the filter material. Carefully remove the plastic bag. If the filters are separate, align them according to the markings or instructions inside the compartment. They usually slide or click into place. Ensure they are seated properly.
Understanding Different Filter Types
Your Winix purifier likely uses a combination of filters. There’s typically a pre-filter to catch larger particles like dust and pet hair. Then, you’ll have an activated carbon filter, which helps reduce odors. Finally, a True HEPA filter captures 99.97% of airborne allergens and particles as small as 0.3 microns. Research shows that using all recommended filters is vital for optimal air cleaning (Environmental Protection Agency).
Securing the Filter Compartment
Once your filters are correctly in place and any protective plastic is removed, reattach the cover panel. Make sure it snaps or clips back securely. You should hear or feel it lock into position. A properly secured panel ensures the purifier operates as intended and prevents dust from bypassing the filters.
Finding the Perfect Spot for Your Purifier
Where you place your air purifier matters. It needs space to work efficiently. Placing it in the wrong spot can actually hinder its performance. You want to maximize the airflow for the best results.
Ensuring Proper Airflow
Air purifiers work by drawing in air from their surroundings, cleaning it, and then releasing it. This process requires adequate space around the unit. We found that you should keep your Winix purifier at least 1 to 3 feet away from walls, furniture, and curtains. This allows air to circulate freely into and out of the machine. Avoid placing it in tight corners or behind large objects. Good airflow means cleaner air for you faster.
Choosing the Best Room Location
Consider where you spend the most time. Often, this is the bedroom, living room, or home office. Placing your purifier in the room where you need cleaner air the most will have the biggest impact. For instance, if allergies are a concern, running it in your bedroom overnight can make a big difference in your sleep quality. Many experts recommend using an air purifier in the primary living space during the day (American Lung Association).
Avoiding Obstructions and Drafts
Keep the area around your purifier clear. Don’t place plants, books, or other items on or directly in front of it. Also, try to avoid placing it directly in line with an open window or air vent. While it’s good to ventilate your home, placing the purifier directly in a strong draft can make it work harder than it needs to and may not be as effective at capturing airborne pollutants. Your goal is to let it circulate the air within the room.
Powering Up Your Winix Air Purifier
Now for the moment of truth! It’s time to plug in your purifier and turn it on. This part is as simple as it sounds.
Connecting to a Power Outlet
Locate the power cord attached to your Winix purifier. Plug it firmly into a standard electrical outlet. Ensure the outlet is in good working order. We recommend plugging it directly into a wall outlet rather than a power strip, if possible, to ensure consistent power delivery. If you do use a power strip, make sure it’s rated for the purifier’s wattage. Check your manual for any specific power requirements.
Turning It On and Initial Settings
Once plugged in, you’ll see the control panel on your Winix unit. Press the power button. The unit will likely light up, indicating it’s on. Many models will start on a medium or auto setting. Familiarize yourself with the basic buttons: power, fan speed, and mode. Your manual will explain each function in detail. For most users, the auto mode is a great starting point, as it adjusts fan speed based on detected air quality.
Here’s a quick checklist to ensure you’ve completed all the setup steps:
- Unpacked all components and accessories.
- Removed all protective plastic film and tape.
- Correctly installed or replaced the air filters.
- Placed the purifier in a location with good airflow.
- Plugged the unit into a working power outlet.
- Turned the purifier on and set to an initial mode.
Conclusion
You’ve successfully navigated the installation of your new Winix air purifier! We’ve walked through unpacking, filter setup, optimal placement, and powering it on. Remember, proper setup ensures your purifier works efficiently to clean your home’s air. Don’t forget to keep your manual handy for future reference, especially for filter replacement reminders. Now, sit back and enjoy the fresh, clean air your Winix is working to provide!
Frequently Asked Questions
How often do I need to replace the filters?
Filter replacement frequency depends on your specific Winix model and usage. Typically, True HEPA filters need replacing every 6 to 12 months. Carbon filters may need changing more often, around every 3 months, especially if you have pets or strong odors. Your purifier’s indicator light will usually let you know when it’s time.
Can I use my Winix air purifier in a very small room?
Yes, you can use your Winix air purifier in a small room. However, ensure you set it to a lower fan speed to avoid creating too much air movement. Placing it in a smaller space means it might clean the air more quickly, but always keep the recommended distance from walls and furniture for optimal performance.
What does the “Auto Mode” on my Winix purifier do?
Auto Mode uses sensors within your Winix air purifier to detect the current air quality. If it senses pollutants or odors, it will automatically adjust the fan speed to clean the air more effectively. When the air quality improves, it will slow down the fan speed again, saving energy and reducing noise.
Is it okay to run my Winix purifier all day and night?
Running your Winix air purifier continuously is generally recommended for the best air cleaning results. Modern air purifiers are designed for 24/7 operation and are energy efficient, especially when using Auto Mode. Consistent operation helps maintain cleaner air in your home throughout the day and night.
My Winix purifier smells weird after setup. Is this normal?
It’s not uncommon for a new air purifier to have a slight odor when first turned on. This can be due to residual manufacturing materials or the filters themselves. We found this smell usually dissipates within a few hours to a couple of days of continuous use. Ensure all protective packaging is removed from the filters.

![How to Clean Charcoal Filter for Air Purifier [Easy Guide]](https://homeunderstandable.com/wp-content/uploads/2025/05/how-to-clean-charcoal-filter-for-air-purifier-easy-guide-768x512.jpg)