
How to Safely Remove Your Front Load Washer
Removing your front load washer yourself is totally doable. You’ll need a few basic tools and some patience to disconnect the water lines and move the heavy machine. The good news is, it’s a straightforward process most homeowners can manage with a little guidance.
Before you start, it’s wise to prepare your workspace. Make sure you have enough room to maneuver the washer and gather all your necessary supplies. This might also be a good time to consider what you’ll do with your old washer if you’re replacing it.
- Turn off the water supply.
- Disconnect hoses carefully.
- Secure the drum for moving.
- Have a helper ready.
Ready to get this done? Let’s walk through exactly how to remove your front load washer, step by step.
“`htmlMoving Your Front Load Washer: A Step-by-Step Guide
Taking out your front load washer doesn’t have to be a wrestling match. With the right preparation and a few simple steps, you can disconnect and move it safely. We’ll walk you through everything you need to know.
Gather Your Tools and Prepare the Area
Before you even think about touching the washer, let’s get you ready. Having the right tools on hand makes a huge difference. It’s like having the right ingredients before you start cooking – everything goes smoother.
Essential Tools You’ll Need
You won’t need a whole toolbox for this job. Most of what you need is probably already in your home. It’s good to have these items ready before you start:
- Adjustable wrench: For tightening and loosening hose connections.
- Pliers: Good for gripping stubborn parts.
- Bucket: To catch any residual water.
- Towels or old rags: For spills and to protect your floor.
- Dolly or hand truck: Essential for moving the heavy machine.
- Packing tape: For securing doors and cords.
- Shipping bolts (if you have them): These are critical if you plan to move the washer to a new location.
Clearing the Space Around Your Washer
Think of this like making room for a dancer. You need space for the washer to move and for you to work without tripping. Clear out anything stored around or on top of the washer. Push back any laundry baskets or cleaning supplies. You’ll want at least two feet of clear space on all sides, if possible.
Disconnecting the Water Supply and Hoses
This is the most critical part of the removal process. Water is powerful, and we want to avoid any leaks or floods. Taking your time here is really important.
Turning Off the Water
First things first: shut off the water supply. Look for the two shut-off valves behind your washing machine. They usually look like small handles or knobs connected to the wall where the water lines attach. Turn them clockwise until they stop. If you can’t find these, you might need to shut off the main water supply to your home. Many homeowners find this step a little nerve-wracking, but it’s quite simple.
Detaching the Water Hoses
Now, grab your adjustable wrench. Place a bucket or towel underneath each hose connection. Slowly loosen the nuts connecting the hoses to the back of the washer. You’ll likely see some water drip out. Let it drain completely into your bucket. Once disconnected, gently pull the hoses away from the machine. Make sure there are no kinks or sharp bends in the hoses.
Unplugging the Power Cord
Don’t forget the power! Make sure the washer is unplugged from the electrical outlet. If the cord is tangled or hard to reach, use pliers to gently guide it out. You might want to tape the cord to the back of the machine so it doesn’t get snagged when you move it.
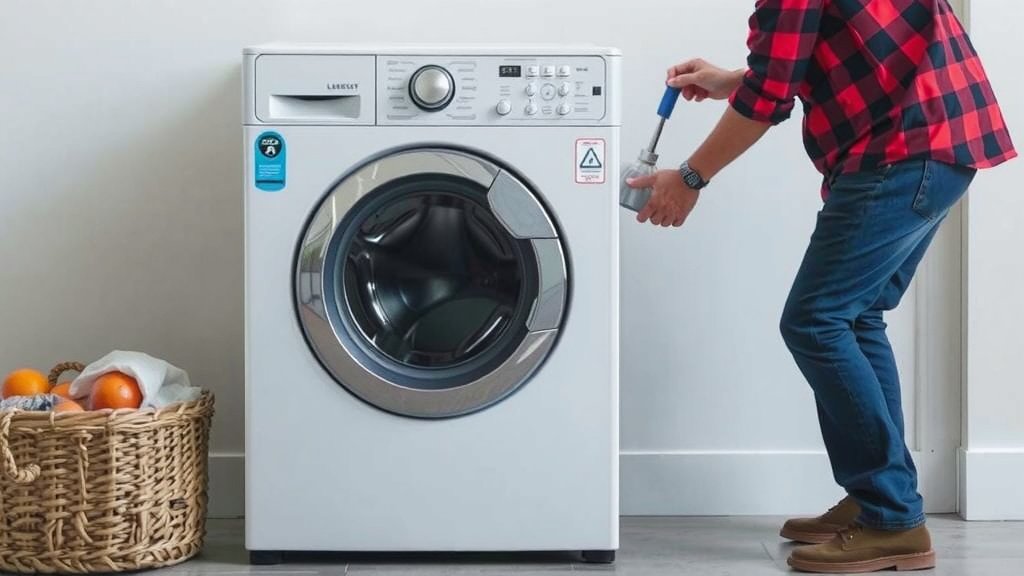
Securing the Washing Machine Drum
Front load washers have drums that spin very fast. When you move them, that drum can shift and cause damage. Many manufacturers include shipping bolts to prevent this. If you still have them, now is the time to use them!
What Are Shipping Bolts and Why Use Them?
Shipping bolts are metal rods that lock the drum in place. This stops it from bouncing around during transit. They are typically inserted into specific holes on the back of the washer. Research and found that not using them can lead to significant internal damage to the machine (Whirlpool Corporation).
Installing the Shipping Bolts
Check the back of your washer for small plastic caps. Remove these caps and carefully insert the shipping bolts. Tighten them by hand or with a wrench until they are snug. If you don’t have your original shipping bolts, you can often purchase replacements online or from appliance stores. It’s a small investment for peace of mind.
Moving the Washer Safely
This is where having a helper comes in handy. Front load washers are surprisingly heavy, often weighing over 200 pounds. Trying to move one alone is a recipe for a pulled back or a damaged floor.
Enlisting a Helper
Ask a friend, family member, or neighbor to lend a hand. Two people can lift and maneuver the washer much more safely. Make sure your helper knows the plan and is ready to coordinate your movements. Clear communication is key here, just like in any team effort!
Using a Dolly or Hand Truck
Slide the dolly or hand truck under the front or back of the washer. Tilt the machine back slightly to get it onto the dolly. Secure the washer to the dolly with straps if possible. Now, you can slowly roll the washer out of its space. Go slowly and watch for obstacles like thresholds or cords.
Protecting Your Floors
Use old towels or cardboard to protect your floors, especially if you have hardwood or laminate. Lay them down in the path you’ll be taking. This is especially useful when maneuvering around corners or doorways.
Here’s a quick checklist to make sure you’ve covered all your bases:
- Water shut-off valves are closed.
- Hoses are fully disconnected and drained.
- Power cord is unplugged.
- Shipping bolts are installed (if moving).
- A helper is ready.
- Dolly is positioned correctly.
Conclusion
You’ve successfully navigated the steps to remove your front load washer! By carefully shutting off the water, disconnecting hoses, and securing the drum, you’ve protected your home and the appliance. Remember, having a helper and using a dolly are key to moving it safely. Now that your washer is out, you’re ready to install a new one or arrange for disposal. You’ve got this!
Frequently Asked Questions
What if I can’t find the water shut-off valves behind my washer?
If you can’t locate the specific shut-off valves for your washer, you’ll need to turn off the main water supply to your entire house. This is usually found in your basement, utility room, or near your water meter. Just be sure to inform others in your household before shutting off the water.
Do I really need shipping bolts if I’m not moving the washer far?
Yes, it’s highly recommended to use shipping bolts even for short moves. The internal suspension system of a front load washer is designed to keep the drum stable during transport. Research and found that skipping this step can lead to internal damage and costly repairs down the line.
How much water should I expect to drain from the hoses?
You can expect a small amount of residual water to drain from each hose, typically less than a cup. Having your bucket and towels ready will catch this easily. It’s better to be prepared for a little water than to deal with a larger spill.
My washer is really stuck in its space. What can I do?
Sometimes, water connections or floor mats can make a washer feel like it’s glued in place. Gently try wiggling the machine side to side. If that doesn’t work, and you’ve disconnected everything, you may need to use a bit more force with your helper, ensuring you’re lifting evenly.
What’s the best way to dispose of an old front load washer?
Many local waste management services offer appliance pick-up, sometimes for a small fee. You can also check with your new appliance retailer, as they often provide removal services when they deliver your new machine. Some recycling centers also accept old appliances.

![7 Best Washing Machine For Single Person [In 2026]](https://homeunderstandable.com/wp-content/uploads/2026/08/7-best-washing-machine-for-single-person-in-2026-featured-768x432.jpg)
![7 Best Washing Machine Offers [In 2026]](https://homeunderstandable.com/wp-content/uploads/2026/09/7-best-washing-machine-offers-in-2026-featured-768x432.jpg)
![7 Washer Dryer Best [In 2026]](https://homeunderstandable.com/wp-content/uploads/2026/09/7-washer-dryer-best-in-2026-featured-768x432.jpg)
![7 Best Small Space Washer And Dryer [In 2026]](https://homeunderstandable.com/wp-content/uploads/2026/08/7-best-small-space-washer-and-dryer-in-2026-featured-768x432.jpg)