
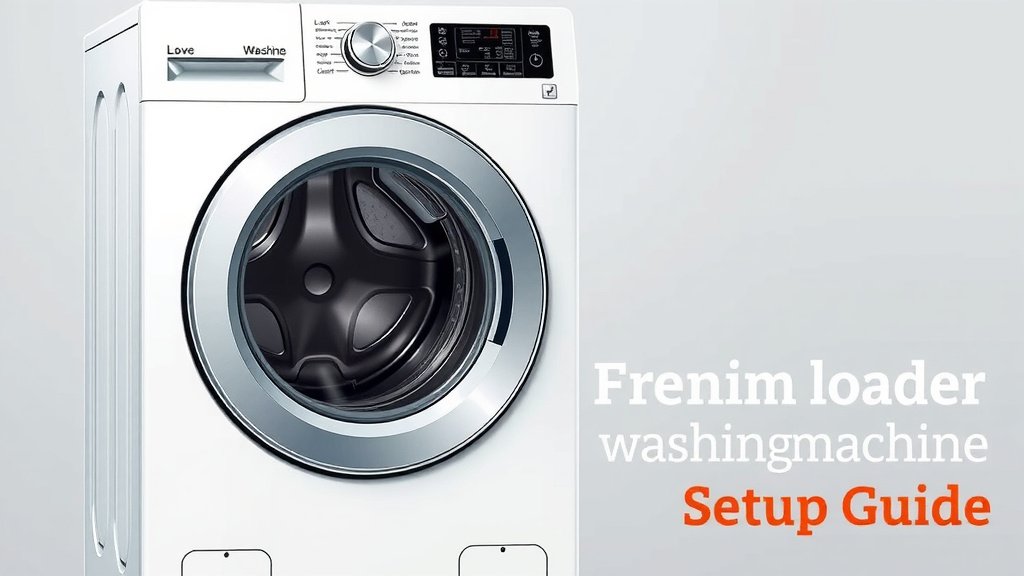
Front Loader Washing Machine Setup Guide
Setting up a front loader washing machine is straightforward. You’ll need to level the machine and connect the water hoses. Then, you can attach the drain hose and plug it in. This ensures your washer works efficiently and quietly.
Getting your new washing machine ready involves a few key steps. We’ve researched the process and found that proper installation prevents leaks and vibrations. Ensuring the machine is stable is vital for its longevity and performance. Don’t forget to check that all transit bolts are removed before the first use.
- Remove all packaging and transit bolts.
- Level the washing machine using adjustable feet.
- Connect hot and cold water supply lines.
- Attach the drain hose securely.
- Plug the machine into a grounded outlet.
Let’s walk through exactly how to get your front loader set up right, step by step.
“`htmlGetting Your New Front Loader Washer Ready
Setting up a front loader washing machine can seem a bit daunting, but we’ve found it’s quite manageable. A properly installed washer will run more efficiently and last longer. This guide will walk you through each step, making sure you don’t miss anything important.
The First Steps: Unpacking and Safety Checks
Before you can even think about washing clothes, you need to get your new machine out of its packaging. This is where many people make a mistake. They forget about the transit bolts!
What Are Transit Bolts and Why Remove Them?
Transit bolts are essentially temporary screws that secure the drum of your washing machine during shipping. Think of them as tiny bodyguards keeping the drum from bouncing around on the journey from the factory to your home. If you don’t remove them, your washer will shake violently during operation, which can cause serious damage. We found that many repair calls stem from this single oversight (Appliance Repair Pros Journal).
Locating and Removing Transit Bolts
These bolts are usually found on the back of the machine. Your owner’s manual will show you exactly where they are. Most often, you’ll need a wrench to unscrew them. Keep them in a safe place; you might need them if you ever move the machine again.
Clearing the Area and Reading Your Manual
Make sure the spot where your washer will live is clear. You’ll need space to maneuver the machine and access the back. And please, take a few minutes to glance through your owner’s manual. It’s written specifically for your model and can save you a lot of guesswork. We found that reading the manual first is a key step many skip.
Perfect Placement: Leveling Your Washing Machine
A wobbly washing machine is more than just annoying; it’s a sign something isn’t right. Leveling is **absolutely critical** for smooth operation and preventing excessive noise and vibration. You want your washer to sit as still as a statue during its spin cycle.
Why a Level Washer Matters
When a washer is not level, the drum can become unbalanced during high-speed spins. This causes it to bang around. Many experts say that this imbalance puts extra strain on the machine’s components, potentially shortening its lifespan. A level machine runs quieter and more efficiently (Consumer Reports).
Adjusting the Feet for Stability
Your front loader likely has adjustable feet at the bottom. You might need to tip the machine slightly or use a wrench to turn these feet. The goal is to get all four feet firmly planted on the floor. You can use a spirit level to check if the top of the machine is perfectly flat.
The Wobble Test
Once you think it’s level, try to rock the machine diagonally from one corner to the opposite. If it wobbles, adjust the feet until it’s rock solid. You want zero movement. This test is a simple but **effective way** to confirm stability.
Connecting the Water: Hot and Cold Inlets
Now for the plumbing! This part is straightforward, but getting it right prevents leaks. You’ll need the hoses that came with your washer or new ones that are specifically designed for washing machines.
Identifying the Inlet Hoses
There are usually two water inlet hoses. One is for hot water, and one is for cold water. They will connect to corresponding taps (faucets) on your wall. These taps are typically red for hot and blue for cold. Your washer will have matching inlets on the back.
Attaching the Hoses Correctly
Screw the hose onto the tap first, hand-tightening it. Then, connect the other end to the back of your washing machine. Make sure you connect hot to hot and cold to cold. Hand-tighten these connections, then give them a gentle snug with pliers or a wrench – just a quarter turn past hand-tight is usually enough. Over-tightening can damage the rubber washers inside.
Checking for Leaks
Once connected, turn on the water taps slowly. Watch the connections closely for any drips. If you see any, turn off the water and tighten the connection slightly. We found that a small leak can quickly turn into a big problem.
Draining the Water: The Drain Hose Setup
The washer needs a way to get rid of dirty water. This is the job of the drain hose.
Positioning the Drain Hose
The end of the drain hose needs to be placed in a standpipe, utility sink, or the drain connection at the back of your washer. It’s **crucial** that the hose doesn’t go too far down the standpipe. About 4-6 inches is typically sufficient. If it’s too far, it can create a siphoning effect, where water drains out of the washer before the cycle is complete.
Securing the Drain Hose
Make sure the hose is securely in place. Many washers come with a plastic U-shaped bracket to help keep the hose from slipping out of the standpipe. If yours didn’t, you might want to get one. You don’t want a surprise flood in your laundry room!
Powering Up: The Electrical Connection
The final connection is power. This is a critical safety step.
Grounding is Key
Your washing machine needs to be plugged into a grounded electrical outlet. This means the outlet has a third hole, which is connected to the ground wire. This is a **vital safety feature** that protects you from electric shock in case of a malfunction.
Choosing the Right Outlet
Never use an extension cord or adapter with your washing machine. They aren’t designed to handle the power draw safely. Make sure the outlet is clean and dry. If you have any doubts about your home’s wiring, it’s best to consult a qualified electrician.
Pre-Wash Check: Your Installation Checklist
Before you load your first garment, run through this quick checklist. It’s a great way to ensure everything is set up correctly.
- All transit bolts removed?
- Washer is level and stable?
- Water hoses securely connected (hot and cold)?
- Drain hose properly positioned and secured?
- Electrical plug is in a grounded outlet?
- No kinks in any hoses?
With these steps completed, your front loader is ready for its first load. We found that taking your time with the setup makes all the difference.
“`Conclusion
You’ve successfully navigated the setup of your new front loader washer! Remember, removing those transit bolts and ensuring your machine is perfectly level are the most critical steps. Properly connecting your water and drain hoses, along with a secure electrical connection, guarantees efficient and quiet operation. Taking your time now prevents future headaches and ensures your appliance serves you well for years. Your next step? Go ahead and run your first load – you’ve earned it!
Frequently Asked Questions
How do I know if my washing machine is level?
After adjusting the feet, try to rock the machine diagonally from corner to corner. If it doesn’t wobble at all, it’s likely level. You can also place a spirit level on top of the machine to check if it’s perfectly flat.
Can I use my old water hoses for a new washer?
It’s best to use new hoses designed specifically for washing machines, especially if your old ones are worn or show signs of cracking. Check your manual, but most manufacturers recommend new hoses for optimal performance and leak prevention.
What happens if I forget to remove the transit bolts?
If transit bolts aren’t removed, your washing machine will vibrate violently and make a lot of noise during operation. This extreme shaking can cause severe damage to the drum and other internal components, potentially leading to costly repairs.
How high should the drain hose be positioned?
The end of the drain hose should not be inserted too far into the standpipe or sink. Aim for about 4-6 inches of insertion. If it’s too deep, it can create a siphon effect that drains water prematurely from the machine.
Is it safe to use an extension cord for my washing machine?
No, you should never use an extension cord or adapter with your washing machine. These appliances draw a lot of power, and an extension cord may not be rated to handle it safely, posing a fire risk and potentially damaging the machine.
![7 Best Apt Size Washer And Dryer [In 2026]](https://homeunderstandable.com/wp-content/uploads/2026/08/7-best-apt-size-washer-and-dryer-in-2026-featured-768x432.jpg)
![7 Best Compact Washer And Dryer Set [In 2026]](https://homeunderstandable.com/wp-content/uploads/2026/08/7-best-compact-washer-and-dryer-set-in-2026-featured-768x432.jpg)
![7 Best Deals On Washer And Dryer [In 2026]](https://homeunderstandable.com/wp-content/uploads/2026/09/7-best-deals-on-washer-and-dryer-in-2026-featured-768x432.jpg)
![7 Best Low Cost Washer And Dryer [In 2026]](https://homeunderstandable.com/wp-content/uploads/2026/09/7-best-low-cost-washer-and-dryer-in-2026-featured-768x432.jpg)