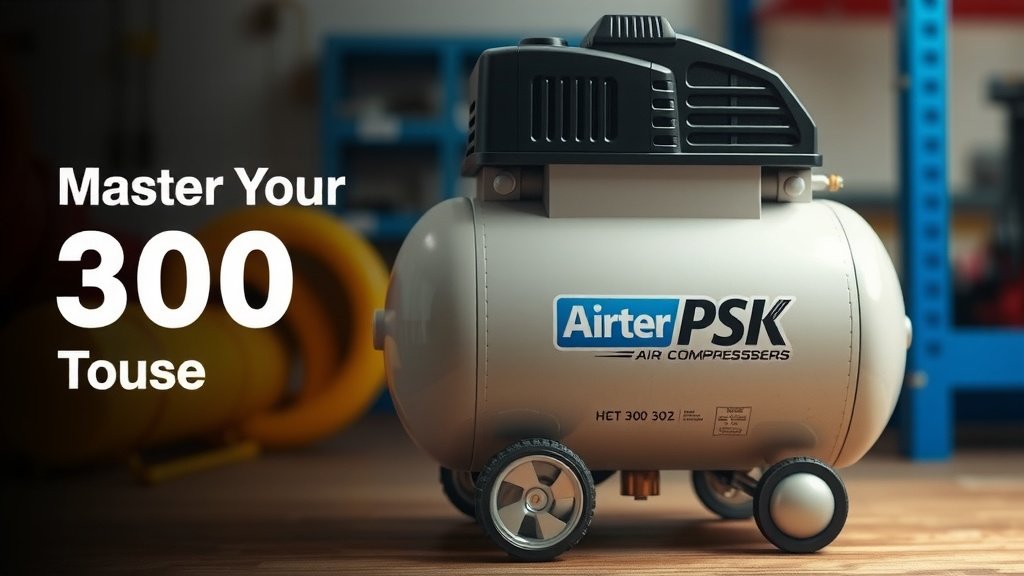
Master Your 300 PSI Air Compressor: A Simple Guide
Using a 300 psi air compressor is straightforward once you understand the basics. You can get high-pressure air for demanding jobs by following key safety steps and knowing how to properly connect your tools. It’s all about managing that extra power safely.
These compressors are built for tasks needing more force than standard models. Think about tools like impact wrenches or specialized paint sprayers. Understanding your compressor’s limitations and the needs of your equipment is vital for success and preventing equipment damage.
- Know your compressor’s psi limits.
- Connect the right air hose and fittings.
- Operate tools within their psi range.
- Always follow safety precautions.
Ready to harness that power? Let’s walk through exactly how to use your 300 psi air compressor safely and effectively for your projects.
Getting Started with Your 300 psi Air Compressor
So, you’ve got a 300 psi air compressor. That’s some serious muscle for your projects! Using it safely and effectively is simpler than you might think. We’ll guide you through the steps so you can get the job done right.
Understanding Your Compressor’s Power
A 300 psi compressor offers higher pressure than standard models. This extra force is great for demanding tools. Think about tools like heavy-duty impact wrenches or specialized spray guns. They need that extra push to perform at their best. It’s like having a supercharged engine for your toolkit.
Safety First: Essential Precautions
Safety is non-negotiable with high-pressure air. Always start by reading your compressor’s manual. It contains specific safety warnings for your model. Wear safety glasses or goggles to protect your eyes from flying debris or sudden air bursts. Hearing protection is also a smart idea, as compressors can be quite loud.
Make sure the compressor is on a stable, level surface. This prevents it from tipping over when it’s running. Keep the area around the compressor clear of clutter and flammable materials. Good ventilation is key, especially if you’re running it for extended periods.
Pressure Safety Valve Check
Your compressor has a safety relief valve. This is a critical component. It automatically releases excess pressure if something goes wrong. Before each use, give it a gentle tug to ensure it’s not stuck. If it doesn’t spring back freely, consult your manual or a professional.
Electrical Safety
If your compressor is electric, always use a properly grounded outlet. Check the power cord for any damage before plugging it in. Never operate an electric compressor in wet conditions. Water and electricity don’t mix, and it’s a serious hazard.
Connecting Your Tools for Optimal Performance
Connecting your tools correctly is just as important as understanding the compressor. Using the right hoses and fittings ensures you get the full benefit of that 300 psi without leaks or restrictions.
Choosing the Right Air Hose
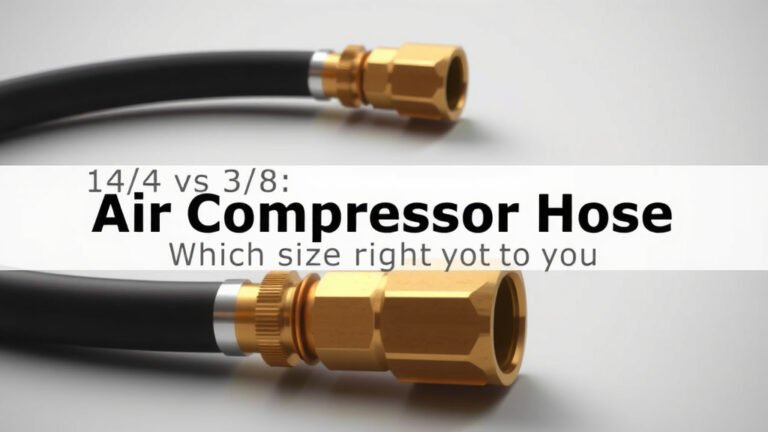
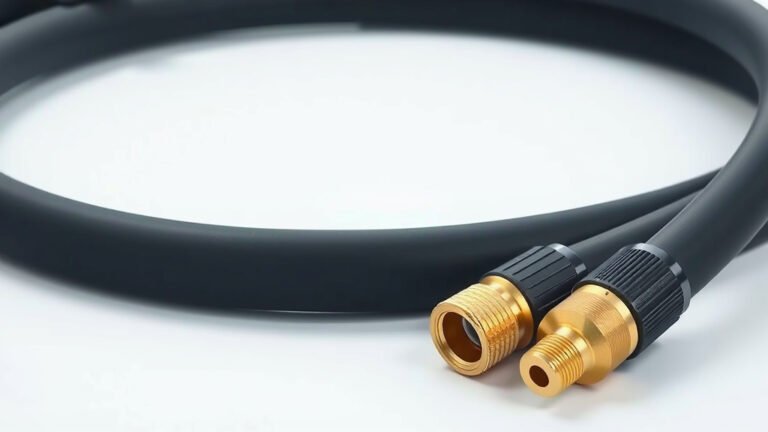
Not all air hoses can handle 300 psi. You need a hose rated for high pressure. Look for hoses made from durable materials like reinforced rubber or polyurethane. The hose diameter also matters. A smaller diameter can restrict airflow and reduce the pressure reaching your tool.
A 3/8-inch or 1/2-inch diameter hose is generally recommended for higher-pressure applications. Check the maximum pressure rating listed on the hose itself. Ensure it’s well above 300 psi to provide a safety margin. A hose that’s too short can also be a problem. It might limit your movement and put stress on the connections.
Understanding Fittings and Couplers
Fittings, often called couplers, connect your hose to the compressor and your tool. You’ll likely encounter different types, but common ones include industrial “T” style and ARO style. It’s vital that your fittings match on both ends of the hose and at the tool connection.
Quick-connect couplers make changing tools easy. Just pull back the sleeve, insert the plug, and release. Ensure these couplers are also rated for your compressor’s pressure. Leaky fittings waste air and reduce performance. Many experts suggest using brass or steel fittings for better durability at high pressures.
The Importance of Sealant Tape
When threading fittings, use PTFE (Teflon) tape. This plumbers’ tape creates a tight seal. It prevents air from escaping at the threaded connections. Wrap the tape clockwise around the threads three to four times. Don’t overdo it, as too much tape can make it hard to tighten properly.
Operating Your Tools with 300 psi
Your 300 psi compressor provides the power, but your tools have their own pressure needs. Using them correctly is key to great results and tool longevity.
Setting the Right Pressure Regulator
Most compressors have a regulator. This lets you dial in the exact air pressure your tool needs. Never just connect a tool and blast away. Always check the tool’s specifications for its required operating pressure. This information is usually printed on the tool or in its manual.
For example, a high-torque impact wrench might need 150-200 psi. A delicate paint sprayer might only need 40-60 psi. Adjusting the regulator is simple. Turn the knob counter-clockwise to decrease pressure and clockwise to increase it. Many experts recommend setting the regulator slightly higher than the tool’s minimum requirement but well below its maximum.
Testing and Adjusting
After connecting a tool, it’s wise to do a quick test. Briefly engage the tool. Listen for any leaks. If it’s an air-powered sander or grinder, check if it’s operating smoothly. You might need to tweak the regulator a bit. This ensures your tool gets the consistent pressure it needs to function optimally.
Common Tools and Their Pressure Needs
Here’s a quick look at what some common tools might require:
| Tool Type | Typical Pressure Range (psi) | Notes |
|---|---|---|
| Impact Wrenches | 90 – 150 | Higher torque needs more pressure. |
| Air Sanders/Grinders | 90 – 120 | Consistent flow is important. |
| Paint Sprayers (HVLP) | 30 – 60 | Finer control needed for finish quality. |
| Nail Guns/Staplers | 70 – 120 | Depends on nail size and material. |
| Blow Guns | 30 – 90 | Use with caution; can scatter debris. |
Remember, these are general ranges. Always check your specific tool’s manual for precise requirements. Using a tool outside its recommended pressure can damage it or lead to poor performance.
Post-Use Procedures
Once you’re finished, it’s important to properly shut down. Turn off the compressor. Then, disconnect your tool. You might want to bleed off any remaining air pressure from the hose by briefly engaging the tool’s trigger. This makes disconnection safer and easier.
Drain any moisture that has accumulated in the tank. Most compressors have a drain valve at the bottom. Opening this valve releases water, preventing rust and maintaining the tank’s integrity. Think of it like draining the last bit of water from a faucet to prevent freezing. This simple step can greatly extend your compressor’s life.
Your 300 psi Compressor Checklist
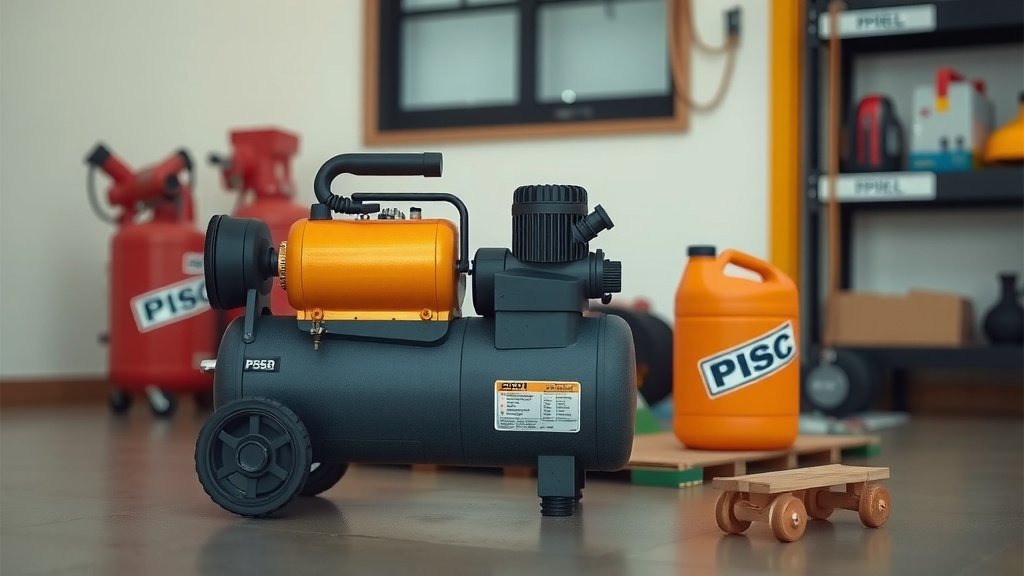
To make sure you’re always ready and safe, keep this quick checklist handy:
- Read your compressor and tool manuals.
- Inspect air hose and fittings for wear and tear.
- Ensure the safety relief valve is functioning.
- Set the regulator to the tool’s required psi.
- Wear safety glasses and hearing protection.
- Drain moisture from the tank after use.
Conclusion
You’ve learned how to safely and effectively use your 300 psi air compressor. Remember, understanding your equipment and its pressure needs is key. Always prioritize safety checks, proper connections, and setting the correct pressure for your tools. This ensures both your safety and the longevity of your tools and compressor. Now you’re ready to tackle those demanding projects with confidence. For your next project, double-check your tool’s manual against the compressor’s output before you start. This simple step prevents damage and ensures perfect results.
Frequently Asked Questions
What if my air hose feels too stiff for a 300 psi compressor?
A stiff hose might indicate it’s not designed for high pressure or it’s too cold. Ensure your hose is rated for at least 300 psi and made of a flexible material like polyurethane. Storing it indoors can help if cold weather is making it rigid.
Can I use a standard air compressor regulator with a 300 psi unit?
It’s best to use a regulator specifically designed for high-pressure compressors. Standard regulators might not handle the higher input pressure safely. Always check the regulator’s maximum input and output pressure ratings to ensure they are compatible with your 300 psi compressor.
How do I know if my tool is receiving the correct pressure from the 300 psi compressor?
You can use an inline pressure gauge connected between the hose and the tool, or directly on the tool’s air inlet if possible. This allows you to see the exact pressure reaching your tool while you adjust the compressor’s regulator.
Is it safe to leave a 300 psi air compressor pressurized overnight?
It’s generally not recommended. While compressors have safety valves, leaving them pressurized unnecessarily can put a constant strain on the tank and seals. It’s safer to release most of the pressure and then drain any moisture from the tank after use.
What’s the biggest risk when using a 300 psi compressor incorrectly?
The main risk is equipment damage and personal injury due to over-pressurization. Tools not rated for high pressure can fail explosively, sending pieces flying. Excess pressure can also damage the compressor itself or cause hose bursts.