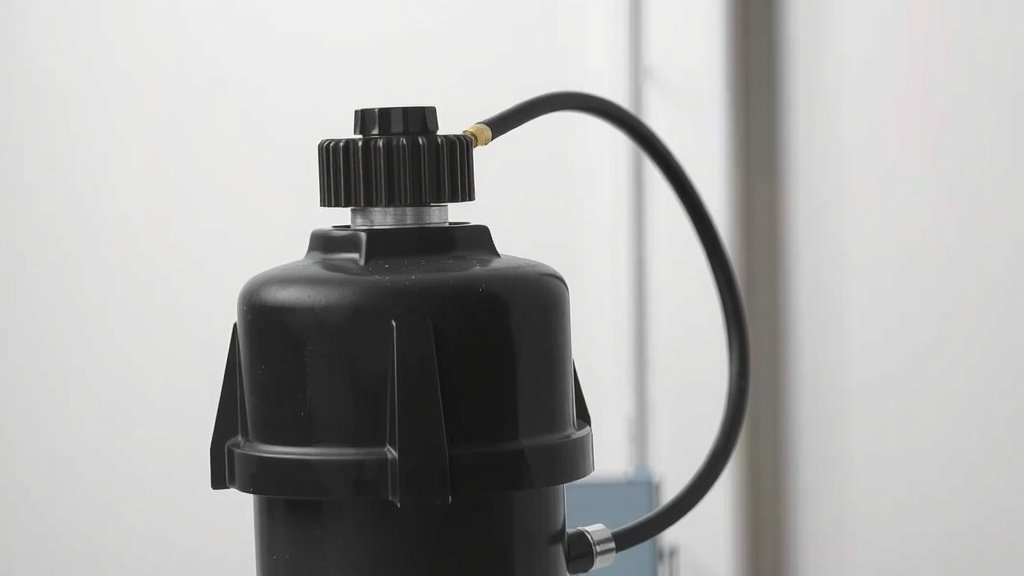
How to Safely Change Your Air Compressor Capacitor
Changing a capacitor on your air compressor is a totally doable DIY project if you take the right precautions. You can absolutely do this yourself with basic tools and a little patience. It’s a common repair that can get your air compressor back up and running quickly. We found that a faulty capacitor is often the culprit.
A capacitor is essentially the start-up engine for your air compressor motor. When it fails, the motor might hum but won’t spin. This fix saves you money on repair services and teaches you a bit more about your equipment. Many folks overlook this simple part, but it’s key to compressor function.
- Safety first: always unplug your compressor.
- Identify the correct replacement capacitor.
- Discharge the old capacitor carefully.
- Swap the old one for the new one.
- Test your compressor to ensure it works.
Ready to tackle this air compressor repair? Let’s walk through exactly how to change that capacitor step by step.
Replacing Your Air Compressor’s Capacitor: A Step-by-Step Guide
You’ve heard that familiar hum, but your air compressor isn’t building pressure. It’s likely a problem with the capacitor. Don’t worry, you can fix this yourself! We found that replacing a faulty capacitor is one of the most common and straightforward air compressor repairs. It’s a relatively inexpensive part that can bring your machine back to life. Let’s get your compressor running again.
What Exactly Is an Air Compressor Capacitor?
Think of your air compressor’s capacitor as its tiny but mighty starter. It provides the initial jolt of electricity needed to get the motor spinning. Without a working capacitor, the motor might just sit there and hum, like it’s trying but can’t quite get going. There are two main types: start capacitors and run capacitors. Start capacitors give the motor that initial push, while run capacitors help it keep running smoothly. A failure in either can cause the motor to not start or to run poorly.
Understanding the Symptoms of a Bad Capacitor
So, how do you know if your capacitor is the culprit? We’ve seen a few common signs. The most obvious is the motor humming but not starting. It’s like trying to start a car with a dead battery – you hear the effort, but no engine roar. Another symptom is the compressor taking a long time to start, or needing a manual push to get going. Sometimes, you might notice the motor struggling to reach full speed or even overheating. If your compressor’s circuit breaker trips frequently, a failing capacitor could be drawing too much power.
Gathering Your Tools and Your New Capacitor
Before you dive in, make sure you have everything ready. This makes the process smoother. You’ll want a few basic tools: a set of screwdrivers (both Phillips and flathead), a pair of insulated pliers, and a voltage meter or multimeter. The voltage meter is your safety net; it helps ensure the capacitor is discharged.
Identifying the Correct Replacement Capacitor
This is a critical step. You need to get the exact right capacitor for your air compressor. Look at the old capacitor. It will have markings on it indicating its microfarad (µF) rating and its voltage (V) rating. You must match these numbers as closely as possible. If you can’t find the old one or the markings are unreadable, consult your air compressor’s manual or the manufacturer’s website. Many experts recommend staying within a 5% tolerance for the µF rating. Using a capacitor with the wrong ratings could damage your motor. We found that even a small difference can matter.
Understanding Capacitor Markings
Capacitors have two main numbers you need to pay attention to. The microfarad (µF) rating tells you the capacitor’s storage capacity. The voltage (V) rating tells you the maximum voltage it can handle. For example, you might see “100-120 µF 350V AC”. This means it’s a dual-rating capacitor, suitable for starting and running, with a capacity between 100 and 120 microfarads and a voltage rating of 350 volts. Always match these or get as close as possible.
Safety First: Disconnecting Power
This is the most important part of the entire process. Always unplug your air compressor from the power outlet. Don’t just turn it off; physically remove the plug. Double-check that it’s unplugged. It’s easy to forget this step in the excitement of fixing things, but a live capacitor can deliver a serious shock. We can’t stress this enough: safety is non-negotiable.
The Step-by-Step Capacitor Replacement Process
Now that you’re prepared and know your capacitor specs, it’s time to get hands-on. This process takes patience and careful attention to detail. We found that most DIYers can complete this in under an hour.
Accessing the Old Capacitor
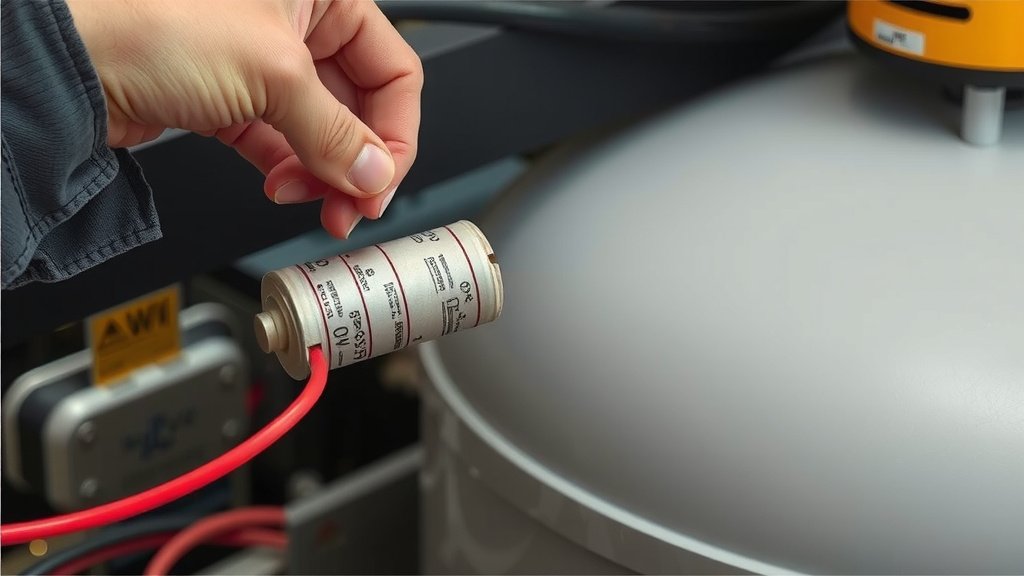
You’ll need to open up the compressor’s housing to get to the capacitor. This usually involves removing a few screws on the motor casing or control panel. Keep the screws in a safe place, like a small container or magnetic tray, so you don’t lose them. Once the cover is off, you should be able to see the capacitor. It’s typically a black or metal cylinder, often attached near the motor itself.
Safely Discharging the Capacitor
Even when unplugged, a capacitor can hold an electrical charge. This is where your insulated pliers and voltage meter come in. To discharge it, carefully touch the terminals of the capacitor with the insulated pliers. Many experts recommend using a 20k Ohm resistor with a 5-watt rating attached to insulated leads for a safer discharge. Then, use your voltage meter set to AC voltage to check for any residual charge across the terminals. Keep touching the terminals until the meter reads zero. This step is crucial for your safety. We found that a small residual charge can still give you a jolt.
Connecting and Disconnecting Wires
Your capacitor will have wires connected to its terminals. You might have spade connectors or screw terminals. Use your pliers to carefully disconnect the wires from the old capacitor. Take a photo or make a quick sketch of which wire goes to which terminal. This will make reconnecting the new one much easier. Remember, even though the capacitor is discharged, it’s good practice to handle wires with care.
Removing and Installing the New Capacitor
Once the wires are disconnected, you can remove the old capacitor. It might be held in place by a bracket or clip. Install the new capacitor in the same spot. Now, reconnect the wires to the new capacitor. Refer to your photo or sketch to ensure each wire goes to the correct terminal. Make sure the connections are snug and secure.
Testing Your Air Compressor After the Change
With the new capacitor in place and the housing cover reattached, it’s time for the moment of truth. Plug your air compressor back into the power outlet. Turn it on and listen. Does the motor start up smoothly? Is it building pressure like it used to? You should notice a clear difference in how quickly and powerfully it starts.
Troubleshooting Common Issues
If your compressor still isn’t starting, don’t panic. Double-check all your connections. Ensure the new capacitor has the correct µF and voltage ratings. Make sure the capacitor is securely mounted and not rattling around. Sometimes, the problem might be something else, like a faulty switch or a worn-out motor. If you’re still having trouble, it might be time to consult a professional.
Checklist for a Successful Capacitor Replacement
To make sure you’ve covered all your bases, here’s a quick checklist:
- Ensure the air compressor is completely unplugged.
- Verify the correct replacement capacitor specs (µF and V).
- Safely discharge the old capacitor before touching it.
- Connect the wires to the new capacitor exactly as they were on the old one.
- Double-check all connections are secure.
- Test the compressor after installation.
Conclusion
You’ve learned that changing your air compressor’s capacitor is a manageable DIY task. We’ve walked you through identifying the problem, gathering your tools, and safely replacing the faulty component. By following these steps carefully, you can restore your compressor’s functionality without needing professional help. Remember, safety is key, especially when discharging the old capacitor. Now that you’re equipped with this knowledge, you can confidently tackle this repair. Get your compressor running smoothly again!
Frequently Asked Questions
How do I know if my air compressor capacitor is bad?
The most common sign is your air compressor motor humming but not actually starting up. You might also notice it struggling to build pressure, taking a very long time to start, or needing a manual push to get going. Frequent tripping of your circuit breaker can also point to a failing capacitor.
Can I use a capacitor with a different microfarad (µF) rating?
It’s best to match the microfarad (µF) rating exactly. While some small variance (around 5%) might be acceptable, using a capacitor with a significantly different µF rating could lead to motor damage. Always consult your manual or the old capacitor’s markings for the correct specification.
What happens if I don’t discharge the old capacitor?
An unplugged capacitor can still hold a dangerous electrical charge. Attempting to remove it without discharging it can result in a painful and potentially severe electric shock. Always use insulated tools and a voltage meter to confirm it’s discharged before touching the terminals.
Do I need special tools to change an air compressor capacitor?
You’ll need basic tools like screwdrivers and insulated pliers. A voltage meter or multimeter is essential for safely discharging the capacitor. Having a small container or magnetic tray for screws is also helpful to prevent them from getting lost.
My compressor still won’t start after changing the capacitor. What now?
First, double-check all your wire connections to ensure they are secure and in the correct places. Verify that the replacement capacitor has the exact specifications needed. If everything seems correct, the issue might lie with another component, such as the motor, switch, or thermal overload. In such cases, it may be best to consult a qualified technician.