Inflate Pool Float Fast with Air Compressor
Yes, you can absolutely use an air compressor to inflate your pool float! It’s a much faster way than using your lungs or a manual pump. Just be sure to use the right attachment and don’t overinflate it.
Inflating your float with an air compressor can save you a lot of time and effort. Many people find it’s the quickest method for getting their pool ready for fun. We’ve found that using the correct adapter makes the process even smoother.
TL;DR:
- Yes, air compressors work great for pool floats.
- It’s faster than manual pumps.
- Use the right nozzle and don’t overinflate.
- Adjust compressor pressure for safety.
- A few minutes is all it takes!
Let’s walk through exactly how to use your air compressor to get that float ready for a splash, step by step.
Using an Air Compressor for Pool Floats: A Quick Guide
So, you’ve got a brand new pool float or maybe just want to get the old one ready for summer. Inflating it by hand can be a real chore. We found that using an air compressor can make this process incredibly fast and easy. You just need a few simple things and a little know-how. Let’s get that float ready for some fun in the sun without all the huffing and puffing!
Gathering Your Inflation Tools
Before you connect that air compressor, let’s make sure you have everything you need. It’s like preparing for a picnic – you wouldn’t want to forget the cooler!
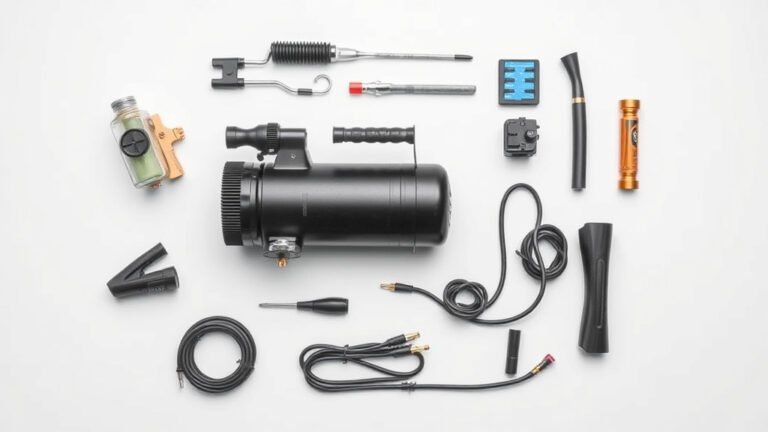
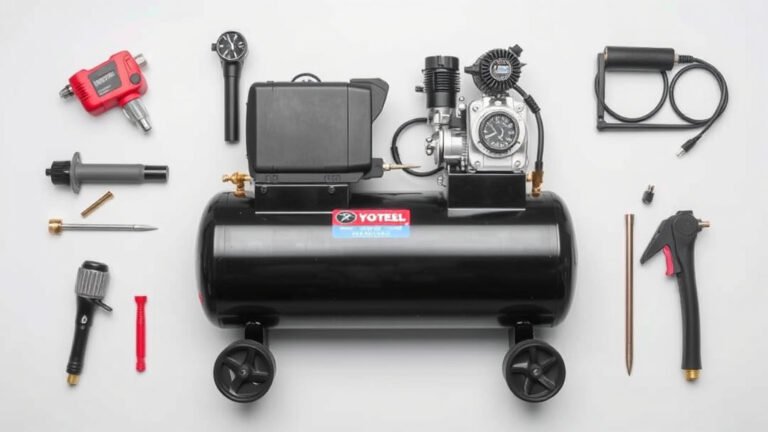
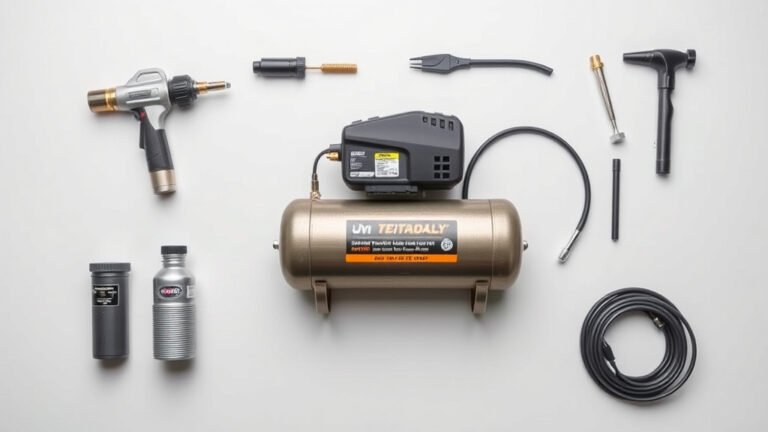
Essential Equipment Checklist
- Air Compressor: Make sure yours is in good working order.
- Appropriate Nozzle/Adapter: This is key! Not all nozzles fit all float valves.
- Your Pool Float: Unfolded and ready to go.
- A Little Patience: Sometimes the valve can be a bit finicky.
Finding the Right Nozzle
This is where most people run into trouble. Pool floats often have specialized valves designed for quick inflation and deflation. Think of them like a one-way door for air. You’ll need a nozzle that fits snugly into this valve.
We found that many air compressors come with a set of different tips. You might need a smaller, conical adapter that can create a good seal. Sometimes, a nozzle designed for inflating air mattresses or sports balls can work. If you can’t find one in your compressor’s kit, many hardware stores sell universal adapter sets. They are quite inexpensive and can save you a lot of frustration. A good seal means no air leaks out while you’re trying to fill it up.
Setting Up Your Air Compressor for Success
Safety first, friends! While inflating a pool float is generally low-risk, it’s wise to treat your air compressor with respect. We found that a few simple adjustments can prevent any mishaps.
Regulating the Air Pressure
Your air compressor can put out a lot of air very quickly. Most pool floats are not designed to handle high pressure. Overinflation is the number one way to damage or even burst your float. We learned that using a lower pressure setting is much safer. Many compressor gauges go up to 100 PSI or more, but you’ll likely only need a tiny fraction of that. We recommend using a lower pressure setting on your air compressor for safety; our guide explains how to adjust air compressor pressure.
We recommend setting your compressor’s regulator to a very low PSI. Start with something around 1-2 PSI. You can always add a little more if needed, but it’s hard to undo overinflation. It’s like trying to un-bake a cake!
Connecting the Nozzle to the Float
Once you have the right nozzle, connect it firmly to the float’s valve. Make sure it’s a snug fit. You don’t want it popping out mid-inflation. Some valves have a small cap you might need to remove. Others are a simple opening you press the nozzle into.
Hold the nozzle in place securely. If you have a trigger-style air gun, you’ll control the airflow by how much you pull the trigger. If it’s a continuous flow type, you’ll need to be ready to shut it off quickly.
The Inflation Process: Step-by-Step
Now for the exciting part – watching your float come to life! This part is usually very quick, so be ready.
Controlled Airflow is Key
Gently begin to introduce air into the float. If you have a trigger-style air gun, press the trigger just enough to start a steady stream of air. Don’t blast it on full power right away. If your compressor has a continuous flow, be prepared to turn it off instantly.
You’ll see the float start to take shape almost immediately. Keep an eye on it. The material will start to stretch. This is your cue to ease up on the air.
Knowing When to Stop: The “Not Too Stiff” Rule
This is the most important step to avoid damage. How do you know when to stop? We found the best method is the “give” test. The float should feel firm but still have a little bit of give when you gently press on it with your finger. Think of it like a firm pillow – it holds its shape but isn’t rock hard.
If it feels like a balloon that’s about to pop, you’ve gone too far. Many experts say that overinflated floats are more prone to seams splitting, especially when they’re under stress in the water (Cleveland Clinic). So, err on the side of slightly underinflated rather than overinflated. You can always top it off later if it feels too soft once you’re in the water.
Securing the Valve
As soon as you reach the desired firmness, remove the nozzle and quickly close the float’s valve. Most valves are designed to seal themselves once the nozzle is removed. Some might have a small cap or plug you need to push back in. Make sure it’s sealed tightly to prevent any leaks.
Give the float a gentle squeeze to check for any obvious air escaping. If you hear a hiss, re-check that the valve is properly closed. A tiny leak can usually be tolerated, but a big one means you need to adjust.
Quick Reference: Air Compressor Inflation Summary
Here’s a quick rundown to keep the process smooth:
- Select the right nozzle that fits your float’s valve snugly.
- Set your compressor pressure to a very low PSI (1-2 PSI to start).
- Connect the nozzle securely and prepare to control airflow.
- Inflate gradually, watching the float’s firmness.
- Stop when it’s firm but has some give – avoid a rock-hard feel.
- Seal the valve tightly immediately after removing the nozzle.
You’ve done it! In just a few minutes, your pool float should be ready for action. See? Much easier than you thought, right?
Conclusion
You’ve successfully learned how to use your air compressor to inflate a pool float quickly and safely. Remember, the key is using the right nozzle and keeping that air pressure low. We found that taking just a few minutes to set up properly prevents damage and saves you from manual labor. Your float is now ready for relaxation and fun. So go ahead, enjoy the water – you’ve earned it!
Frequently Asked Questions
What if my air compressor doesn’t have the right nozzle?
Don’t worry if your air compressor kit doesn’t include the perfect adapter. You can often find universal nozzle sets at hardware stores or online retailers. These inexpensive sets usually have several tips that can create a snug fit for most pool float valves.
Can I just use the highest pressure setting on my compressor?
Absolutely not! Pool floats are typically made of thin vinyl and can easily burst under high pressure. We strongly recommend setting your compressor to a very low PSI, starting around 1-2 PSI, to avoid damaging your float.
How do I know if I’ve put too much air in the float?
The best way to tell is by feel. If the float is so stiff that you can’t press your finger into it at all, it’s likely overinflated. It should feel firm but still have a slight give, like a comfortably firm pillow.
Will using an air compressor make my float’s seams split?
Overinflating is the primary cause of seams splitting, not the method of inflation itself. By using a low-pressure setting and stopping when the float has a slight give, you greatly reduce the risk of splitting.
How long does it typically take to inflate a pool float with an air compressor?
With the right nozzle and a low-pressure setting, most pool floats can be fully inflated in just a few minutes. The speed is one of the biggest advantages over manual pumps or lung power.