
Dryer Machine Guide: How to Use It in 6 Easy Steps
To use a dryer machine, start by sorting your clothes by fabric type and checking every care label, then load the drum about half full, select the right cycle, and press start. You need to clean the lint filter before every load to prevent fires and dry similar fabrics together for the best results. This simple routine is all it takes to get soft, wrinkle-free clothes without shrinking or damage.
Dryers are a huge convenience, but they can be confusing with all those buttons and settings. We found that most people just press “Auto Dry” and hope for the best, which often leads to overdried, stiff clothes or loads that take forever. Understanding your machine’s settings, like moisture sensors and temperature options, helps you save time, energy, and money on your electric bill.
- Sort smart: Always separate heavy items like towels from lightweight fabrics like t-shirts.
- Don’t overload: Fill the drum about half full so air can circulate and clothes dry evenly.
- Clean the lint screen: Do this before every single load for safety and faster drying times.
- Use the right cycle: Match the setting to the fabric (delicates, permanent press, heavy duty) to avoid damage.
- Shake it out: Give each item a quick shake before loading to reduce wrinkles and clumping.
Below, we break down exactly how to use a dryer machine step by step, from loading it properly to picking the perfect cycle every time. Let’s walk through the simple steps to make laundry day a breeze.
Using a Dryer Machine the Smart Way
Let us help you turn laundry day from a guessing game into a simple routine. You just need to learn a few basic steps, and your dryer will do the heavy lifting. We found that most people skip the prep work, which causes all the common problems like shrinking and wrinkles. Once you get the hang of it, the whole process takes less than five minutes of your time.
Your dryer is one of the hardest-working appliances in your home. Treat it right, and it will last for years while keeping your clothes looking fresh. The key is to think about airflow, heat, and fabric type before you ever press that start button.
Checking Your Clothes Before Drying
Look at the care tags on your clothes before you toss them in. This is the single best habit you can build. Manufacturers put those instructions there for a reason, and they know exactly what their fabric can handle. A quick scan of each tag takes ten seconds and saves you from costly mistakes.
Many experts say that most dryer damage comes from ignoring these simple labels. You will see symbols that tell you if an item can go in the dryer at all. Some clothes are meant to air dry only, especially delicate items like wool sweaters or silk blouses. When in doubt, hang it up instead.
Emptying Those Pockets First
Check every pocket before you load anything. We found that this step is the one people skip the most, yet it causes the biggest headaches. Crayons, lip balm, and ink pens can melt all over your clothes and ruin an entire load in seconds. Tissues create a fluffy mess that sticks to everything.
Small metal objects like coins can damage the drum of your dryer. Buttons and zippers can snag on other fabrics too. Take the extra minute to check all four pockets on jeans and jackets. You will thank yourself when you pull out a clean, unstained load.
Loading Your Dryer the Right Way
The way you load your dryer matters more than you might think. We found that proper loading cuts drying time by up to 25 percent. It also prevents wrinkles and uneven drying. The golden rule here is simple: give your clothes room to breathe.
Air needs to circulate through the drum for moisture to escape. When clothes are packed too tightly, the air has nowhere to go. All that trapped moisture means longer cycles and hotter temperatures, which is bad for your fabrics and your energy bill.
How Much Can You Fit Inside
Fill the drum about half full for the best results. That might look like a small load, but it is the sweet spot for most machines. You want clothes to tumble freely, not sit in a big clump at the bottom. A good rule is that you should be able to fit your hand flat on top of the clothes with room to spare.
Overloading is the number one mistake we see in homes. When you cram too much in, the dryer works harder and longer. This wastes energy and puts extra wear on the machine parts. Plus, your clothes come out damp in spots and overdried in others.
Separating Heavy and Light Fabrics
Sort your laundry into groups before you dry. Heavy items like towels and jeans take much longer to dry than light t-shirts and underwear. When you mix them, the lightweight items get overdried while the heavy ones stay damp. That is how you end up with stiff, scratchy towels.
Group your loads by size, thickness, and fabric type. One load for towels and sheets, another for everyday clothes, and a separate one for delicates. This simple sorting routine gives you better results across the board, and everything dries at the same pace.
Shaking Out Clothes to Reduce Wrinkles
Give each item a quick shake before you load it into the dryer. This small motion separates the fibers and helps the heat reach every part of the fabric. You will notice fewer wrinkles when you pull your clothes out, too. Shaking also helps items dry faster because it opens up the weave.
Make it a habit to unroll sleeves and turn pants right side out. Pay extra attention to waistbands, collars, and cuffs that tend to trap moisture. A little effort at the start saves you ironing time later.
Selecting the Ideal Drying Cycle
Modern dryers come with so many settings that picking one can feel overwhelming. We get it, and we found that most people just default to the same button every time. Different fabrics need different heat levels and drying times. Using the right cycle keeps your clothes looking newer for longer.
The good news is that you only need to understand a handful of cycles to master your machine. Look for the labels that match what you are drying. Most dryers clearly mark their settings for delicates, permanent press, and heavy duty items.
Automatic vs. Timed Dry Cycles
Automatic cycles use moisture sensors inside the drum to detect when clothes are dry. The machine shuts off on its own, which prevents overdrying and saves energy. We found that this is almost always the best choice for everyday loads. It takes the guesswork out of the equation.
Timed dry cycles run for a set amount of time and then stop, no matter what. Use these for small loads or items that need extra drying time. However, timed cycles are easier to mess up, because you have to judge the right amount of time yourself.
Permanent Press and Delicates Settings
The permanent press cycle uses medium heat and ends with a cool-down period. That cooldown helps relax the fibers so your clothes come out with fewer wrinkles. Use it for synthetic fabrics like polyester, nylon, and dress shirts. This is the go-to setting for work clothes and anything you hate ironing.
The delicate cycle uses low heat with a gentle tumble action. It is designed for underwear, lingerie, and thin fabrics that can damage easily. If you have a delicate item, the safest move is to skip the dryer altogether. But if you must dry it, the delicate cycle is your best bet.
Heavy Duty Cycle for Towels and Jeans
Heavy duty, or high heat, is for thick items that need extra help. Use this for bath towels, jeans, and thick sweatshirts that hold onto moisture. This setting uses high heat and longer drying times to plow through the most stubborn fabrics. Just be careful not to overuse this setting on light clothes.
High heat can shrink cotton and damage elastic over time. Reserve this cycle for genuinely heavy items only. Many experts say that medium heat works fine for most things around the house, including towels. If your heavy cycle is on high heat, try the permanent press cycle and just add a little extra time.
Air Fluff and No Heat Options
Air fluff uses no heat at all and simply tumbles your clothes with room-temperature air. Use this for freshening up items that are already dry but have been sitting in a pile. It also removes dust, pet hair, and lint without risking any heat damage. Think of it like a gentle massage for your clothes.
You can also use air fluff to soften clothes that have become stiff from line drying. Add a dryer sheet and run the cycle for twenty minutes. Your towels will feel fluffy without a single degree of heat involved.
Setting the Right Dryness Level
If your dryer has a dryness level setting, use it. It controls when the moisture sensor decides the load is done. Most machines offer more dry, less dry, and normal options. Your choice here affects how stiff or soft your clothes feel when they come out.
We found that picking the correct dryness level prevents that crispy, rough feeling you get from overdrying. Set your dryer on “normal” for most daily loads. This leaves a tiny bit of moisture in the fabric so clothes feel comfortable against your skin. Your towels will thank you.
Adding Dryer Sheets and Softeners
Dryer sheets are a simple way to add softness and a nice scent to your laundry. They work by coating your clothes with a thin layer of fabric softener as they tumble. This reduces static cling and makes your laundry feel softer to the touch. Just toss one sheet in with your wet load.
Wool dryer balls are a great alternative if you want to skip the chemicals. They bounce around inside the drum and separate your clothes as they dry. This helps reduce drying time and softens fabrics naturally. You can add a few drops of essential oil to make them smell lovely.
What Not to Put in Your Dryer
Some items should never see the inside of a dryer, no matter how convenient. Rubber-backed rugs can melt and ruin your machine. Foam pillows can catch fire from the heat. And anything with a flammable stain, like cooking oil or gasoline, is a serious safety hazard. Always air dry these items instead.
Check the care labels on athletic wear, swimwear, and anything with spandex. High heat breaks down the elastic fibers, causing them to lose their shape. You also want to keep most shoes out of the dryer, even on the delicate setting. The heat warps the glue and materials.
Using Your Dryer Efficiently and Safely
We found that most people do not realize how much energy a dryer uses during each cycle. It is one of the biggest energy consumers in your home. Drying smaller loads and using moisture sensors can cut your energy use significantly. Even skipping one dryer load a week adds up over the year.
Your dryer also needs regular maintenance to work at its best. The lint filter is the most important part to clean. A clogged filter blocks airflow, which makes your dryer work harder and heats it up too much. This creates a serious fire risk every time you run a load.
Cleaning the Lint Filter Before Every Load
Make it a non-negotiable habit to clean the lint trap before you start any cycle. Pull out the mesh screen and scrape off the lint with your hand or a brush. Do this even if you already cleaned it earlier in the day. One load is enough to block good airflow with lint buildup.
According to the U.S. Fire Administration, failing to clean the lint filter is a leading cause of home dryer fires. This is one of the easiest steps you can take to keep your family safe. It also helps your dryer dry clothes faster, because the air can flow freely. Clean filter means faster drying, plain and simple.
Checking and Cleaning the Exhaust Vent
About twice a year, you should check the dryer vent hose and the outside vent flap. Lint can accumulate deep inside these tubes, even if you clean the filter every time. When the vent gets blocked, your dryer has to work harder and takes much longer to get clothes dry. It can also increase carbon monoxide levels if you have a gas dryer.
Disconnect the vent hose from the back of your dryer and vacuum it out. Look for any crushing or kinks in the hose that could trap lint. Many experts say this simple maintenance step extends the life of your dryer and keeps your home safer. If you do not feel comfortable doing this, hire a professional to take a look.
A Quick Dryer Safety Checklist
- Always clean the lint filter before you press start.
- Never overload the drum beyond the halfway point.
- Keep the area around your dryer free of clutter.
- Do not run the dryer while you sleep or leave the house.
- Check the outside vent flap for open and unobstructed airflow.
- Stop the dryer immediately if you smell something burning.
What to Do When the Cycle Finishes
Remove your clothes from the dryer as soon as the cycle ends. Leaving them sitting inside lets wrinkles set in, especially with heavier loads. The heat from earlier stays trapped, and the fabric slowly creases in folded positions. Set a timer or wait nearby so you can pull the laundry right away.
For extra stubborn wrinkles, toss in a damp washcloth and run the dryer for ten minutes on air fluff. We found that this simple trick is more effective than spraying clothes with water. Hang or fold items right after removing them to keep everything neat. A little immediate attention makes your clothes look ironed without any effort.
Choosing the Right Dryer Settings for Different Loads
Here is a quick reference table for most of the loads you will face. This matches common fabrics to the best cycle and heat setting. Save this table or use it until you get comfortable with your machine.
| Fabric Type | Dryer Cycle | Heat Setting | Dryness Level |
|---|---|---|---|
| Daily t-shirts and underwear | Auto Dry | Medium | Normal |
Towels and ConclusionYou now have everything you need to use your dryer like a pro. Sort those clothes, clean the lint filter, and pick the right cycle. That simple routine prevents shrinkage, saves energy, and keeps your fabrics looking great. We found that most dryer problems come down to rushing through the basics. Slow down just a little, and laundry day becomes a quick, painless chore. Start today by cleaning your lint trap and checking your next load’s labels. Your clothes, your electric bill, and your dryer will all thank you for it. Frequently Asked QuestionsWhy is my dryer taking two cycles to dry my clothes?A clogged lint filter or vent is usually the culprit. Clean the lint screen before every load and check the exhaust hose for blockages. Overloading the drum also restricts airflow, so try smaller loads. Can you put wet clothes directly in the dryer?Yes, but you want them to come out of the washer first. Clothes that are dripping wet will take much longer and can cause the dryer to work too hard. Give them a quick spin in the washer to remove excess water before transferring. How do you get wrinkles out of clothes already in the dryer?Toss a damp washcloth in with the wrinkled clothes. Run the dryer on air fluff for about ten minutes. The steam helps relax the fabric fibers, and we found this works better than any wrinkle spray. Is it okay to run the dryer when you are not home?It is best to stay home while your dryer runs. Lint buildup or a mechanical issue can cause a fire when you are not there to notice. Set a timer so you remember to check on the load before leaving the house. Why do my clothes smell musty after using the dryer?This usually happens when clothes sit in the dryer too long after the cycle ends. Pull them out right away and hang or fold them. If the smell persists, your dryer drum might need a cleaning with a damp cloth and mild detergent. Similar Posts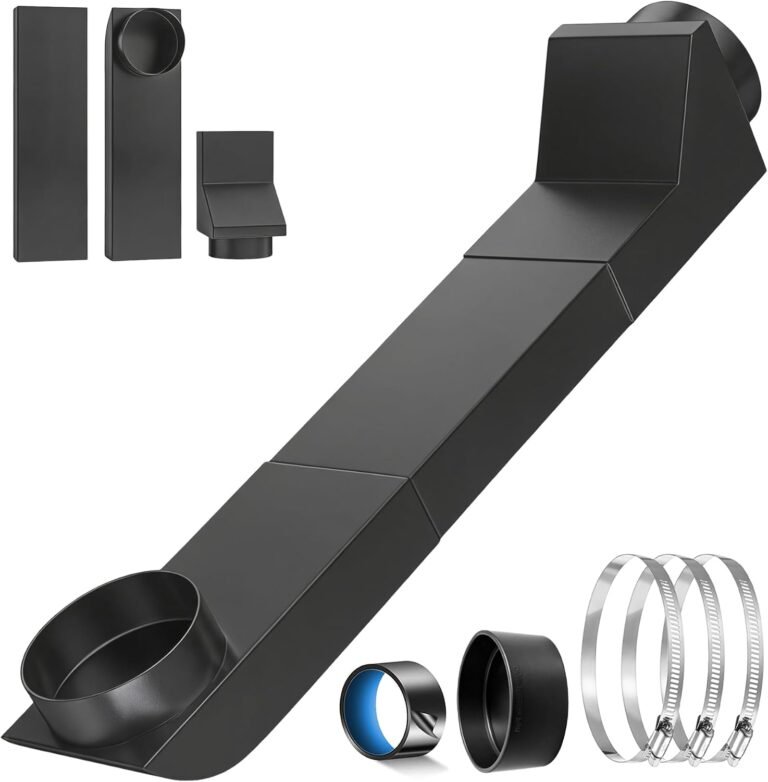 Periscope Dryer Vent 17.7-29.5″ Review: Worth the Upgrade?Periscope Dryer Vent 17.7-29.5" 4.0 Check Price on Amazon → The Periscope Dryer Vent 17.7-29.5″ is a reliable fix for tight laundry spaces where standard ducts just won’t fit. With a 4.0-star rating, it earns its place for homeowners who need a sturdy, adjustable connection. This vent is built for anyone dealing with cramped dryer…  Handy Laundry Wool Dryer Balls Review: Fluffy, Fast, Eco-FriendlyHandy Laundry Wool Dryer Balls 4.6 Check Price on Amazon → Handy Laundry Wool Dryer Balls is a solid pick for anyone tired of buying dryer sheets month after month. With a 4.6-star rating, these 100% New Zealand wool balls deliver real results without the chemical residue. They’re built for eco-conscious households and anyone who…  The Healthy Winter Home Reset A Warmer Home. |