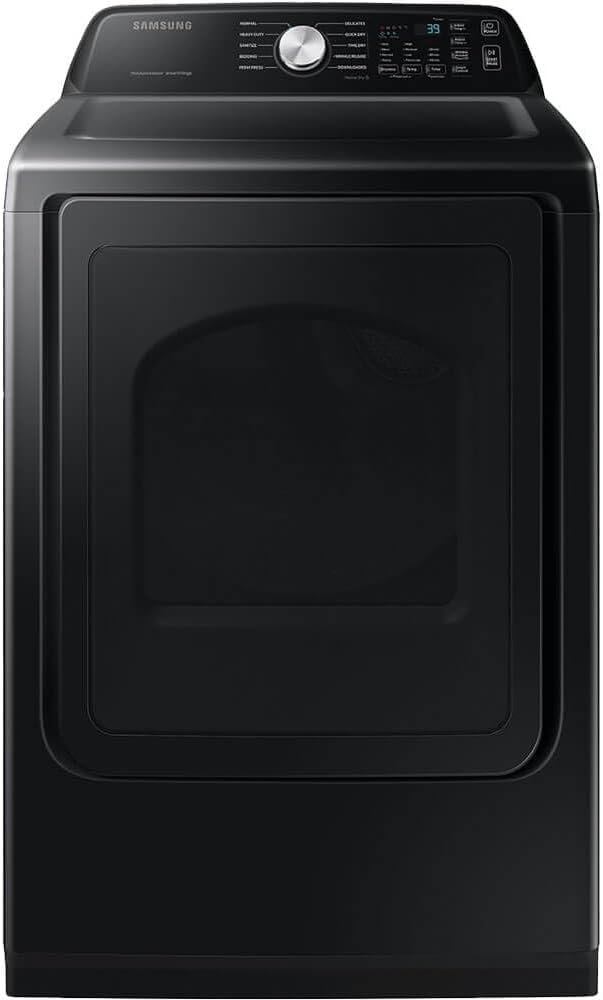
Why Is My Clothes Dryer Leaking Water? Common Causes
Your clothes dryer is leaking water because warm, moist air is hitting a cold surface and turning into condensation. This usually happens when the dryer vents improperly, the exhaust hose is kinked, or you have a ventless condenser model. Simple fixes can often solve the problem in minutes.
While a puddle on the floor is alarming, it is rarely a sign of a broken machine. In our research, we found that most dryer leaks are caused by installation issues, not mechanical failures. Whether you have a gas or electric dryer, the culprit is almost always related to airflow or a blocked vent. You can usually fix this yourself without calling an expensive repair technician.
- The number one cause is a crushed or kinked exhaust hose that traps hot air inside.
- A clogged lint screen or external vent cap can force moist air back into your laundry room.
- Ventless (condenser) dryers leak when the water collection tank is full or sitting crooked.
- Check the door seal and lint filter housing for trapped items causing a poor seal.
- Using a “steam” or “wrinkle refresh” cycle with a full water reservoir can cause overflow.
Below, we walk you through the specific reasons for the leak, how to identify which one you have, and the exact steps to dry your clothes leak-free again.
Common Reasons Your Dryer Is Leaking Water
You pulled clean sheets out of the dryer and found a pool of water on the floor. You might be scratching your head right now. Rest assured, you are not alone. We found that this issue ranks among the top service calls for appliance repair companies.
Your machine is most likely trying to tell you something about its airflow, not its motor. A leak usually means the internal system is working too hard to push moist air outside. Let’s work through the usual suspects together, starting with the easiest fix.
The Crushed or Kinked Exhaust Hose
This is the number one culprit in most homes we researched. The exhaust hose is the big, silver tube that runs from the back of your dryer to the wall. If you pushed the dryer back against the wall too firmly, that hose can get pinched.
A pinched hose traps hot, damp air inside the drum. That air turns into water as it cools down. That water drips back into the machine and leaks out the front door or bottom panel.
Check the back of your dryer right now. Look for sharp bends or crushing on the hose. Straighten it out if you can. Give the machine some breathing room—about two inches of space between the back panel and the wall is a good rule of thumb.
Signs of a Kinked Hose Leak
How do you know if this is your issue? The leak usually happens while the dryer is running. Water appears near the back of the machine or underneath the rear corner. You might also notice that your clothes take two cycles to dry completely. That is a classic symptom of poor airflow.
If the hose looks fine, slide the dryer out and feel the hose. Is it warm and damp? That is normal. Is it rock hard with heat? That means the air is backing up because the path is blocked somewhere else.
The Clogged Lint Screen and Vent Cap
You probably clean the lint screen after every load. Good job. But what about the vent pipe inside the wall? That long tube runs from behind the dryer to an outside wall cap. Lint builds up there over time, even if you are diligent.
When that vent is partially blocked, moist air cannot escape outdoors. It recirculates inside the machine. The condensation collects on the drum walls and leaks out. You might see puddles forming under the lint trap area or near the door.
Why Clean Lint Isn’t Enough
Many experts say that the vent line needs a deep clean every one to two years. A simple lint brush on the screen does not remove the film that sticks to the inside walls of the ducting.
You can buy a vent cleaning kit with flexible rods and a brush head. Insert it from the outside vent opening and pull it through toward the dryer. This dislodges years of buildup. We found that most homeowners see a huge improvement in drying time after this simple procedure.
While you are at it, check the flapper on the outside vent cap. If it is stuck shut with lint or a bird nest, that cap will create negative pressure inside the machine. That pressure pushes water toward the seals and out.
Ventless Dryers and the Water Reservoir
If you have a ventless condenser dryer, the rules change completely. These machines do not push air outside. They recycle the hot air and cool it internally to collect the water. That water goes into a removable plastic tank, usually sitting in the top corner or behind a lower panel.
If that tank is full, the machine will either stop mid-cycle or start leaking. Empty that reservoir after every load. Many models have a little float switch that tells you when it is full, but that switch can fail over time.
How Condenser Dryers Work
Think of a condenser dryer like a tiny dehumidifier inside your laundry room. It pulls the moisture out of the air and turns it into liquid. That liquid needs a place to go.
If the tank is not seated perfectly flat, water can trickle down the side and pool underneath the machine. Remove the tank, empty it, and put it back in slowly. Make sure it clicks into place. A crooked tank is a frequent cause of phantom puddles that seem to come from nowhere.
Condenser Coils Need Airflow Too
Ventless dryers have a second filter, usually near the heat exchanger coil. This filter catches lint that the main screen missed. If this secondary filter is clogged, the machine overheats and produces excess condensation.
Check your owner’s manual for the location. Clean this filter with a damp cloth or vacuum attachment every month. It is a five-minute job that saves you from a wet floor and potentially expensive repairs.
The Door Seal and Lint Filter Housing
Sometimes the leak is not about airflow at all. It is about a broken seal. The rubber gasket around the door keeps hot air inside the drum. If that gasket is torn or warped, air escapes and hits the cool floor, creating water.
Run your hand along the entire door gasket. Feel for tears, cracks, or grit trapped in the folds. Small debris caught in the seal breaks the air lock and allows moisture to escape.
How to Test for a Bad Seal
Shut the dryer door on a dollar bill. Pull the bill out. If it slides out easily without resistance, the seal might be loose. This test is not scientific, but it gives you a solid idea of the clamping force.
Inspect the lint filter housing too. Lint can pack around the edges of the filter slot. That buildup works like a sponge, soaking up condensation and letting it drip onto the floor. Remove the filter and vacuum out the slot thoroughly.
Steam Cycles and Overflowing Tanks
Many modern dryers have a steam refresh feature. This function uses a small water reservoir inside the machine to inject steam into the drum. If that reservoir is overfilled, or if the dispenser is leaking, water will spill out.
Check your water reservoir level before starting a steam cycle. The fill line is usually marked clearly on the tank. Do not top it off all the way to the brim. Leave a little airspace so the pump can draw water properly.
Slow Leaks After the Cycle Ends
A leak that appears 30 minutes after the cycle ends points to the water valve. This valve can stick open due to hard water mineral deposits. The machine keeps filling, and the excess drains down the front or side.
You can test this by unplugging the dryer and listening for a hissing sound near the water hookup inside the back panel. If you hear that hiss, the valve is stuck open. Call a technician to replace it. This is one of the few times we recommend skipping a DIY fix. High voltage components are involved, and you want to stay safe.
How to Diagnose the Leak Quickly
Do not waste time guessing. Here is a simple classification table we found helpful when troubleshooting:
| Leak Location | Most Likely Cause | Quick Check |
|---|---|---|
| Under the machine, back corner | Crushed exhaust hose | Pull dryer out, inspect hose |
| Near the lint filter slot | Clogged external vent | Brush the outdoor vent cap |
| Under the door | Torn door gasket | Feel for tears in the rubber |
| Under the control panel area | Steam reservoir overflow | Check water level in the tank |
| Anywhere with a ventless model | Full or crooked water tank | Empty and reseat the reservoir |
Use this as a starting point. Match your leak location to the right column, and you have your first suspect.
Step-by-Step Leak Fix Checklist
When you know the likely cause, you can fix it in under an hour. We put together a simple list for you to follow. Print it out if that helps, and work through each item.
- Disconnect the power before touching anything on the inside of the dryer.
- Straighten or replace the exhaust hose if it shows any kinks or crushing.
- Clean the lint screen and vacuum the slot where it sits.
- Run a vent cleaning brush through the outdoor duct line.
- Empty the water tank on ventless models and check the float switch.
- Wipe down the door gasket and remove any trapped coins or hairpins.
Go through this checklist in order. Most people find their fix in the first two steps. The rest are easy maintenance routines that prevent the leak from coming back.
When to Call a Professional
We said earlier that most leaks are simple fixes. Sometimes they are not. If you have checked all the airflow paths and the leak continues, you might have a broken pump or a cracked drum support.
Watch for these warning signs: a grinding noise when the drum turns, water pooling inside the drum before you add clothes, or a burning smell. These indicate mechanical failure that needs a trained eye.
General safety guidelines from the U.S. Consumer Product Safety Commission advise against tinkering with gas dryer components without proper training. If your dryer is gas, and you suspect a leak near the gas valve, shut the unit off and call a licensed appliance technician immediately. Your safety is worth more than any repair bill.
Conclusion
A leaking dryer is frustrating, but it is almost never a sign that you need a brand-new machine. We walked you through the usual offenders: kinked hoses, blocked vents, full water tanks, and worn door seals. Most of these are quick fixes you can handle in an afternoon with simple tools.
Your next step is simple. Pull your dryer away from the wall and inspect the exhaust hose first. That is where we found most leaks start. If the hose looks fine, work through the rest of the checklist we gave you. You will likely save yourself a service call and have dry floors again by dinner.
Frequently Asked Questions
Can a clogged lint trap cause my dryer to leak water?
Yes, a clogged lint trap restricts airflow. That trapped moist air condenses into water inside the drum. Clean the lint screen after every single load, and vacuum the slot where it sits each month.
Why does my dryer leak water only sometimes?
Intermittent leaks usually point to a kinked hose that shifts position, or a full water tank on a ventless model. Check the hose path after you move the dryer. Also, keep an eye on the cycle you ran.
Is it safe to run my dryer while it is leaking water?
For a gas dryer, we recommend stopping use right away to be safe. For electric models, you can run a short test cycle, but water near electrical components is always a risk. Unplug the unit and inspect the leak source first.
How often should I clean the dryer vent to prevent leaks?
We found that a deep vent clean every 12 to 18 months works well for most homes. If you have pets or a large family, you might need to do it every year. A quick check of the outside vent flap every few months helps too.
Will a leaking dryer cause damage to my floors?
Prolonged exposure to water can warp hardwood floors and stain laminate or tile. It can also lead to mold growth behind the machine. Wipe up the water right away and fix the source soon to protect your home.