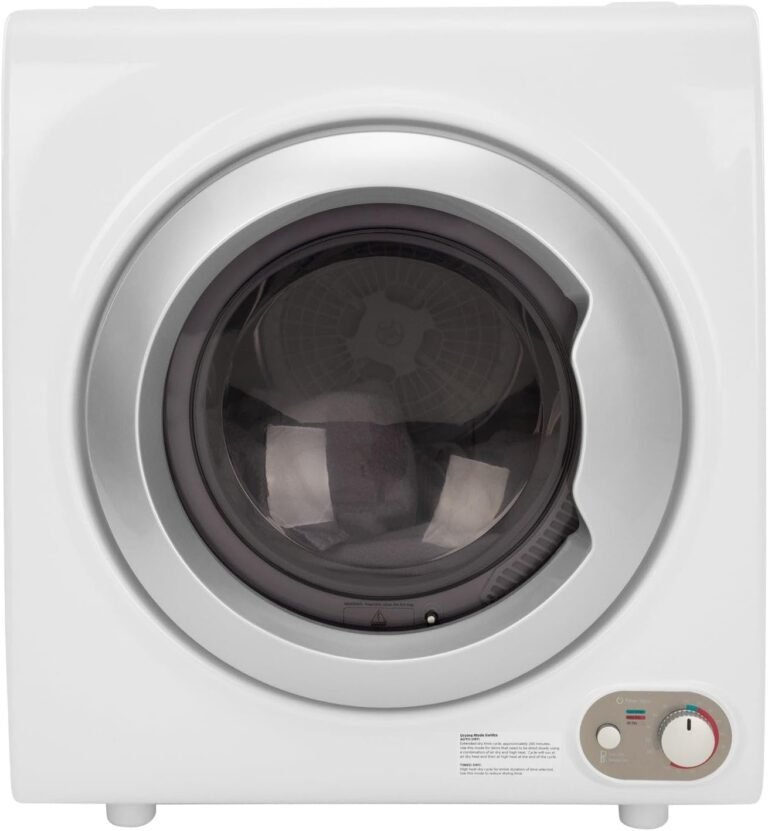
How to Use a Clothes Dryer Cleaning Kit
A clothes dryer cleaning kit is a set of tools designed to remove lint, debris, and buildup from your dryer vent and lint trap. You need one because clogged dryer vents are a leading cause of house fires, and regular cleaning keeps your machine running safely and efficiently. Using a kit is the most effective way to tackle this chore yourself without calling a professional.
Most kits come with a flexible brush, a vacuum attachment, and sometimes a lint trap brush. We found that using one regularly not only prevents fire hazards but also helps your dryer dry clothes faster. This simple maintenance task can also lower your energy bills and extend the life of your appliance.
- Cleaning your dryer vent reduces the risk of house fires.
- A kit typically includes a long brush and vacuum attachments.
- You should clean your vent at least once or twice a year.
- Regular cleaning speeds up drying time and saves energy.
- Using a kit is a cheap alternative to professional cleaning.
Below, we break down everything you need to know about choosing and using a clothes dryer cleaning kit step by step. We will show you exactly how to keep your dryer safe and efficient, even if you have never done it before.
Why Your Dryer Vent Needs a Deep Clean
You might think emptying the lint trap after every load is enough. We found that it is only a small part of the battle. The real problem hides deep inside the vent line, usually out of sight.
Lint builds up in the ductwork that runs from your dryer to the outside wall. Over time, this layer gets thick and restricts airflow. When air cannot escape, heat gets trapped inside the machine.
That trapped heat is a serious safety risk. The National Fire Protection Association reports that dryers cause thousands of home fires each year, and failure to clean them is the top reason.
The Fire Risk Nobody Talks About
Many people assume a dryer fire starts at the lint trap. In reality, most fires begin inside the vent hose or the wall cavity. Lint is highly flammable, and it only takes one spark to ignite it.
Experts say that a clogged vent is the number one contributor to dryer-related house fires. That is why a simple cleaning routine can literally save your home and your family.
The Hidden Cost of a Clogged Vent
A blocked vent does not just create danger. It also makes your dryer work much harder than it should. We found that a restricted airflow can increase drying time by 30 to 50 percent.
Longer drying cycles mean more electricity usage. You are paying for heat that has nowhere to go. A quick cleaning session with a kit usually pays for itself in just a few months of lower utility bills.
Understanding the Parts of a Cleaning Kit
Before you start, it helps to know what is inside the box. Most kits are straightforward and do not require any special skills. You just need a little patience and a few minutes of your time.
We found that the best kits include a few essential pieces that work together to clear out every section of the vent system.
The Flexible Brush Rod
This is the main tool in any kit. It is a long, bendable rod with bristles at the end. You push it into the vent opening, and it loosens the lint that is stuck to the walls.
Many kits come with multiple rods that screw together. This lets you reach deep into the duct, even if it is several feet long. The flexibility allows you to navigate bends and corners without much trouble.
Vacuum Attachments and Hose Adapters
Loosening the lint is only half the job. You also need to pull it out. That is where the vacuum attachment comes in handy.
Some kits include a special hose that connects directly to your shop vac. Others have a brush with a built-in vacuum port. Both options work well, so it is mostly about personal preference and the kit you choose.
Lint Trap Brushes
Do not forget about the lint trap area itself. A narrow brush is perfect for cleaning the slot where the lint screen slides in. This area collects residue that you cannot see or reach with your fingers.
We found that cleaning this slot every few months makes a noticeable difference in airflow. It is a tiny step that takes seconds but has a big impact.
How Often Should You Clean Your Dryer Vent
There is no single answer that fits every household. The frequency depends on how often you use your dryer and the length of your vent line. That said, a general rule works for most people.
Many experts say that a thorough cleaning once a year is the minimum. If you have a large family or dry heavy loads frequently, you should aim for twice a year.
Signs That You Need to Clean It Right Now
Sometimes you cannot wait for the scheduled cleaning. Your dryer will give you warning signs when something is wrong. Pay attention to these clues.
- Clothes take longer than usual to dry completely.
- The outside vent flap does not open when the dryer runs.
- You notice a burning smell coming from the machine.
- The dryer surface feels unusually hot to the touch.
- Lint builds up quickly on the trap even after cleaning it.
- Your laundry room feels more humid than normal.
If you notice any of these signs, do not delay. Grab your kit and give the system a thorough cleaning. It is a quick fix that prevents bigger problems.
Step-by-Step Guide to Using Your Kit
Using a clothes dryer cleaning kit is easier than you might think. The process takes about 30 to 45 minutes from start to finish. You do not need any prior experience or special tools.
We have broken it down into simple steps so you can follow along without confusion. Just take your time and be gentle with the equipment.
Step 1: Unplug the Dryer
Safety comes first. Always unplug the dryer before you start working on it. This prevents any accidental start-ups while your hands are inside the vent.
If your dryer uses gas, also turn off the gas supply valve. This is a critical safety step that many people forget.
Step 2: Pull the Dryer Away from the Wall
You need space to work. Gently slide the dryer away from the wall, being careful not to pinch the vent hose. If the hose is connected tightly, loosen the clamp with a screwdriver.
Once you have access, disconnect the vent hose from the back of the dryer. You will see the exhaust opening clearly now.
Step 3: Clean the Lint Trap and Slot
Start with the easiest part. Remove the lint screen and clean it with warm soapy water. Let it dry completely before putting it back.
Next, use the narrow lint brush to clean the slot where the screen sits. You will be surprised at how much gunk collects in that small space.
Step 4: Brush Out the Vent Line
This is the main event. Attach the flexible brush rods together and insert them into the vent opening. Slowly push the brush forward, twisting it as you go.
Do not force it if you hit resistance. Gently work the brush back and forth to loosen the lint. Then pull it out and remove the debris from the bristles.
Step 5: Vacuum Everything Out
Now bring in the vacuum. Use the attachment to suck up all the loosened lint from the vent opening. You can also vacuum the area around the dryer and the floor.
If your kit has a vacuum hose adapter, use it to reach deeper into the duct. This combination of brushing and vacuuming gets the best results.
Step 6: Check the Outside Vent
Go outside and find the vent flap on your exterior wall. Open it and check for any visible lint or blockage. Use the brush to clear it out if needed.
Also, make sure the flap closes properly when not in use. A stuck flap lets cold air in and can also allow pests to enter.
Step 7: Reassemble and Test
Reconnect the vent hose to the dryer and tighten the clamp. Slide the dryer back into place, being careful not to crush the hose.
Plug the dryer back in and run a short cycle with an empty load. Check that the outside flap opens and closes properly. If the air feels strong and hot, you are good to go.
Choosing the Right Kit for Your Setup
Not all cleaning kits are created equal. Some work better for short vents, while others excel at reaching long distances. Knowing your setup helps you pick the right one.
Here is a quick comparison of common kit types to help you decide.
| Kit Type | Best For | Key Feature |
|---|---|---|
| Flexible Rod Kit | Straight, short vents | Easy to maneuver |
| Vacuum-Powered Kit | Attached to your shop vac | Suction pulls lint out |
| Rotary Brush Kit | Long, curved ducts | Spins to break up clogs |
Measure Your Vent Length First
Before buying a kit, measure the distance from the dryer to the outside wall. This tells you how long your brush rods need to be.
Most kits cover vents up to 12 feet. If your vent is longer, look for an extension set or a kit with extra rods included.
What About Professional Cleaning Services
You might be wondering if you should just hire a pro instead. Professional cleaning is thorough and removes buildup that DIY kits might miss. It is a great option if you have a complex vent system.
However, professional services cost anywhere from one hundred to two hundred dollars per visit. A good cleaning kit costs less than half of that and lasts for years.
We found that a hybrid approach works best. Use a kit for regular maintenance every six months. Then consider a professional deep clean every few years, especially if you have a long or tricky vent path.
Quick Maintenance Checklist for Every Season
Keeping your dryer safe is not a one-time job. It is an ongoing habit. Here is a simple checklist to keep you on track all year round.
- Clean the lint trap after every single load of laundry.
- Vacuum the lint trap slot every time you clean the trap.
- Use the brush kit to clean the full vent line every six months.
- Check the outside vent flap for blockages each month.
- Inspect the vent hose for cracks or crushing every quarter.
- Schedule a professional cleaning if you notice any warning signs.
Final Tips for a Safer Laundry Room
Your dryer is one of the hardest-working appliances in your home. It deserves a little care and attention. A simple cleaning routine takes less than an hour and gives you total peace of mind.
Remember to always keep the area around the dryer clear of clutter. Boxes, clothes, and cleaning supplies can become fire hazards if they sit too close to the machine.
We found that most people only need to use a dryer vent cleaning kit a couple of times a year. It is a small effort with huge rewards. Your clothes will dry faster, your energy bills will drop, and your home will be safer. That is a win-win situation.
Conclusion
Keeping your dryer vent clean is one of the easiest ways to protect your home. A simple cleaning kit gives you everything you need to remove dangerous lint buildup and keep your machine running smoothly. You do not need special skills or expensive tools to get the job done right.
We found that spending just 30 to 45 minutes twice a year makes a real difference. Your clothes dry faster, your energy bills drop, and you eliminate a major fire risk. That is a small investment of time for serious peace of mind.
Grab a quality kit today and clean your vent this weekend. Your dryer will thank you, and so will your wallet.
Frequently Asked Questions
Can I use a clothes dryer cleaning kit on a gas dryer?
Yes, you can use a cleaning kit on a gas dryer. The process is nearly identical to an electric model. Just make sure you turn off the gas supply valve before you start working. This prevents any gas from leaking while you disconnect the vent hose.
Will a cleaning kit work if my vent is longer than 12 feet?
Most basic kits cover vents up to 12 feet long. If your vent runs longer than that, you can buy extension rods separately. Some brands sell add-on rods that screw right into your existing kit. Measure your vent first so you know exactly what you need.
Do I need to clean the outside vent flap too?
Yes, you should check the outside vent flap during every cleaning. Lint and debris can collect right behind the flap, blocking airflow. Birds or pests can also build nests there. A quick brush and visual check keeps the whole system clear.
Can a dryer cleaning kit damage my vent hose?
No, a quality kit is designed to be gentle on your vent system. The flexible rods bend and move with the ductwork instead of puncturing it. Just avoid forcing the brush if you meet resistance. A little patience prevents any accidental damage to the hose.
What is the best way to store my dryer cleaning kit?
Keep your kit in a dry place where the rods will not get bent or warped. Many people store theirs in a utility closet or garage. Hang the brush rods if you can, or keep them flat in the original packaging. This keeps the bristles in good shape for the next use.