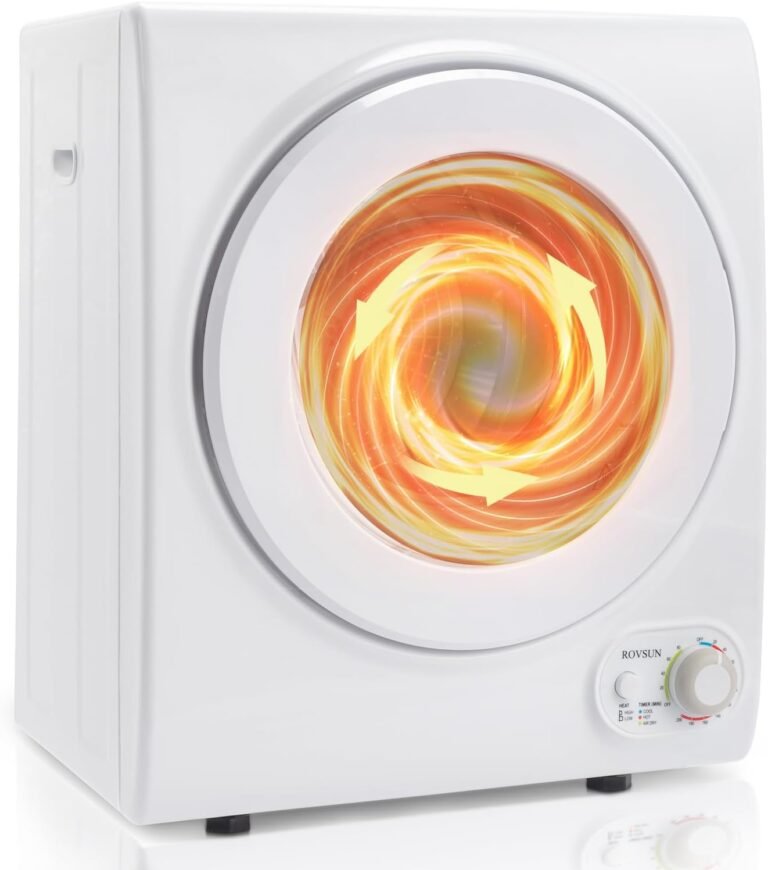
Dryer Not Heating? 7 Fixes to Try Before Calling
If your clothes dryer isn’t heating, the problem is almost always one of a few common culprits: a blown thermal fuse, a faulty heating element, or a broken thermostat. You can often diagnose and fix these issues yourself in under an hour with basic tools, saving the cost of a service call. We found that most heating failures start with a simple lack of airflow or a tripped safety switch.
Dealing with a dryer that spins but blows cold air is frustrating, especially with a pile of wet laundry waiting. Before you panic or buy a new machine, know that replacement parts are typically inexpensive. The key is to work through the easy checks first, like the power source and vent hose, before opening up the back panel.
- The #1 cause: A clogged dryer vent blocks airflow, causing the thermal fuse to blow.
- The second most common issue: A burned-out heating element, which is easy to test with a multimeter.
- The cheap fix: Replacing a thermal fuse costs around $10 to $20.
- The 5-minute check: Ensure the dryer is on the right cycle setting and not in “air fluff” or “cool down” mode.
- The safety rule: Always unplug your dryer before testing any internal parts.
Below, we’ll walk you through the exact step-by-step process to find out why your dryer isn’t heating and show you how to fix it for good.
Why Your Dryer Spins But Blows Cold Air
You load a wet heap of towels, press start, and the drum spins like normal. Ten minutes later, you check the clothes. They are still cold and damp. This usually points to one of three things: the heating element, the thermal fuse, or the thermostats.
We found that poor airflow causes most of these failures. When hot air cannot escape, the dryer gets too hot. That heat trips a safety switch. Once that switch blows, the power to the heater stops.
How the Heating System Works
Think of your dryer as a big, rotating oven. Air gets pulled in, passes over a heating coil, and gets pushed through your tumbling clothes. The moist air then exits through the vent.
If any part of this path is blocked or broken, the heat stops. The drum still turns because it uses a separate motor and belt system. This is why you get motion without warmth.
The Role of the Thermal Fuse
The thermal fuse is a one-time safety device. It sits near the exhaust duct inside the machine. Its job is to cut power to the heater if the air temperature gets dangerously high.
Many experts say this fuse is the primary culprit in no-heat situations. When it blows, it costs about $15 and takes a screwdriver to replace. The tricky part is figuring out why it blew in the first place so you do not burn out the new one too.
The Heating Element Explained
The heating element is a coiled wire that glows red hot. Over time, this wire can develop a break or a short. If the coil snaps, the electricity cannot complete the circuit. No circuit means no heat.
You can often see the break if you remove the back panel. If the element looks intact, you use a multimeter to test for continuity. A broken element requires a full replacement part, usually between $40 and $80.
Check Before You Take Anything Apart
Before you start pulling screws, run through these quick checks. They take five minutes and might save you a full teardown. We found that many “broken” dryers are not broken at all.
Confirm the Correct Cycle
Open the dial and look at what you selected. If you are on “Air Fluff,” “Air Dry,” or “Cool Down,” your dryer will not heat by design. These settings run cold air only to freshen items like pillows or sneakers.
Switch to a standard “Automatic Dry” or “High Heat” cycle. Wait a few minutes and feel the vent or the back of the dryer. If you feel warmth, your machine is fine. You just picked the wrong setting.
Inspect the Power Supply
An electric dryer needs 240 volts to heat. That means it connects to a dedicated double-pole breaker. If one of the two breakers trips, the drum can still spin on 120 volts, but the heater gets no power.
Check your home’s breaker box. Look for a breaker that is not fully in the “on” position. Also, inspect the outlet for scorch marks or a loose fit. A burnt plug is a fire hazard and needs immediate attention.
Clean the Lint Screen and Vent Hose
A clogged lint screen restricts airflow. A clogged vent hose does the same thing but worse. When air cannot move, the heating element gets too hot and trips the thermal fuse.
Pull the lint screen out and wash it with soap and water every few weeks. Then disconnect the vent hose from the wall. Check for lint buildup inside the pipe and clear it out with a vacuum or a vent brush.
Tools You Need for the Repair
DIY repair requires only a few basic tools. Most homeowners already have these in a drawer. If you are missing something, a hardware store visit will cost less than a service call.
- Nut driver or socket set: Most panels use 1/4-inch or 5/16-inch screws.
- Multimeter: This tests for electrical continuity in fuses and elements.
- Flathead screwdriver: For prying clips and removing terminal connectors.
- Needle-nose pliers: To pull off wire connectors without breaking them.
- Flashlight: You will need good light inside the cabinet.
- Replacement parts: New thermal fuse, thermostat, or heating element as needed.
How to Use a Multimeter Safely
A multimeter looks intimidating, but it is simple. Set it to the “continuity” or “ohms” setting. Touch the two probes to the terminals of the part you are testing. If the meter beeps or reads near zero, the part is good. If it reads infinite, the part is broken.
Always disconnect the part from the wiring before testing. You want to test the component itself, not the whole circuit. This gives you an accurate reading and protects you from electric shock.
Open the Dryer and Test the Safety Components
Unplug the dryer and move it away from the wall. Remove the back panel with your nut driver. You will see the blower wheel, the heating element housing, and several small metal parts with wires attached. Those metal parts are your fuses and thermostats.
Test the Thermal Fuse First
Locate the thermal fuse. It is a small white or metal rectangle clipped onto the blower housing. Follow the thin wire from the exhaust duct; the fuse usually sits right there.
Remove the two wires, pull the fuse out, and test it with your multimeter. If there is no continuity, this is your problem. Go ahead and replace it. But before you button it up, find out why it blew. Check the blower wheel for debris and make sure the vent is clear.
Test the Thermostats and High-Limit Switch
Dryers have two or three thermostats. They regulate the temperature during the cycle. One is the cycling thermostat on the blower housing. Another is the high-limit thermostat near the heating element. These parts also fail and cut power to the heater.
Take each one off, one at a time, and test with the multimeter. A thermostat should show continuity at room temperature. If it reads open, replace it. They cost about $15 each and simply plug in.
Inspect the Heating Element Coils
Look directly at the metal coils inside the heating element housing. Shine your flashlight across them. You are looking for a gap, a burn mark, or a sagging coil. A visible break means the element is dead.
If nothing looks wrong visually, test the terminals with your multimeter. The element should have low resistance, usually around 10 to 20 ohms. If you get no reading, the wire is broken internally. Replace the entire element assembly.
Step-by-Step Replacement Guide
Once you have diagnosed the faulty part, the replacement is straightforward. Each brand is slightly different, but the general process is the same. We found that taking photos with your phone before unplugging anything helps you remember how to reassemble it.
Installing a New Thermal Fuse
Place the new fuse in the exact spot the old one came from. Make sure it sits flat against the housing. Reattach the two wire connectors. Push them on firmly until you feel a click.
Do not overtighten any mounting screws. The fuse needs to make good contact with the metal surface to read the temperature. A loose fuse will not function correctly.
Replacing the Heating Element
This takes a bit more work. Remove the two screws holding the element housing plate. Slide the old element out carefully. Notice how the wire is wound inside the ceramic supports. Install the new element the same way.
Reconnect the ground wire and the two power wires. Double-check that the wire coils are not touching the metal casing. If they touch, you will short out the circuit and blow the new part immediately.
Reassemble and Test
Put the back panel back on and tighten all screws. Plug the dryer in but do not load clothes yet. Start a “High Heat” cycle and put your hand near the vent. You should feel warm air within a minute or two. If you do not, shut it off and re-check your wiring.
Run the dryer empty for 10 minutes to ensure everything works. Then load your wet laundry and complete a full dry cycle. Monitor the temperature to make sure it does not shut off prematurely.
Preventive Maintenance Checklist
You fixed the heat. Now keep it that way. Routine upkeep prevents the exact problems you just solved. Do these tasks every few months and you will extend the life of your dryer.
- Clean the lint screen before every load. Do not just brush it off; wash it monthly with a scrub brush and warm water.
- Disconnect and vacuum the vent hose every 3 to 6 months. Flexible foil hoses clog faster than rigid metal pipes.
- Check the outdoor vent flap. Make sure it opens freely and closes when not in use.
- Clean the moisture sensor bars. A dirty sensor confuses the dryer into thinking clothes are dry.
- Leave space between the dryer and the wall. Good airflow around the machine keeps it cooler.
- Replace the vent hose with rigid metal if possible. It is safer and significantly better for airflow (U.S. Fire Administration).
Comparing Repair Options and Costs
You have a decision to make. Fix it yourself, hire a pro, or buy a new machine. The right choice depends on the age of your dryer and your confidence with a screwdriver. We broke down the typical costs for you.
| Action | Cost | Time Required |
|---|---|---|
| Replace thermal fuse (DIY) | $15 – $25 | 30 minutes |
| Replace heating element (DIY) | $40 – $80 | 1 hour |
| Replace thermostat (DIY) | $15 – $30 | 30 minutes |
| Professional repair visit | $150 – $300 | 1 – 2 hours |
| New dryer purchase | $500 – $1,200 | Delivery and setup |
Most people can handle the DIY fixes safely. You just need to follow the steps carefully and unplug the machine. If you feel nervous about electrical work, calling a professional is always a smart move.
When to Call a Professional
Some repairs go beyond simple parts. If you have tested everything and still have no heat, stop guessing. A licensed technician has specialized tools to check the main control board and wiring harness.
Also, call a pro if you smell burning wires or see scorch marks inside the cabinet. This indicates a serious internal fault. Do not run the dryer again until it is inspected. Safety always comes first when dealing with high-voltage appliances.
Signs You Need a New Dryer
Is the dryer over 10 years old? Is the repair cost more than half the price of a new machine? If so, it may be time to upgrade. Newer models heat faster and use less energy.
We found that a single major repair on an old dryer often leads to a second one soon after. When the motor, belt, and heating system all wear out around the same time, replacement makes better financial sense.
Final Safety Reminder
Clothes dryers cause thousands of house fires every year. Most start from lint buildup and poor ventilation. Failing to clean the vent is the number one contributor (National Fire Protection Association).
Keep the area around your dryer clean. Do not store cardboard, boxes, or chemicals near it. And never run the dryer when you sleep or leave the house. A small habit change can prevent a devastating fire.
You have the knowledge and the tools now. Diagnose the issue, repair it, and get back to warm, fluffy towels. You have got this.
Conclusion
You do not need to live with cold, damp laundry. A dryer that spins without heat almost always comes down to a blown thermal fuse, a broken heating element, or a faulty thermostat. Each one is cheap to fix and takes less than an hour with basic tools.
Start with the simple checks first. Verify your cycle setting, inspect the breaker box, and clean out the vent hose. If the machine still blows cold air, open the back panel and test each safety component with a multimeter. Replace the part that fails and you are back in business.
Your next step is to pull the dryer away from the wall and run through the diagnostic checks in this guide. Grab your multimeter, unplug the machine, and get started. You will save yourself a couple hundred dollars and have warm, dry clothes tonight.
Frequently Asked Questions
Why does my dryer run but not get hot?
This usually points to a blown thermal fuse or a broken heating element. The drum spins on a separate motor, so it keeps turning even when the heat source fails. Test the thermal fuse first since it is the most common failure point.
Can a clogged vent cause a dryer to stop heating?
Yes, absolutely. Restricted airflow makes the dryer overheat internally, which trips the thermal fuse and cuts power to the heater. You need to clear the vent hose and lint screen to prevent the new fuse from blowing right away.
How much does it cost to fix a dryer that is not heating?
A DIY repair runs between $15 and $80 depending on the part. Thermal fuses cost about $15, while a heating element runs $40 to $80. Hiring a professional will cost $150 to $300 for parts and labor.
Is it worth repairing a 10-year-old dryer?
If the repair costs less than half the price of a new machine, fixing it makes sense. Older dryers often need multiple repairs once they pass the decade mark. You should weigh the cost of the current fix against the likelihood of future breakdowns.
How do I know if my dryer heating element is burned out?
Look for a visible break or burn mark on the metal coils inside the heating housing. You can also test it with a multimeter set to the ohms setting. No reading or infinite resistance means the element is dead and needs replacement.