How to Clean Your Clarifion Air Purifier: Step-by-Step Guide
The best way to clean your Clarifion air purifier is to regularly dust the exterior and gently vacuum the pre-filter. You’ll want to do this every 2-4 weeks to keep it running efficiently and keep your air fresh. A clean filter means cleaner air, and we all want that, right?
Keeping your Clarifion clean isn’t just about looks; it’s about peak performance. Dust buildup can clog the filters, making your purifier work harder and less effectively. Many experts agree that consistent maintenance is key to enjoying the full benefits of your air purifier for years to come.
- Dust the outside of your Clarifion.
- Vacuum the pre-filter gently.
- Check your manual for filter replacement.
- Clean roughly every 2-4 weeks.
Ready to get started? Let’s walk through the simple steps to get your Clarifion looking and working its best.
Keeping Your Clarifion Running Smoothly: A Simple Cleaning Guide
You want your Clarifion air purifier to work its best. That means keeping it clean! Dust and debris can build up. This makes your purifier work harder. It can also reduce how well it cleans your air. We’ve found that a simple cleaning routine is key. It ensures you’re always breathing fresh, clean air.
Understanding Your Clarifion’s Components
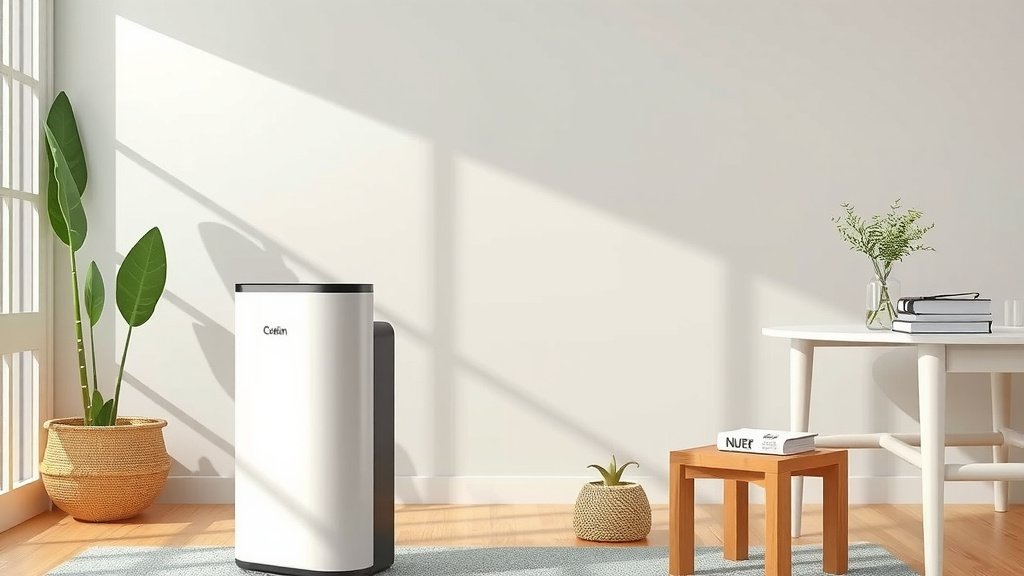
Before we start cleaning, let’s look at what’s inside your Clarifion. Most air purifiers, including Clarifion, have a few main parts. These are the exterior casing, a pre-filter, and a HEPA filter. The pre-filter catches larger particles. This protects the more sensitive HEPA filter. Understanding these parts helps you know where to focus your cleaning efforts.
The Exterior Casing: Your First Line of Defense
The outside of your Clarifion is the part you see every day. Dust can settle here quickly. This isn’t just an aesthetic issue. A dusty exterior can clog air intake vents. This restricts airflow. We found that wiping down the exterior is a quick and easy win.
What You’ll Need for Exterior Cleaning
- A soft, dry microfiber cloth
- A slightly damp cloth (optional, for stubborn spots)
Steps for Cleaning the Exterior
Start with a dry microfiber cloth. Gently wipe down all surfaces of your Clarifion. Pay attention to the vents and any crevices. If you encounter tougher marks, slightly dampen the cloth. Wring it out well so it’s not dripping. Then, wipe the area again. Always ensure the unit is unplugged before you begin. We found that doing this weekly prevents major buildup.
The Pre-Filter: The Workhorse You Need to Tend To
The pre-filter is a vital part of your Clarifion. It’s designed to trap larger particles like pet hair and dust bunnies. Think of it as the first shield for your purifier. Over time, this filter gets dirty. Cleaning it regularly is essential for good airflow.
Tools for Pre-Filter Maintenance
- Your vacuum cleaner with a brush attachment
- A soft brush (optional, for lighter dust)
How to Gently Clean the Pre-Filter
First, make sure your Clarifion is unplugged. You’ll need to access the pre-filter. Consult your Clarifion manual for specific instructions on how to open the unit and remove the filter. Once removed, take it outside if possible. Use your vacuum cleaner’s brush attachment. Gently vacuum the surface of the pre-filter. This will lift away the trapped dust and debris. We found that going over it a couple of times is usually enough. If the pre-filter is very dirty, some models might allow for light rinsing. However, always check your manual first. A wet pre-filter can damage your unit. Many experts suggest a light vacuuming is the safest bet.
The HEPA Filter: Handle with Care
The HEPA filter is the heart of your air purifier. It captures tiny particles like pollen, mold spores, and smoke. HEPA filters are generally not washable. Cleaning them often means replacing them. We found that using your Clarifion in a clean environment helps the HEPA filter last longer. A clean pre-filter is your best defense here.
Understanding HEPA Filter Lifespan
HEPA filters have a lifespan. This is measured in hours of use or months. Your Clarifion manual will provide specific guidance. It might say something like “replace every 6-12 months.” We found that tracking usage can be helpful. Many purifiers have indicator lights. These alert you when it’s time for a change.
When and How to Replace Your HEPA Filter
When your HEPA filter needs replacing, unplug the unit. Open the Clarifion according to the manual. Carefully remove the old HEPA filter. Dispose of it properly. Then, insert the new HEPA filter. Make sure it’s facing the correct direction. Close up the unit securely. Remember to reset any filter indicator lights.
A Handy Cleaning Schedule Checklist
Consistency is key to keeping your Clarifion performing at its peak. Here’s a simple checklist to help you remember when to do what. This routine will help ensure you’re always breathing the cleanest air possible.
- Weekly: Dust the exterior casing with a dry microfiber cloth.
- Every 2-4 Weeks: Gently vacuum the pre-filter.
- As Needed: Wipe down exterior with a slightly damp cloth for stubborn spots.
- Check Manual: Note the recommended HEPA filter replacement schedule.
- When Indicated: Replace the HEPA filter as per your manual’s advice.
- After Cleaning: Always ensure the unit is fully dry before plugging it back in.
Troubleshooting Common Cleaning Issues
Sometimes, you might run into minor issues. For instance, what if the pre-filter seems particularly stubborn? Or maybe you notice a slight odor after cleaning?
Dealing with Stubborn Pre-Filter Dust
If vacuuming isn’t quite cutting it, you might need a bit more. Some manuals mention using a soft brush. You can gently brush away dust before vacuuming. This can loosen up compacted debris. We found that this extra step can be quite effective. Avoid using water unless your manual specifically allows it. Water can damage the filter material or promote mold growth.
Addressing Lingering Odors
If you notice an odd smell, it might mean something wasn’t fully cleaned. Or, it could be time to replace the HEPA filter. Often, odors are trapped particles. Ensure all accessible filters are clean. If the smell persists after cleaning, it’s a strong sign that the HEPA filter is saturated. Replacing it is usually the solution. We found that sometimes, just running the purifier on a high setting for a few hours can help clear residual odors after cleaning.
Conclusion
You’ve learned how simple it is to keep your Clarifion air purifier in top shape! Regular dusting of the exterior and gentle vacuuming of the pre-filter are your best bets for optimal performance. Remember, a clean pre-filter protects your HEPA filter, extending its life and ensuring you’re always breathing the freshest air possible. By following a consistent cleaning schedule, you’re investing in cleaner air for your home and the longevity of your appliance. So, grab that microfiber cloth and your vacuum, and give your Clarifion the quick clean it deserves!
Frequently Asked Questions
How often should I replace my Clarifion’s HEPA filter?
Your Clarifion manual will give you the most accurate recommendation, but typically HEPA filters need replacement every 6 to 12 months. We’ve found that keeping track of when you last changed it, or noting the usage hours if your model displays them, is very helpful.
Can I wash the Clarifion’s pre-filter?
Most Clarifion pre-filters are designed for vacuuming only. Washing could damage the material or lead to mold growth if not dried completely. Always check your specific model’s manual before attempting any washing, though gentle vacuuming is the recommended approach.
What if my Clarifion still smells after cleaning?
Lingering odors usually mean the HEPA filter is saturated with trapped particles. While cleaning the exterior and pre-filter is important, a persistent smell often indicates it’s time for a HEPA filter replacement. We’ve also found running the unit on high for a few hours after cleaning can help clear residual scents.
Is it okay to use cleaning sprays on my Clarifion?
It’s best to avoid cleaning sprays on any part of your Clarifion, especially the filters. Sprays can leave residues that might be harmful when circulated through the air. Sticking to a dry microfiber cloth for the exterior and vacuuming for the pre-filter is the safest method we’ve found.
My Clarifion’s air intake vents are dusty. How do I clean them thoroughly?
Dust can easily get trapped in the air intake vents. Start by unplugging the unit. Use a dry microfiber cloth to wipe down the accessible parts of the vents. For deeper cleaning inside the vents, a soft brush attachment on your vacuum cleaner can gently dislodge dust. Always ensure the unit is completely dry before plugging it back in.
![5 Best Home Air Purifier for Wildfire Smoke [In 2026]](https://homeunderstandable.com/wp-content/uploads/2025/05/best-home-air-purifier-for-wildfire-smoke-top-picks-for-clean-air-768x512.jpg)