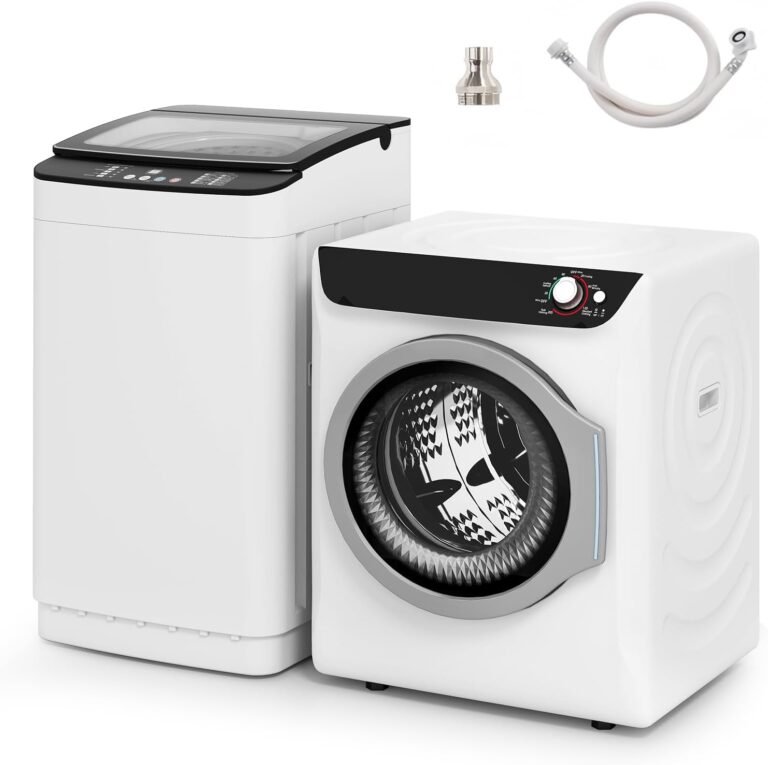
How Does a Clothes Dryer Work? Explained Simply
A clothes dryer works by pulling in air, heating it, and tumbling your clothes through that warm airflow to evaporate moisture. That moisture-laden air is then vented or condensed and drained away, leaving you with dry, fluffy laundry. It’s a simple cycle of heat, airflow, and tumbling that you probably use without thinking about the magic behind it.
You toss in a wet load, press a button, and walk away. But there’s a lot happening inside that metal box to get your towels and t-shirts ready to fold. We looked into the mechanics and found that the process is actually pretty straightforward once you break it down. Understanding how it works can even help you troubleshoot problems or use your dryer more efficiently.
- The core cycle: The dryer uses a heating element or gas burner to warm the air inside the drum.
- The tumbling action: The drum rotates constantly to expose all surfaces of your clothes to the warm air.
- Moisture removal: The humid air is pushed outside through a vent or collected in a water tank.
- The important parts: Key components include the heating element, blower, thermostat, and moisture sensors.
- Types of dryers: Vented dryers push air outside, while condenser dryers collect moisture in a tank.
Below, we’ll walk through each step of the drying process and explain what all those buttons and settings actually do. Let’s open the door and take a peek inside.
The Basic Drying Process in Plain English
You close the door, pick a cycle, and press start. Then what? The dryer jumps into action with three jobs: move air, heat it, and spin your clothes. That combo pulls moisture out of fabric and sends it out of the machine.
We looked at how these machines break down their work, and honestly, it is not as complicated as the control panel makes it look. Every dryer on the market follows the same core steps.
Step One: Pulling in Fresh Air
The dryer’s blower fan starts pulling air from the room around it. That air moves through the machine and into the drum where your clothes are tumbling. Even the simplest dryers need a steady supply of fresh air to do their job.
Without a good intake, the inside of the dryer gets stale. Stale air holds way more moisture, and wet clothes stay wet. So, that first pull of room air is a bigger deal than you’d think.
Step Two: Heating the Air
That incoming air passes over a heat source. In electric dryers, it is a metal heating coil. In gas dryers, it is a small burner flame. Either way, the air temperature inside the drum climbs quickly, often reaching between 125 and 135 degrees Fahrenheit during a standard cycle (U.S. Consumer Product Safety Commission).
Warm air holds more water vapor than cold air. That is basic physics at work. So, heating the air first makes it way better at pulling moisture from your t-shirts and jeans.
Step Three: The Tumbling Action
The drum rotates on a set of rollers or a slide pad. As it spins, clothes get lifted up by small fins inside the drum, then drop back down. This constant lifting and dropping moves fabric around and exposes new surfaces to the warm air.
Think of it like flipping a pancake. If you leave one side down, it burns. Tumbling makes sure every inch of every towel gets its turn in the warm airflow.
Step Four: Removing the Moist Air
The blower fan now pushes that warm, humid air out of the drum. In a vented dryer, it goes through a duct and outside your home. In a condenser dryer, that air travels to a heat exchanger, where the moisture condenses into water and collects in a tank you empty later.
That step is the payoff. The whole cycle is built around moving damp air out so dry air can take its place. If this step fails, your clothes get stuck in a steam bath that never ends.
What Happens Inside the Drum During a Cycle
The drum is not just a spinning barrel. It is a finely tuned environment. Temperature, airflow, and motion all have to work together in exact harmony. Too much heat and you shrink your favorite sweater. Too little airflow and the cycle drags on forever.
Manufacturers build sensors and thermostats into the machine to keep everything in balance. But the physical dance in the drum is where the real action happens.
How Moisture Sensors Read Your Clothes
Most modern dryers have moisture sensors mounted on the front bulkhead or lint filter housing. These sensors touch the clothes as they tumble. They measure electrical resistance. Wet clothes conduct electricity well. Dry clothes do not.
The dryer’s control board watches these readings in real time. When the clothes stop conducting, the machine knows they are dry, and it shuts off the heat or ends the cycle automatically. That is why a damp load runs longer than a small, mostly dry load.
Accuracy of the Sensor Readings
The sensors are pretty good, but they are not perfect. Thick items like towels or heavy denim can trick them. The outer layers dry fast, while the inner layers stay damp. The sensor reads the dry surface and stops the cycle too early.
That is why many dryers have a “More Dry” or “Very Dry” setting. It forces the machine to keep running a bit longer, even after the sensors say the clothes are done.
The Role of the Lint Filter in Airflow
Lint is the collection of tiny fabric fibers that rub off your clothes during tumbling. The lint filter traps those bits before they can escape into your vent duct. And here is why it matters most: a clogged lint filter chokes off the airflow.
We found that cleaning the lint filter on every single load can cut drying time by a noticeable margin. The U.S. Fire Administration also points out that cleaning the lint screen is one of the best ways to reduce the risk of dryer fires. It is a 10-second habit with serious payoff.
Different Dryer Types and How They Remove Moisture
Not all dryers work the same way. The biggest difference comes down to how they handle the moist air after it leaves the drum. Some push it outside. Others recycle it and squeeze the water out internally.
Each approach has its own quirks, installation needs, and maintenance routines. Knowing which one you have helps you understand what you are looking at.
Vented Dryers: The Classic Setup
These are the most common dryers in American homes. They pull air in, heat it, tumble your clothes, then push the humid air out through a flexible metal duct that leads outside. The duct runs through your wall, floor, or ceiling to an exterior vent flap.
This system is simple and efficient. But it relies on a clear, unobstructed duct. We recommend checking your vent hose at least once a year for kinks, clogs, or bird nests. A crushed hose can double your drying time and waste a lot of energy.
Condenser Dryers: No Vent Needed
Condenser dryers are much more common in Europe and Asia, but they are popping up in US homes too. These dryers recirculate the air inside the unit. That air passes through a heat exchanger where the moisture condenses into water droplets and gets pumped into a reservoir tank.
You have to empty that water tank periodically, or you can hook some models up to a drain hose. These dryers are great for apartments and condos where you cannot cut a hole in the wall for a vent. They do take a bit longer to dry your clothes, though, because the air is pre-moistened during part of the cycle.
Heat Pump Dryers: The Efficient Upgrade
A heat pump dryer is a fancier version of a condenser dryer. Instead of just cooling the air to collect moisture, it recycles the heat back into the drum. This makes it dramatically more energy efficient. Many experts point to heat pump dryers as the best option for households that dry a lot of laundry, because they use roughly half the electricity of a traditional vented electric dryer (U.S. Department of Energy).
The tradeoff is the upfront cost and the longer cycle time. But if you live in a small space or just want to cut your power bill, this type is a solid investment.
The Key Components Inside Your Dryer
Every dryer, regardless of brand or price point, has a handful of essential parts. You do not need to be a repair technician to understand what they do. A basic mental map of the machine helps you spot problems before they turn into expensive service calls.
| Component | What It Does | Common Failure Sign |
|---|---|---|
| Heating Element (Electric) | Warms the air as it enters the drum | Clothes tumble cold and never dry |
| Gas Burner / Igniter | Provides heat in gas dryers | No heat, or slow to heat up |
| Blower Fan | Pulls air in and pushes damp air out | Long drying times, loud rumbling |
| Drum Rollers / Slide Pads | Support the drum while it spins | Squeaking or thumping noises |
| Drive Belt | Connects the motor to the drum | Drum does not rotate, motor hums |
| Moisture Sensors | Detect when clothes are dry | Dryer shuts off too early |
| Thermostat / Thermal Fuse | Monitors internal temperature | Dryer stops mid-cycle repeatedly |
If something in that list stops working, the whole cycle breaks down. The good news is that a lot of these parts are easy for a handy homeowner to replace. And many repair videos on popular platforms show step-by-step fixes for every major brand.
Why Your Dryer Takes Too Long to Finish
Everyone has been there. You set a timer for an hour, and two hours later, your jeans are still damp. That is frustrating, but it is usually a sign of a specific problem you can fix yourself. We rounded up the most common culprits so you can run through a quick checklist.
Quick Troubleshooting Checklist
- Clean the lint filter every single cycle, not every few loads. A clogged filter robs your dryer of airflow.
- Check the exhaust duct for kinks, crushing, or a complete blockage. Move the dryer and look behind it.
- Confirm the outdoor vent flap opens when the dryer is running. A stuck flap throws off the whole cycle.
- Do not overload the drum. If you cram it full, air cannot move between items. Split large loads in half.
- Use the correct cycle for the fabric. Heavy items like towels need a high-heat cycle, not the delicate setting.
- Separate heavy items from light ones. A load with jeans and sheets takes longer than jeans alone.
We found that most long-drying complaints come down to airflow issues rather than broken parts. Before you call a repair company, run through those six checks. A simple vent cleaning saves you time and money.
Heating Element Failure
If your dryer runs but the air stays cold, the heating element is the prime suspect in an electric dryer. These elements burn out over time, especially in homes where people run high-heat cycles constantly. Replacing one costs around 50 dollars for the part and takes about 30 minutes with a screwdriver.
Remember to unplug the dryer before you touch anything. The heating element carries a lot of electricity, and you do not want to make that mistake twice.
How Dryer Settings Actually Work
The control panel looks intimidating with all those buttons. But most cycles just change three variables: heat level, tumbling speed, and ending conditions. Once you understand that, you can pick the right cycle for any load without guessing.
Heat Options Explained
High heat is for towels, denim, and heavy cottons. It dries quickly but can shrink fabrics that are not pre-shrunk. Medium heat is your everyday workhorse for mixed loads. Low heat protects delicates and workout gear with synthetic fibers like spandex or nylon.
No heat, also called air fluff, just tumbles clothes with room temperature air. You use that for refreshing pillows, removing pet hair, or fluffing items that cannot take any heat at all.
Sensor Dry vs. Timed Dry
Sensor dry uses the moisture sensors we talked about earlier. It stops automatically when your clothes reach the target dryness level. That is a huge energy saver and prevents overdrying.
Timed dry is a manual mode. The dryer runs for exactly the minutes you select, no matter what. This lets you control the cycle completely, but it requires you to guess how long the load will take. When in doubt, choose sensor dry and walk away.
Energy Efficiency and Your Dryer
Dryers are among the biggest energy hogs in your home. The Department of Energy notes that a typical electric dryer uses about 3,000 watts per hour. Running it for one hour costs more than running a refrigerator for a whole day. So, small habits make a real difference here.
One of the easiest ways to cut waste is to run consecutive loads back to back. The dryer stays warm from the previous load, so the next one heats up faster. That saves you money and cuts down on the total time the machine runs.
Spin Speed Matters More Than You Think
The faster your washing machine spins during the final cycle
Conclusion
You now know the full journey of your laundry — from that first pull of room air to the final sensor reading that signals dry. Heat, airflow, and tumbling do all the heavy lifting. Your job is simply to keep the path clear.
We recommend you make two habits stick. Clean that lint filter every single load, no exceptions. And check your vent duct at least twice a year for kinks or clogs. Those two actions prevent most drying problems and keep your machine running efficiently for years.
Next time you toss in a wet load, you will know exactly what is happening inside. And when something feels off, you have a solid starting point to fix it yourself. Your dryer is simpler than it looks — and now you are in on the secret.
Frequently Asked Questions
Is it cheaper to run a dryer at night?
It depends on your utility plan. Some providers offer lower rates during off-peak hours, which is usually late evening or overnight. Check your energy bill or call your provider to see if you have time-of-use pricing. If you do, running the dryer at night can save you a few dollars each month.
Why does my dryer smell like burning?
A burning smell usually means lint is building up somewhere it should not be. Start by cleaning the lint filter and checking the exhaust duct for blockages. If the smell persists, the heating element or belt might be overheating. Stop using the dryer and call a professional if you cannot find the source.
Can I put wet clothes in the dryer right after the wash cycle ends?
Yes, and it is actually a good idea. Wet clothes that sit in the washer can develop a musty odor within a few hours. Transferring them quickly prevents mildew and shortens your drying time because the clothes have not had time to cool and clump together.
How often should I replace the dryer vent hose?
We recommend inspecting it yearly and replacing it every five years or so. Flexible foil hoses can develop small tears that leak warm, moist air into your home. If you have a ribbed plastic hose, swap it out for a rigid metal one. That is safer and moves air more efficiently.
Does opening the dryer mid-cycle ruin the load?
Not at all. Opening the door pauses the cycle and lets out some warm air. The dryer will simply reheat and continue where it left off. It adds a few minutes to the total time, but it will not damage your clothes. Use this trick to check on delicate items or pull out something you need right away.