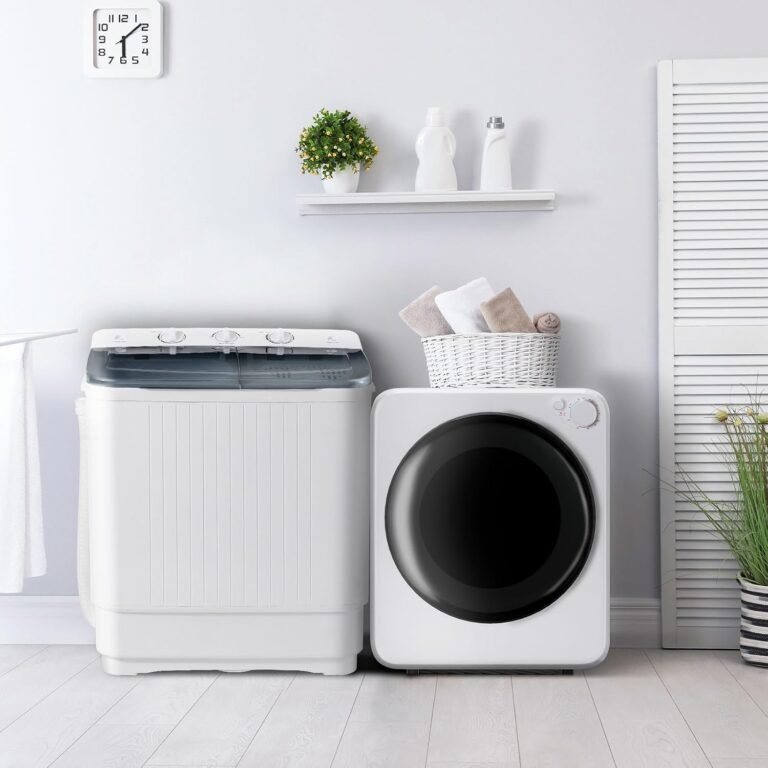
Clothes Dryer Repair Costs: What to Expect in 2026
Repairing a clothes dryer typically costs between $100 and $350, with the average homeowner paying around $200 to $250 for parts and labor. This cost depends entirely on the specific problem, whether you need a simple part replacement or a major component fix, and if you hire a professional or DIY it.
Before you panic about the price, know that not every dryer issue is a costly disaster. We found that many common problems, like a faulty start switch or a clogged vent, are surprisingly affordable to fix. The final repair bill comes down to the exact diagnosis, the cost of the replacement part, and your local service rates, so understanding the breakdown is your first step to saving money.
- Typical professional repair: $100 to $400 total, including a $50 to $100 service call fee.
- Most common repair: Replacing the heating element or thermal fuse costs roughly $150 to $250 with labor.
- DIY savings: Fixing it yourself can cost as little as $20 to $60 for the part alone.
- Age matters: If your dryer is over 10 years old and the fix costs half the price of a new unit, replacement is often smarter.
- Warranty: Always check your warranty first, as it might cover the repair for free.
Below, we break down every cost factor, the price of specific parts, and simple signs to tell if a repair is actually worth it for your machine.
Understanding Dryer Repair Costs by Problem Type
The biggest factor in your final bill is the specific part that breaks. We looked at common repairs and found that prices swing wildly depending on what’s wrong. You might pay under $100 for a simple sensor fix, or over $400 for a new motor.
Here is a quick snapshot of what we found for typical professional repair bills. These numbers include the part and the labor, but we break out the service call fee separately later on.
| Problem Type | Average Repair Cost | Difficulty |
|---|---|---|
| Clogged vent or lint filter | $75 – $150 | Easy (DIY) |
| Faulty thermal fuse | $150 – $250 | Moderate (DIY possible) |
| Broken heating element | $150 – $300 | Hard |
| Failed start switch or door latch | $100 – $200 | Easy (DIY) |
| Broken drive belt | $150 – $250 | Moderate (DIY possible) |
| Defective timer or control board | $200 – $400 | Hard |
| Worn drum rollers or bearings | $200 – $350 | Hard |
Notice how a simple part like a door switch costs far less than a control board. The part price alone can be the difference between a cheap fix and a pricey one. We found that many homeowners skip the diagnostic step and guess at the problem, which always costs more in the long run.
Why the Heating Element Costs More Than You Think
The heating element is one of the most common failures we see. If your dryer spins but doesn’t heat, this is usually the culprit. The part itself costs around $30 to $80 online, but professional labor pushes the total to $200 or more.
Why so much? Reaching the element requires disassembling the entire drum assembly. That takes time, and technicians charge by the hour. Research shows that labor rates across the US average between $75 and $110 per hour, and this job takes roughly 1.5 to 2 hours.
Interestingly, a thermal fuse often fails for the same reason as the heating element. If your dryer overheated, both parts might be toast. A good technician will check both, saving you from a second service call next week.
The Sneaky Cost of a Clogged Vent
Not every repair involves replacing parts. Sometimes the entire problem is just poor airflow. A clogged dryer vent makes your machine work overtime, and it can cause overheating. This is a safety hazard, not just an annoyance (NFPA).
Cleaning a vent professionally usually runs $75 to $150. That might seem steep for a cleaning, but it involves detaching the duct, using specialized brushes, and clearing the exterior vent cap. If you’re handy, you can do this yourself with a $20 brush kit from any hardware store.
Breaking Down the Labor and Service Call Fees
When you call a repair company, the first charge you see is the service call fee. This covers the technician’s travel time and the initial diagnostic. We found that this fee ranges from $50 to $100, and it’s almost never waived.
Here is the frustrating part: the service call fee often covers the diagnosis, but the repair labor is separate. So, if the tech names a price, ask if it includes the trip charge. Many experts say that getting a flat quote upfront is the best way to avoid sticker shock later.
Is the Diagnostic Fee Worth It?
Paying $80 to have someone just look at your dryer feels painful. But think of it like a doctor’s visit. You pay for the expertise, not just the pill. A professional can pinpoint the issue in 15 minutes, while you might spend a weekend guessing and testing parts.
However, we found that some companies will waive the diagnostic fee if you agree to do the repair with them. It’s always worth asking. If the machine is older and the quote is high, that diagnostic fee might be the cheapest way to decide it’s time for a new unit.
DIY Repairs: What You Can Actually Save
If you’re even slightly handy, DIY repairs can slash your costs by 70% or more. The part itself is usually cheap; the labor is what kills you. We found that a simple part like a start switch costs $15 to $30 on sites like PartSelect or Amazon.
Before you dive in, check if you have a multimeter. Testing parts for continuity is the only way to know what’s broken. Guessing and replacing random parts is the fastest way to waste money. Many online tutorials show you the exact testing procedure for your model.
The Real Cost of DIY Mistakes
DIY isn’t free of risk. If you wire something backward or break a plastic tab, you might create a bigger problem. We found that DIY repairs can backfire if you don’t have the right tools or patience. A simple mistake could turn a $20 fix into a $300 disaster.
Stick to easier fixes like the door switch, belt, or thermal fuse. Leave the control board and drum bearing replacements to the pros unless you have solid experience with appliance repair. It’s a fair trade-off between saving money and protecting your machine.
Tools You Need for a Safe DIY Dryer Repair
We recommend having these on hand before you start. You don’t need a full workshop, but the right basics make the job safer.
- Multimeter for testing electrical continuity safely.
- Screwdrivers (Phillips and flathead) in various sizes.
- Nut driver set for the drum bolts and panel screws.
- Needle-nose pliers for pulling wire connectors.
- Work gloves to protect your hands from sharp metal edges.
- A shop vacuum to clean out lint and debris while you’re inside.
When to Stop Repairing and Just Buy a New Dryer
This is the million-dollar question. We found a simple rule of thumb that most technicians use: if the repair costs more than 50% of the price of a new dryer, it’s time to replace it. For a $600 new dryer, that means you shouldn’t spend over $300 on a repair.
Age matters just as much as the cost. Most dryers last about 10 to 13 years on average. If your machine is past that mark and needs a major part, you’re pouring money into a sinking ship. A new model will be more energy-efficient and likely last another decade.
The Warning Signs That Replacement Is Smarter
Sometimes the dryer tells you it’s time to go. If you notice any of these signs, think twice before calling a technician.
- It takes two cycles to dry a normal load, which means it’s losing efficiency.
- The drum grinds or squeals loudly, suggesting bearing failure.
- You’ve repaired it more than three times in the last two years.
- The exterior gets dangerously hot, posing a fire risk.
- Rust is visible on the drum or the cabinet.
- Smoke or burning smells come from the machine, regardless of the part.
We found that homeowners often ignore these signs out of habit. But a dryer that can’t dry is just an expensive clothes rack. The moment you dread laundry day because of the machine, it’s likely time to cut your losses.
Warranty and Insurance: The Free Money You Might Miss
Before you budget for any repair, check your paperwork. Most new dryers come with a 1-year parts and labor warranty. Many manufacturers also offer extended warranties on specific parts like the motor for up to 10 years. If you’re within that window, the repair could be completely free.
Home warranty plans also cover appliance repairs. The catch is that you’ll still pay a service fee, usually around $75 to $125 per visit. If the part is expensive, that’s still a bargain compared to the full repair bill.
Reading the Fine Print to Avoid Surprises
Warranties often exclude labor. So, you might get a free heating element but still pay $100 for the technician to install it. Many experts say to ask the repair company about warranty pricing before you schedule the appointment. Some parts have warranties that transfer to new homeowners, so you might be covered even if you didn’t buy the dryer new.
Even if you think the warranty is expired, it never hurts to register the serial number online. Manufacturers sometimes quietly extend coverage for known defective parts. A quick search of your model number plus the word “recall” could save you a lot of money (CPSC).
How to Save Money on Your Dryer Repair Bill
We found that you can negotiate with repair companies more often than you’d think. Get quotes from at least three technicians. Prices for the exact same job can vary by $100 or more in the same city. Competition works in your favor if you leverage it.
Time your repair wisely. Try to book a weekday appointment rather than a weekend or evening. Many companies charge a premium for after-hours calls, bumping up the service fee by $50 easily. A little flexibility on your schedule can pay for a nice lunch.
Ask for Refurbished Parts to Save Big
Not every part needs to be brand new. We found that used or refurbished parts, especially motors and control boards, can cost 50% less than OEM versions. The risk is that they might not last as long, but for an older dryer, they’re the perfect middle ground.
Just remember to ask the technician if they have a warranty on the used part. A 30-day guarantee is standard. If they say no, that’s a red flag. It’s your money, so don’t be shy about asking for the best pricing options that keep your dryer running without breaking the bank.
Conclusion
You now have a clear picture of what dryer repairs actually cost. The final bill really comes down to the specific part, labor rates in your area, and whether you choose a pro or a DIY fix. Most repairs land between $150 and $250, but simple fixes can be far cheaper.
Before you call anyone, grab your model number and check your warranty. Then, get at least two or three quotes so you can compare honestly. If the repair price creeps past half the cost of a new dryer, it’s time to shop for a replacement instead.
Start with the easy stuff. Clean the vent, test the thermal fuse, and check the door switch. You might solve the problem for under $50 and save yourself a service call fee entirely.
Frequently Asked Questions
Can I negotiate the price of a dryer repair?
Yes, you can often negotiate, especially if you have quotes from competing companies. Many technicians have some flexibility on labor rates, particularly for larger jobs. We found that simply asking for a better price or a discount for paying cash works more often than you’d expect.
Does home insurance cover dryer repairs?
Standard homeowners insurance usually does not cover appliance breakdowns from normal wear and tear. It only covers damage from sudden events like a fire or electrical surge. A separate home warranty plan is the coverage you need for routine dryer breakdowns.
Is it worth fixing a 10-year-old dryer?
It depends on the repair cost and the dryer’s condition. If the fix is under $200 and the dryer has been reliable, it’s often worth it. But if you’re facing a $350 control board replacement, that money is better spent on a new machine with a warranty.
How long does a professional dryer repair take?
Most common repairs take about 1 to 2 hours once the technician arrives. Simple fixes like a door switch or thermal fuse are closer to an hour. More complex jobs like a motor or drum bearing replacement might take 2 to 3 hours, so you’ll pay more in labor.
Should I unplug my dryer before troubleshooting?
Absolutely, always unplug the dryer before you touch any internal parts. You’re dealing with 240-volt electricity, which is extremely dangerous. Even when testing with a multimeter, you need to check parts with the power off and the wires disconnected.