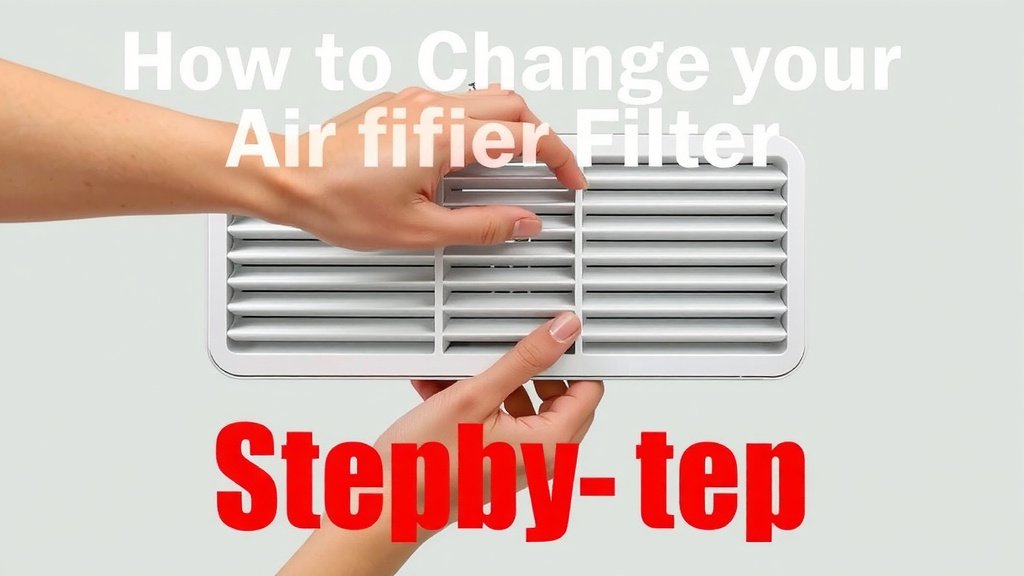
How to Change Your Mooka Air Purifier Filter Step-by-Step
Changing your Mooka air purifier filter is a simple process that keeps your air fresh and clean. You’ll want to do this about every 6-12 months for optimal performance. This ensures your purifier is always working its best to remove allergens and pollutants.
Regular filter changes are key to maintaining your Mooka’s efficiency. Think of it like changing the oil in your car; it keeps things running smoothly. Failing to change filters can lead to poorer air quality and a less effective machine.
- Unplug your purifier first.
- Open the purifier cover.
- Remove the old filter.
- Install the new filter.
- Close and plug back in.
Let’s walk through exactly how to change your Mooka air purifier filter, step by step, so you can breathe easier.
Swapping Your Mooka Air Purifier Filter: A Quick Guide
Your Mooka air purifier is working hard to keep your home’s air clean. To make sure it’s always performing at its best, changing the filter is essential. This simple task ensures you continue to breathe fresh, healthy air. We’ll guide you through the entire process, making it easy and stress-free.
When is it Time for a New Filter?
Knowing when to replace your Mooka air purifier filter is key to maintaining optimal performance. Most manufacturers, including Mooka, recommend changing your filter every 6 to 12 months. This timeframe can vary based on your specific model and how often you run your purifier. You might also notice certain signs that indicate it’s time for a change.
Signs Your Mooka Filter Needs Replacing
Pay attention to how your purifier is functioning. If you notice a decrease in airflow coming from the unit, it’s a strong indicator that the filter is clogged. Dust and debris can build up over time, restricting the passage of air. Another sign is if you start to detect unpleasant odors returning to your home. The filter’s job is to capture these smells, so if they reappear, it means the filter is saturated and can no longer trap them effectively.
Some Mooka models may also feature a filter indicator light. This light will illuminate to remind you when it’s time for a replacement. Always consult your Mooka user manual for the most accurate replacement schedule for your specific model. Following these guidelines helps ensure your purifier continues to effectively remove pollutants like dust, pollen, pet dander, and smoke from your air.
Gathering Your Supplies
Before you begin, make sure you have everything you need. This will make the filter change smooth and quick. The most important item is, of course, a new Mooka replacement filter. Ensure it’s the correct model for your specific Mooka air purifier. Using the wrong filter might not fit properly or function as intended.
You’ll also want a clean, dry cloth or paper towels. These will be handy for wiping down the inside of the purifier once the old filter is removed. A trash can or bag for disposing of the old filter is also a good idea. No special tools are usually required for this task, which is great news!
Step-by-Step Filter Replacement Guide
Now, let’s get to the hands-on part. It’s a straightforward process, and you’ll be done in no time.
Step 1: Power Down Your Purifier
Safety first! Before you do anything else, unplug your Mooka air purifier from the wall outlet. This prevents any accidental power surges or the unit turning on while you’re working on it. Ensure the power cord is completely disconnected.
Step 2: Accessing the Filter Compartment
Most Mooka air purifiers have their filter located at the back or bottom of the unit. You’ll need to open the outer cover. Look for latches, clips, or screws that secure the panel. Gently release these mechanisms. Some models might have a whole back panel that slides off, while others have a smaller section that detaches. Refer to your user manual if you’re unsure about how to open your specific model. Handle the cover carefully so you don’t damage it.
Step 3: Removing the Old Filter
Once the cover is off, you’ll see the old filter. It might look a bit dusty or discolored, which is perfectly normal. Carefully pull the old filter straight out. You might need to wiggle it a little if it’s snug. Be prepared for some dust to fall out; this is another reason to have your cleaning supplies ready. Dispose of the old filter properly.
As you remove the filter, take a moment to observe its condition. A heavily soiled filter is a testament to the work your Mooka has been doing. Many guidelines suggest that the lifespan of an air purifier filter can be significantly reduced in environments with higher levels of pollution or allergens (Environmental Protection Agency).
Step 4: Cleaning the Inside (Optional but Recommended)
With the old filter out, you have a clear view of the inside compartment. This is the perfect time for a quick clean. Use your dry cloth or paper towels to wipe away any dust or debris that may have accumulated. Getting rid of this loose dust ensures that new dust doesn’t immediately start clinging to your brand-new filter. This step helps maintain the cleanliness of your unit.
Step 5: Installing the New Filter
Now, take your new Mooka replacement filter. Most filters have a specific way they need to be inserted. Look for any arrows or labels on the filter that indicate airflow direction or the “front” side. Align the new filter with the compartment and slide it in gently. Make sure it sits snugly and correctly. You should feel it lock into place, or at least fit securely without any gaps.
Step 6: Reassembling Your Purifier
Once the new filter is in place, it’s time to put the cover back on. Align the panel with the purifier unit and secure any latches, clips, or screws you removed earlier. Ensure the cover is firmly attached. A secure fit helps the purifier operate efficiently and safely.
Step 7: Powering Back On
With everything back in place, you can now plug your Mooka air purifier back into the outlet. You might hear a slight change in the unit’s sound as it starts up with the new filter. Congratulations, you’ve successfully changed your Mooka air purifier filter!
Quick Checklist for Your Filter Change
Here’s a quick rundown to ensure you don’t miss a step:
- Unplug the air purifier completely.
- Open the filter cover or compartment.
- Remove the old, dirty filter.
- Wipe down the inside of the filter area.
- Insert the new filter correctly.
- Secure the cover and plug the unit back in.
Maintaining Your Mooka Purifier
Regularly changing your Mooka air purifier filter is one of the best ways to ensure its longevity and effectiveness. Think of it as giving your purifier a fresh start every few months. This simple maintenance routine contributes significantly to the quality of the air you breathe every day. For many homeowners, cleaner air is a top priority, especially those with allergies or respiratory sensitivities.
We found that keeping a spare filter on hand can be very convenient. This way, you’re always prepared when it’s time for a change, and you won’t have to interrupt your air purification routine. Remember to store spare filters in a cool, dry place away from direct sunlight to keep them in optimal condition. Enjoy the peace of mind that comes with knowing your Mooka is working to provide you with cleaner, fresher air.
Conclusion
You’ve now learned how simple it is to change your Mooka air purifier filter. Following these steps ensures your purifier continues to deliver clean, fresh air to your home. Remember that regular maintenance, like filter changes, is key to its peak performance and your family’s well-being.
Don’t wait for signs of reduced airflow or odors to replace your filter. By proactively swapping it out every 6-12 months, you maintain optimal air quality. Pick up your new Mooka filter today and schedule your next change so you’re always prepared!
Frequently Asked Questions
How often should I really change my Mooka air purifier filter?
Most Mooka models recommend a filter change every 6 to 12 months. This depends on usage and your home’s air quality. If you notice reduced airflow or lingering odors sooner, it’s time for a change.
Can I clean my Mooka air purifier filter instead of replacing it?
Generally, no. Mooka filters are designed for single use and cannot be effectively cleaned. Washing or vacuuming them can damage the filter material, reducing its ability to capture pollutants.
What happens if I forget to change my Mooka air purifier filter?
Forgetting to change your filter means your purifier will become less effective. It may struggle to capture allergens and odors, leading to poorer air quality in your home. It can also strain the motor.
Where can I buy a new Mooka air purifier filter?
You can typically purchase Mooka replacement filters directly from the Mooka website or authorized retailers. Always ensure you’re buying the correct filter model for your specific air purifier unit.
Is it normal for the new filter to have a slight smell?
It’s uncommon, but sometimes a new filter might have a very faint manufacturing smell. This usually dissipates quickly after you turn the purifier on. If the smell is strong or unpleasant, double-check that you have the correct Mooka filter installed.