How to Check Your Honeywell Air Purifier Filter
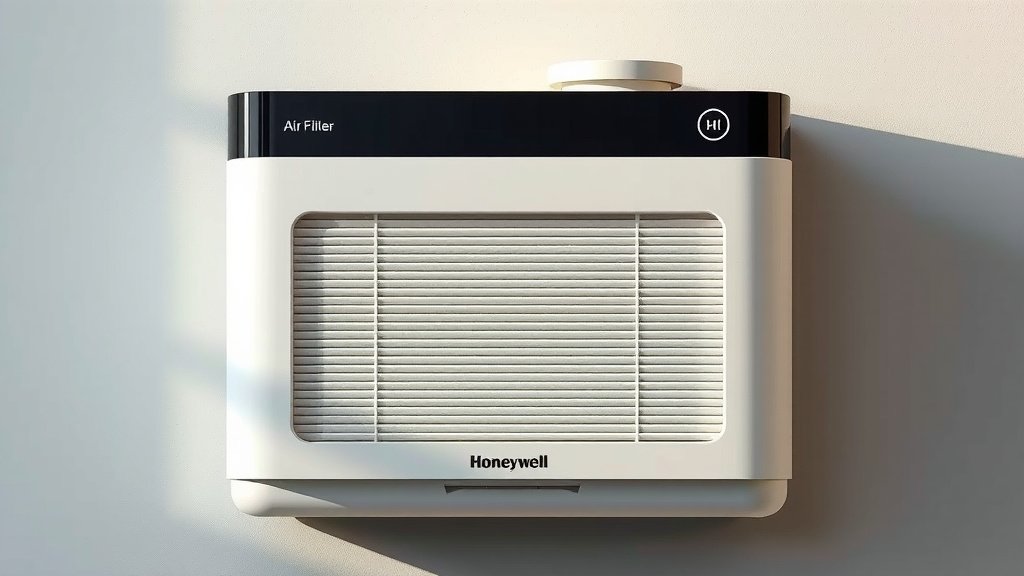
Checking the filter on your Honeywell air purifier is usually pretty straightforward. You’ll typically find the filter located behind the front grille, and many models make it simple to access without tools. Keeping your filter clean or replaced is essential for your air quality and ensuring your purifier runs efficiently. We’ve found this step is often overlooked, leading to less effective purification.
Your Honeywell air purifier needs a clean filter to work its best. A dirty filter can reduce airflow and make your unit work harder. This means it won’t capture as much dust, pollen, and other airborne particles. Many experts agree that regular filter checks are key to maintaining optimal performance and extending the life of your appliance. Think of it like changing the oil in your car; it’s necessary maintenance.
- Filter usually behind the front grille.
- No tools needed for most models.
- Check regularly for optimal air quality.
- Replace or clean as recommended.
Below, we’ll walk you through exactly how to check your Honeywell air purifier’s filter, step by step, so you can breathe easier.
Getting to Know Your Honeywell Air Purifier’s Filter
Checking the filter on your Honeywell air purifier is a simple yet incredibly important task. You’re likely wondering where to even begin. We found that most Honeywell models have their filters tucked away behind the front panel. This means you usually don’t need any special tools to take a peek. It’s designed for easy access so you can keep your air pure.
Why Regular Filter Checks Matter
Think of your air purifier’s filter like a sponge for airborne particles. Over time, it gets full and can’t absorb as much. This impacts how well your unit cleans the air you breathe. Many health organizations recommend clean air filters for better indoor air quality. A clogged filter can lead to your purifier working harder, using more energy, and not performing as well as it should. Research shows that maintaining your air purifier helps reduce allergens and pollutants in your home (CDC).
Understanding Filter Lifespan
How often do you need to check? It really depends on a few things. How much you run your purifier, the air quality in your home, and whether you have pets all play a role. Some filters are designed to be washed, while others need full replacement. We found that Honeywell often provides clear guidelines in their user manuals for each specific model. It’s a good habit to check it at least once a month.
Step-by-Step Guide to Checking Your Filter
Let’s walk through the process. You’ll see just how easy it is to access and inspect your Honeywell air purifier’s filter. We’ve broken it down into simple steps.
Locating and Accessing the Filter Housing
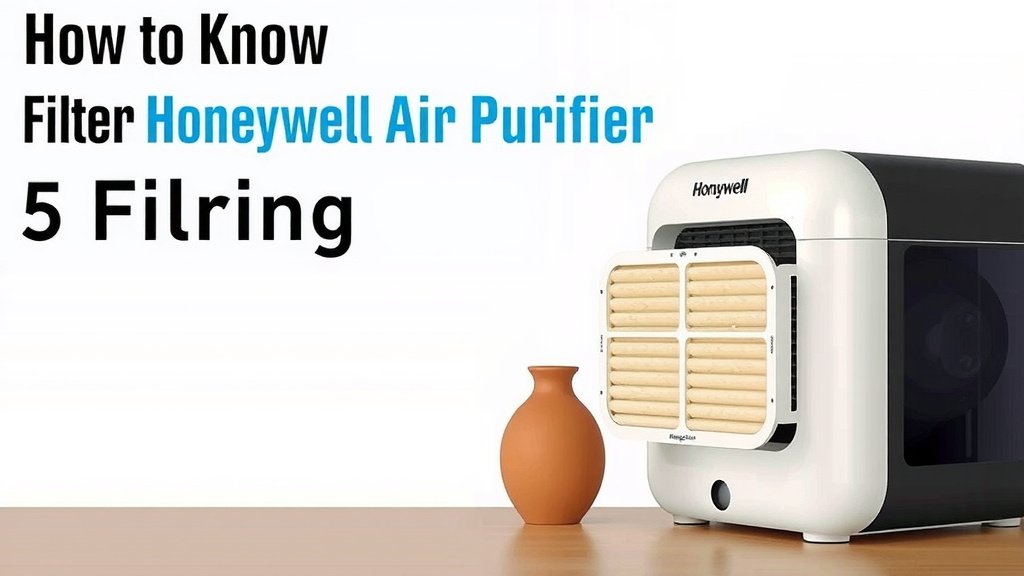
First, make sure your air purifier is unplugged. Safety first, always! We found that most Honeywell air purifiers have a front grille that you can remove. Look for clips or tabs around the edges of the front panel. Sometimes, you might need to gently pull the grille away from the unit. It might feel a little stiff at first, but it usually gives way without much force. If you’re unsure, consult your model’s manual.
Removing the Front Grille
Once you’ve located the clips, gently press them inwards or outwards, depending on the design. Then, carefully pull the grille forward. Some models might have latches that you slide. We found that a steady, gentle motion is usually best. Avoid using excessive force, as you don’t want to break any plastic parts. You’re just trying to open it up to get to the filter inside.
Inspecting the Filter Itself
With the front grille removed, you should now see the air filter. It might be a large, rectangular piece, often made of a mesh or pleated material. This is where all the captured dust and debris will be. Take a good look at its condition. Is it covered in a thick layer of dust? Does it look grey or discolored?
Signs of a Dirty Filter
A filter that needs attention will usually show obvious signs. You might see a visible buildup of dust, pet hair, or lint. The color might have changed from its original shade to a dark grey or brown. Sometimes, you might even notice a musty smell coming from the unit. If any of these are present, it’s definitely time to clean or replace it. We found that these visual cues are the most reliable indicators.
| Observation | Action Recommended |
|---|---|
| Light dust coating, filter appears relatively clean. | Continue monitoring. Check again next month. |
| Moderate dust and debris buildup, slight discoloration. | Consider cleaning (if washable) or preparing for replacement soon. |
| Heavy dust, significant discoloration, visible hair/lint. | Clean (if washable) or replace immediately. |
| Musty odor emanating from the unit. | Replace the filter. Odors indicate trapped bacteria or mold. |
Determining if Cleaning or Replacement is Needed
Now you need to decide what to do. Check your Honeywell air purifier’s user manual. It will tell you if your specific filter is washable or if it’s a disposable type. Washable filters can often be cleaned with water and mild soap. Disposable filters, however, need to be replaced entirely. We found that not all filters are created equal, so always refer to your model’s instructions. Trying to wash a disposable filter can damage it.
Washing vs. Replacing: What’s Best?
If your filter is washable, a good rinse might be all it needs. Make sure it’s completely dry before putting it back. If your filter is designed for replacement, don’t try to clean it. Continuous use without replacement significantly reduces effectiveness. Many experts recommend replacing filters every 6-12 months, but your manual is the best source (EPA). A clean filter ensures your Honeywell can continue to capture those pesky airborne irritants.
Putting It All Back Together
Once you’ve addressed the filter (cleaned or replaced it), it’s time to reassemble. Gently slide the clean or new filter back into its designated spot. Make sure it’s seated properly. Then, reattach the front grille. Align the clips or latches and gently push until they click into place. Give the grille a gentle tug to ensure it’s secure. Finally, plug your air purifier back in and turn it on. You’ve just completed an essential maintenance task!
Quick Checklist for Your Filter Check:
- Ensure the unit is unplugged before starting.
- Locate and carefully remove the front grille.
- Visually inspect the filter for dust and debris.
- Consult your manual for filter type (washable vs. disposable).
- Clean or replace the filter as needed.
- Securely reattach the front grille.
Conclusion
You’ve now learned how to easily check the filter on your Honeywell air purifier. Remember, this simple maintenance task is key to ensuring you’re breathing the cleanest air possible. Keeping your filter clean or replaced helps your purifier run efficiently and effectively capture pollutants. Don’t let a dirty filter compromise your home’s air quality. Your next step is to schedule a quick monthly check to maintain optimal performance.
Frequently Asked Questions
How often should I check my Honeywell air purifier filter?
We recommend checking your Honeywell air purifier filter at least once a month. This regular check allows you to catch dust and debris buildup early. Factors like pet ownership and local air quality can influence how often you might need to inspect it.
What if my Honeywell air purifier filter looks dirty, but it’s a disposable type?
If you find a disposable filter is dirty, you’ll need to replace it. Never attempt to wash or clean a filter designed only for replacement. Doing so can damage the filter material and reduce your purifier’s effectiveness.
Can I use my Honeywell air purifier without a filter?
No, you should never operate your Honeywell air purifier without a filter. The filter is essential for capturing airborne particles. Running the unit without one will prevent it from purifying your air and could potentially damage the internal components.
What does it mean if my air purifier smells musty?
A musty odor usually indicates that the filter is overloaded with trapped particles, potentially including mold or bacteria. This is a clear sign that the filter needs to be replaced immediately to restore clean air and prevent the smell from spreading.
Where can I find the specific filter replacement schedule for my Honeywell model?
The best place to find the recommended filter lifespan and replacement schedule for your specific Honeywell air purifier is in your product’s user manual. If you can’t find it, you can often locate a digital version on the Honeywell website by searching for your model number.