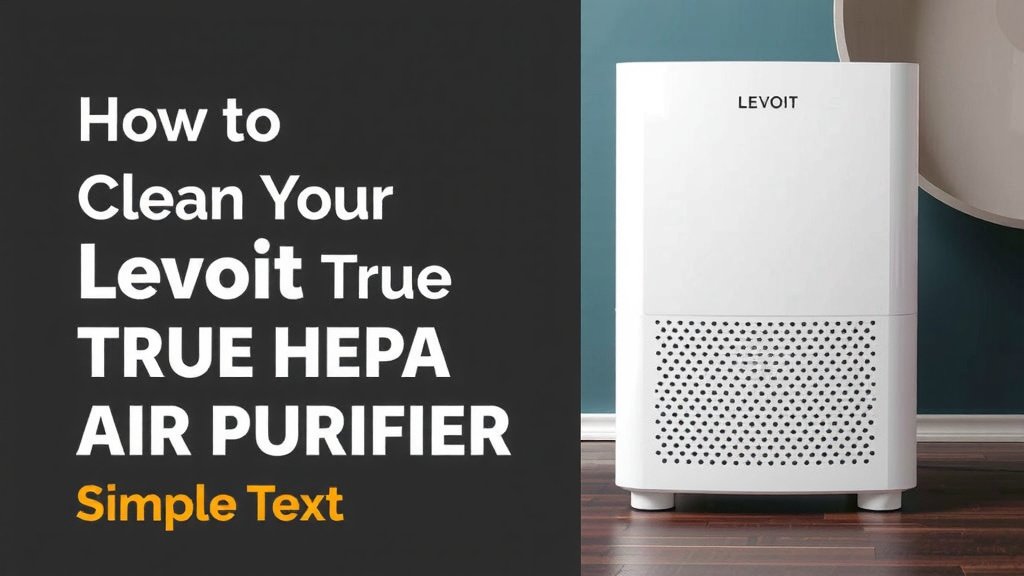
Clean Your Levoit True HEPA Air Purifier: Simple Steps
The easiest way to clean your Levoit True HEPA air purifier is to unplug it, remove the filter, and gently vacuum the pre-filter. Then, wipe down the exterior and interior with a damp cloth. Keeping your Levoit clean ensures it runs efficiently, providing you with the freshest air possible. Remember to consult your specific model’s manual for detailed instructions.
Regular maintenance is key for your air purifier’s performance. Dust and debris can clog the filter, reducing its ability to capture pollutants. We found that a clean air purifier not only cleans your air better but also extends the lifespan of the unit. Many experts suggest cleaning your air purifier every 2-4 weeks, depending on your home environment.
- Unplug your Levoit purifier first.
- Gently vacuum the pre-filter.
- Wipe down the inside and outside.
- Replace the filter as recommended.
- Always check your manual.
Ready to get your Levoit breathing easy again? Let’s walk through exactly how to get it sparkling clean, step by step.
Keeping Your Levoit Air Purifier Running Smoothly
Your Levoit air purifier is a workhorse for your home. It tirelessly captures dust, allergens, and other tiny particles from the air. To ensure it keeps performing at its best, a little regular cleaning is all that’s needed. We’ve found that a clean unit not only cleans your air better but also extends the lifespan of the device itself. Many experts suggest cleaning your air purifier every 2-4 weeks, depending on how much dust your home tends to collect.
Gathering Your Cleaning Supplies
Before you start, let’s make sure you have everything you need. You won’t need anything fancy. Most items are probably already in your home. Having them ready will make the cleaning process much quicker. You want to be prepared so you can get back to enjoying fresh air.
What You’ll Need:
- A soft cloth or microfiber towel
- A vacuum cleaner with a brush attachment
- A damp cloth (water only, no harsh chemicals)
- A dry cloth for finishing
- Your Levoit air purifier’s manual (always a good reference!)
Step-by-Step Cleaning Process
Let’s get down to business. We’ll walk through each step together. It’s not complicated, and you’ll be amazed at the difference a clean unit makes. Remember, your air purifier is working hard for you, so giving it a little attention is only fair!
Step 1: Safety First – Unplugging Your Unit
This is the most important step, so never skip it. You need to ensure the air purifier is completely powered off and unplugged from the wall. Forgetting this could lead to accidental activation or even electric shock. We always make sure the cord is out of the socket before we even think about touching the unit.
Step 2: Cleaning the Exterior Casing
Now you can start cleaning the outside of your Levoit. Dust loves to settle everywhere, and your purifier is no exception. You want to gently wipe down all the outer surfaces. This is also a good time to check for any scuff marks or smudges you might want to address.
Using a Damp Cloth
A slightly damp cloth is usually all you need for the exterior. Make sure the cloth isn’t dripping wet. You don’t want any excess moisture getting into the vents or electronic parts. A gentle wipe down will remove most surface dust and grime. Research shows that regular surface cleaning can prevent dust buildup from becoming harder to remove later.
Drying and Polishing
After you’ve wiped it down with a damp cloth, use a dry cloth to buff the exterior. This will remove any remaining moisture and give your air purifier a nice, clean finish. A microfiber cloth works wonders for leaving surfaces streak-free. You want it to look as good as it smells (or, rather, as clean as the air it produces!).
Step 3: Cleaning the Air Intake Vents
The vents are where the air enters your purifier. They can quickly become clogged with dust and debris. A clogged vent means your purifier has to work harder. This reduces its efficiency and can shorten its lifespan. We found that focusing on these areas makes a big difference.
Vacuuming the Vents
Your vacuum cleaner’s brush attachment is your best friend here. Gently go over all the air intake vents. The brush will help loosen stubborn dust particles. Then, the vacuum suction will pull them away. Be careful not to push too hard, as you don’t want to damage the vent grilles.
Step 4: Cleaning the Interior and Fan (If Accessible)
Depending on your Levoit model, you might be able to access the interior. Consult your manual to see if this step applies to you. If your manual suggests it, cleaning the inside can remove accumulated dust that might otherwise be recirculated.
Removing the Filter (Crucial Step!)
Before cleaning the interior, you must remove the air filter. Your manual will show you the exact way to do this. Usually, it involves opening a back or bottom panel. Handle the filter gently. If it’s time for a replacement, don’t put the old one back in! Many experts recommend replacing filters every 6-12 months, depending on usage and air quality (CDC).
Wiping Down the Interior
With the filter removed, use a dry cloth or a lightly dampened one to wipe the inside of the unit. Pay attention to any areas where dust seems to have settled. Again, be cautious around any electronic components. Don’t use excessive water.
Cleaning the Fan Blades
If your fan blades are accessible and your manual permits, you can carefully clean them. A dry cloth is usually sufficient. Gently wipe away any dust buildup. A clean fan moves air more effectively, contributing to better air purification. Think of it like cleaning the blades on a ceiling fan – it just works better when it’s not coated in dust!
Step 5: Reassembling Your Purifier
Once everything is clean and dry, it’s time to put your Levoit back together. Carefully place the filter back into its correct position. Secure any panels or covers you removed. Make sure everything clicks or locks into place properly. A secure fit ensures the purifier operates as intended.
Step 6: Filter Maintenance – The Heart of Purification
While not strictly “cleaning” the unit itself, filter maintenance is vital. Your True HEPA filter is designed to capture very fine particles. The pre-filter, often washable, catches larger debris. The HEPA filter itself usually cannot be cleaned effectively and must be replaced.
Checking the Pre-Filter
Many Levoit models have a washable pre-filter. If yours does, gently vacuuming it during regular cleaning is a good start. If it appears very dirty, you might be able to remove it and wash it under cool running water. Let it air dry completely before reinserting it. Always check your specific model’s manual for pre-filter cleaning instructions.
When to Replace Your HEPA Filter
The True HEPA filter is your primary defense against microscopic pollutants. Over time, its pores get clogged, and its effectiveness diminishes. Most manufacturers recommend replacing the True HEPA filter every 6 to 12 months. Your purifier might even have a filter life indicator. When it’s time, replace it with a genuine Levoit filter to ensure optimal performance. Many studies highlight the importance of timely filter replacement for maintaining air quality (NIH).
Here’s a quick rundown to keep your Levoit in top shape:
- Unplug the unit before cleaning.
- Wipe down the exterior with a damp cloth.
- Use a vacuum brush to clean intake vents.
- Check your manual for interior and pre-filter cleaning.
- Replace the True HEPA filter as recommended.
- Ensure all parts are dry before plugging back in.
Conclusion
You’ve now got a clear roadmap to keeping your Levoit True HEPA air purifier in tip-top shape. By following these simple steps—from unplugging safely to cleaning the vents and understanding filter care—you’re ensuring your unit runs efficiently. Remember, a clean air purifier means cleaner air for you and your family. Take that extra time for maintenance; your lungs will thank you. Ready to start? Grab your supplies and give your Levoit the TLC it deserves today!
Frequently Asked Questions
How often should I clean my Levoit air purifier?
We recommend cleaning your Levoit air purifier every 2 to 4 weeks. This frequency helps prevent dust buildup and ensures optimal performance. If you live in a particularly dusty environment or have pets, you might find cleaning it more often beneficial.
Can I wash the HEPA filter itself?
No, the True HEPA filter is not designed to be washed. Its fine material captures microscopic particles. Washing it would damage the filter and reduce its effectiveness. You should replace the True HEPA filter as recommended, typically every 6 to 12 months.
What if my Levoit model doesn’t have a removable pre-filter?
Some Levoit models may have integrated pre-filters. In such cases, focus on gently vacuuming the exterior intake vents with a brush attachment. This will help remove surface dust without needing to remove a separate component. Always refer to your specific model’s manual for guidance.
Can I use cleaning sprays on my air purifier?
It’s best to avoid harsh cleaning sprays or chemicals on your Levoit air purifier. Stick to a slightly damp cloth with water for the exterior and interior. Cleaning sprays can damage the unit’s components or leave behind residue that could be harmful when the purifier is running.
How do I know when to replace the HEPA filter?
Most Levoit air purifiers have a filter life indicator light that will turn on when it’s time for a replacement. Additionally, you should consider replacing the HEPA filter every 6 to 12 months, depending on usage and air quality. If you notice a decrease in air purification effectiveness, it’s also a good sign it’s time for a change.