
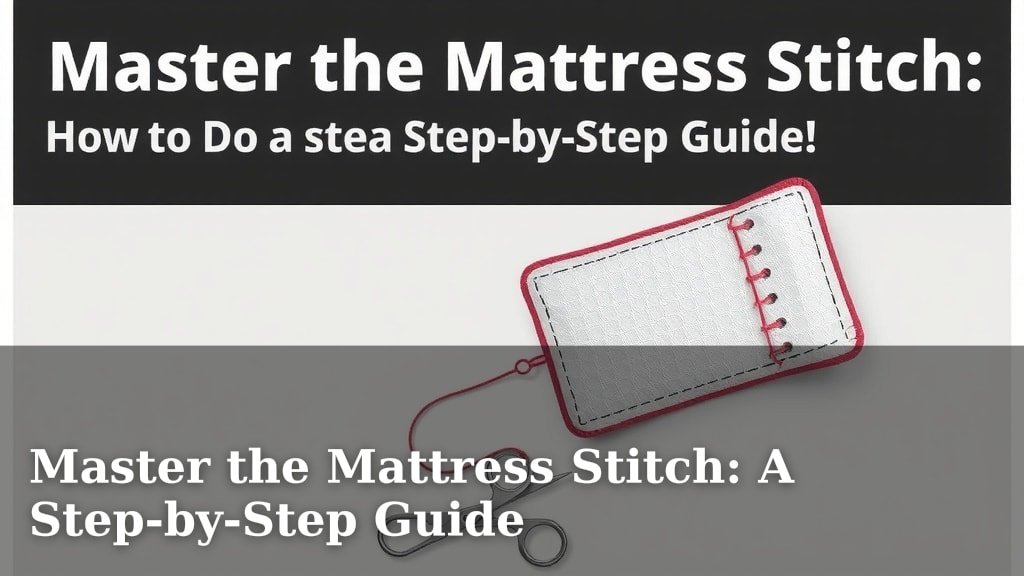
Master the Mattress Stitch: A Step-by-Step Guide
The mattress stitch is your secret weapon for creating nearly invisible seams. You can use it to join two finished edges of knitting or crochet. It looks like a natural continuation of your work. This stitch is perfect for seaming sweaters or closing up stuffed toys.
This simple yet effective technique helps your handmade items look professionally made. It’s especially useful when you want the seam to blend in perfectly. Many crafters find it to be the best way to achieve a clean finish. It truly makes a big difference in the final appearance of your projects.
- The mattress stitch creates invisible seams.
- It joins two finished edges neatly.
- Ideal for sweaters and stuffed toys.
- Makes handmade items look professional.
Ready to learn this super useful skill? Let’s walk through exactly how to do the mattress stitch step by step.
You’ve finished knitting or crocheting your project. Now comes the part that can make or break its final look: seaming. Don’t let a messy seam ruin your hard work! Learning the mattress stitch will help you create a finish so clean, it’s like your project just appeared that way.
Mastering the Invisible Seam: Your Mattress Stitch Guide
This guide will walk you through creating that elusive, invisible seam. We’ll cover everything from preparing your yarn to tightening that final stitch. You’ll be seaming like a pro in no time.
Getting Ready for the Mattress Stitch
Before you even pick up your yarn, a little preparation goes a long way. Think of it like setting the stage for a beautiful performance. Getting these small details right makes the actual stitching much smoother.
What You’ll Need
Gathering your tools is simple. You’ll need your finished knitted or crocheted pieces. Make sure the edges you’re joining are the same length. You’ll also need a yarn needle that’s blunt and has a large eye. Your yarn tail or a separate piece of yarn in a matching color will also be essential.
Choosing the Right Yarn
Use the same yarn for seaming as you used for your project. This ensures a perfect color match. It also guarantees the same stretch and drape. If you don’t have enough yarn left, try to find a very close match. This helps the seam blend in better.
Preparing Your Edges
The mattress stitch works best on edges with visible horizontal bars or V-shapes. These are typically found on the selvedge edge of knitting. For crochet, you’ll often work into the edge stitches. Make sure you have a clear path to follow. This makes identifying where to insert your needle much easier. Many crafters find it helpful to lay the two pieces flat, side-by-side. This lets you visualize the seam before you start.
Step-by-Step: Performing the Mattress Stitch
Now for the actual stitching. Don’t worry if it feels a little awkward at first. Practice makes perfect, and soon you’ll be doing it without even thinking. We’ll break it down into manageable steps.
Step 1: Thread Your Needle and Secure the Yarn
Cut a length of yarn. A good rule of thumb is to cut yarn about three times the length of the seam you need to make. Thread this yarn onto your yarn needle. Now, insert your needle into the very corner of one of your pieces. Bring it out through the stitch right next to it. Leave a tail of yarn about 4-6 inches long. This tail will be used to weave in your ends later. This secure start prevents your seam from unraveling.
Step 2: Begin Weaving the Yarn
Now, take your needle over to the other piece. Insert it into the corresponding stitch on that edge. Weave it back and forth through the horizontal bars or V-shapes. Imagine you’re sewing a quick running stitch. You’ll go into one piece, then the other. Always aim for consistency in where you insert your needle. This consistency is key to an invisible seam. Aim to pick up about one bar or V per stitch on each side.
Picking Up the Right Loops
This is where you need to pay close attention. For knitting, you’ll typically be going under the horizontal bar between the edge stitch and the next stitch. For crochet, it might be under a specific loop of the edge stitch. Look at your own fabric. Find the natural “ladder” of bars. You want to follow this ladder consistently. We found that using a slightly different color yarn for practice helps you see your stitches clearly. Once you’re comfortable, switch back to matching yarn.
Step 3: Gently Pull the Yarn Tight
Once you’ve woven your yarn through a few stitches on both sides, it’s time to pull. Gently pull the yarn tail. You’ll see the two edges start to draw together. Continue weaving and pulling. The fabric should hug itself, and the seam should disappear. Don’t pull too tight, or you risk distorting your fabric. You want a snug, neat join, not a puckered one.
Dealing with Corners and Edges
When you reach a corner, make sure you catch the last stitch of the previous edge. Then, start weaving into the new edge. For turning a corner, you might need to go back through the corner stitch itself to secure it properly. This ensures a clean transition and prevents any gaps. Many pattern instructions will tell you where to pick up stitches for corners.
Step 4: Finishing Off
When you reach the end of your seam, weave your yarn tail back through the stitches you just made. Go in the opposite direction for a few stitches. This anchors your work securely. Then, carefully snip the excess yarn close to the fabric. You want to hide the tail as much as possible.
Troubleshooting Common Mattress Stitch Issues
Even with practice, you might run into a few snags. Don’t get discouraged! Most problems have simple solutions.
The Seam is Too Tight or Puckered
If your fabric is puckering, you’re likely pulling your seaming yarn too tightly. Try to relax your tension. Gently stretch the fabric slightly after each pull of the yarn. This helps the fabric lay flat. If it’s already puckered, you might need to carefully unpick a section and re-sew with a looser tension.
There’s a Visible Gap
A gap usually means you missed a stitch or didn’t pick up enough yarn. Go back and examine your seam. You may need to carefully go back over the area. Try to catch the corresponding loops you missed. Some crafters find it helpful to use a crochet hook to gently pull a new strand of yarn through the gap. Then weave in the ends.
My Stitch Count Doesn’t Match
This can happen if your edges aren’t perfectly the same length or if you’re not picking up stitches evenly. Before you start seaming, it’s a good idea to count your stitches or rows on each edge. Make a note of them. This helps ensure you’re joining like for like. Many patterns recommend specific ways to pick up stitches to keep the edges aligned.
Your Mattress Stitch Checklist
Here’s a quick rundown to ensure you’ve got everything covered:
- Chosen matching yarn for seaming.
- Threaded your yarn needle with a sufficient length.
- Secured your starting tail properly.
- Woven your needle through consistent loops on both sides.
- Pulled the yarn gently to close the gap without puckering.
- Weaved in your tail securely at the end.
With a little patience and this guide, you’re well on your way to mastering the mattress stitch. Your handmade items will look even more polished and professional!
Conclusion
You’ve now learned the essential steps to master the mattress stitch. This technique is your key to creating beautiful, invisible seams. Remember to practice consistent tension and pick up the correct loops. This stitch truly transforms your finished projects. They will look like they came straight from a boutique! Now, take a deep breath and try it on your next project. You’ve got this!
Frequently Asked Questions
Can I use the mattress stitch on any type of yarn?
Yes, you can generally use the mattress stitch with most yarn fibers and weights. However, very fuzzy or novelty yarns can make it harder to see the stitches. You might need to adjust how you pick up loops with those yarns.
How long should my yarn tail be for sewing?
A good rule of thumb is to cut your yarn tail about three times the length of the seam you need to make. This ensures you have enough yarn to complete the seam without running out. It also provides enough length for weaving in your ends securely.
What’s the difference between mattress stitch and a standard whipstitch?
The mattress stitch is designed to be invisible by weaving between the stitches on the edges. A standard whipstitch stitches directly through the fabric edges, which can create a more visible seam line. The mattress stitch lies flat and blends in, while a whipstitch can sometimes pucker.
My seam looks a little loose. What did I do wrong?
A loose seam often means you didn’t pull the yarn tight enough as you worked. You also might have missed picking up a loop on one side. Gently go back over the seam, pulling the yarn snugly. Be careful not to pull so hard that you distort the fabric itself.
Can I use the mattress stitch to join pieces worked in the round?
Yes! The mattress stitch is excellent for closing the final gap when you’re knitting or crocheting in the round. For example, it’s perfect for closing the top of a hat or the toe of a sock. Just ensure you align your edges carefully.
![5 Best Box Spring for Tuft And Needle Mattress [In 2026]](https://homeunderstandable.com/wp-content/uploads/2025/06/best-box-spring-for-tuft-and-needle-mattress.jpg)
![What Is The Best Mattress for Electric Bed [In 2026]](https://homeunderstandable.com/wp-content/uploads/2025/12/Best-Mattress-for-Electric-Bed-1.jpg)
![What Is The Best Box Spring for Foam Mattress [In 2026]](https://homeunderstandable.com/wp-content/uploads/2025/06/best-box-spring-for-foam-mattress.jpg)
