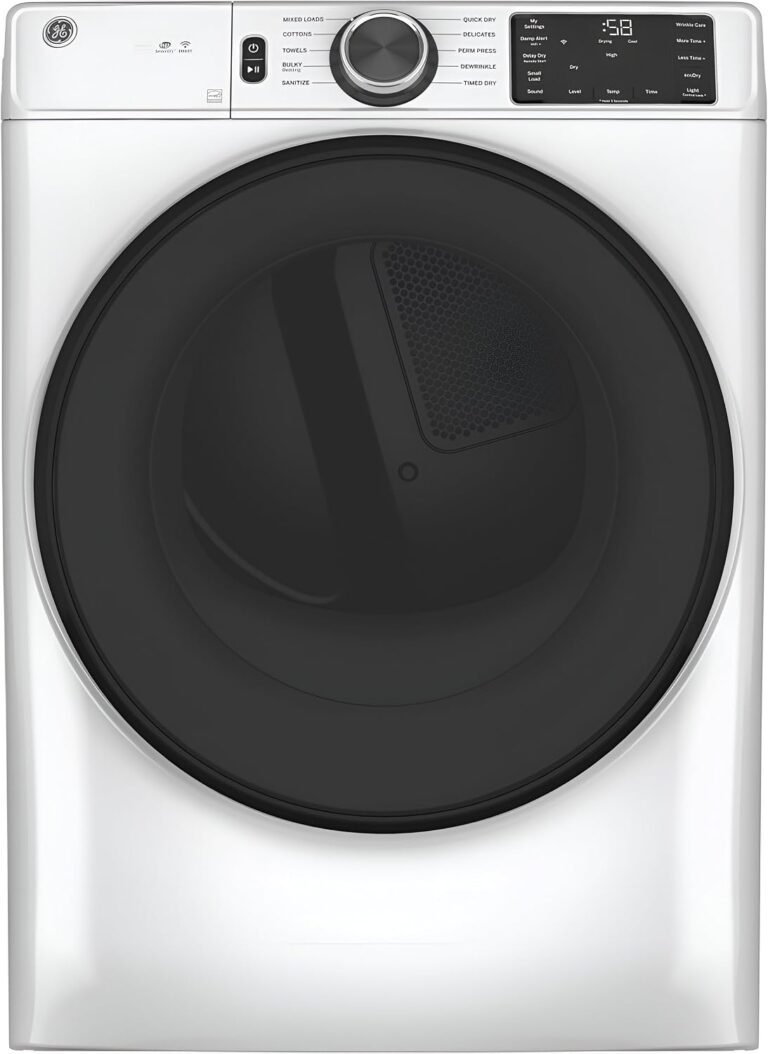
Dryer Repair Guide: Fix Common Issues Yourself
The quickest way to fix a dryer that won’t heat is to clean the lint screen and check the thermal fuse. If your dryer runs but produces no heat, a blown thermal fuse is the most common culprit. This is a simple DIY repair you can often complete in under an hour.
Before you call an expensive repair technician, know that many common dryer problems have easy fixes. Issues like a noisy drum, a dryer that won’t start, or clothes taking too long to dry are often caused by a few standard parts. We found that most repairs cost less than $50 in parts and require only basic tools. You don’t need to be a handyman to get your machine running again.
- No heat? Check the thermal fuse and heating element first.
- Not starting? Make sure the door switch and start button are working.
- Too noisy? Inspect the drum rollers and support wheels.
- Always unplug the dryer before you touch any internal parts.
- Watch out: A clogged vent is a fire hazard, not just a drying issue.
Below, we break down the exact steps to diagnose and fix the most frequent dryer problems. Let’s walk through these repairs together so you can skip the service call and get back to your laundry day.
Fixing a Clothes Dryer: Step-by-Step Troubleshooting
You can tackle most dryer repairs yourself with a few basic tools and a little patience. We found that the key is to diagnose the symptom first. Then, you match that symptom to the likely faulty part. Let’s get your dryer spinning and heating again.
Gather Your Tools and Safety Gear First
Before you touch anything, unplug the dryer from the wall outlet. For gas dryers, you also need to shut off the gas supply valve. This is a critical safety step. Never skip it.
You will need a few common tools. Most repairs require a screwdriver and a nut driver set. A multimeter is also essential for testing electrical parts like fuses and switches. You can find a basic multimeter at any hardware store for around twenty dollars.
We also suggest you keep a vacuum and a flashlight handy. You will use these to clean out lint and inspect dark areas inside the machine. Finally, take a picture with your phone before you disconnect any wires. This makes reassembly much easier.
Dryer Runs But Produces No Heat
This is one of the most common complaints we hear. The dryer drum turns, but your clothes come out cold and damp after a full cycle. In most cases, this points to a safety device that has tripped or a failed heating component.
We found that the thermal fuse is the most frequent cause. This is a small white or metal strip located near the blower housing or on the exhaust duct inside the dryer. Its job is to shut off the heat if the dryer gets too hot. When it blows, it breaks the circuit and stops power to the heater.
To test it, you need to locate the part. Unplug the dryer and find the fuse. It usually has two wires connected to it. Disconnect the wires and set your multimeter to the continuity setting. Place the probes on the two terminals. If the meter does not beep or read zero, the fuse is blown and needs replacing.
Checking the Heating Element for Breaks
If the thermal fuse tests fine, the heating element itself might be broken. The element is a coil of wire inside a metal housing. Over time, this wire can burn through and break. You can visually inspect it for breaks or blisters. If you see a gap in the coil, you found the problem.
Replacing a heating element is a straightforward job. It is usually located in the back panel of the dryer. You simply unscrew the housing, remove the old coil, and insert the new one. Many experts say this is a safe repair for a beginner to handle on their own.
The High-Limit Thermostat Role
Another part to check is the high-limit thermostat. This device works with the thermal fuse to monitor temperature. It can also fail and cut off power to the heater. You test it the same way you test the thermal fuse with your multimeter. If it has no continuity, replace it. These parts are often sold as a kit with the fuse.
Dryer Won’t Start at All
When you press the start button and nothing happens, the issue is electrical. The problem could be as simple as a blown house fuse or a tripped circuit breaker. Check your home’s electrical panel first. Reset the breaker if it has tripped.
If the breaker is fine, the problem is inside the dryer. The most likely culprits are the door switch, the start switch, or the thermal fuse. We found that the door switch fails often because it is used every single time you load the dryer.
Testing the Door Switch
The door switch tells the dryer that the door is closed. It is a safety feature that stops the machine from running when the door is open. If this switch is broken, the dryer thinks the door is always open. You can test it by pressing the button with your finger. You should hear a click. If you have a multimeter, you can test it for continuity when the button is pressed in.
Inspecting the Start Switch
The start switch is another simple part. It is a momentary switch that completes the circuit to start the motor. These can wear out over time. To test it, you need to remove the control panel. Then, you test the switch for continuity when you press the button. If it is faulty, replacing it is easy. You just pop out the old one and snap in a new one.
Addressing a Noisy Dryer
A loud dryer is annoying, but it is rarely dangerous. The noise usually comes from the moving parts that support the drum. Squealing, thumping, or grinding sounds point to worn-out bearings or rollers.
Before you buy parts, you should isolate where the noise is coming from. Is it a constant rumbling? That might be the drum rollers. Is it a high-pitched squeal? That could be an idler pulley or the belt. We found that replacing these parts is a great weekend project that saves you a big service fee.
Replacing Drum Support Rollers
Most dryers have two or four support rollers that hold the drum in place. These rollers have small wheels that spin. When their bearings dry out, they make a loud squeaking or rumbling sound. To fix this, you need to remove the front panel or the top of the dryer to access them. You can then pry the old rollers off and press the new ones on.
Checking the Drive Belt and Idler Pulley
The drive belt wraps around the drum and the motor pulley. The idler pulley keeps tension on this belt. If the belt is worn, you might hear a thumping sound as the flat spot hits the motor pulley. If the idler pulley is failing, you will hear a grinding noise. Inspect the belt for cracks or fraying. The idler pulley should spin freely. If it feels rough, replace it.
Clothes Take Too Long to Dry
When your clothes are still damp after a cycle, the dryer is not moving enough air. This is often a simple airflow problem, not a mechanical failure. The number one cause of long drying times is a clogged lint filter or a blocked vent hose. This is also a major fire risk, so you should take it seriously.
First, clean the lint screen before every load. Then, check the vent hose behind the dryer. It might be crushed or kinked. Disconnect it from the wall and the dryer. Use a vacuum hose to clean out as much lint as you can from both ends. The National Fire Protection Association strongly advises cleaning the exhaust duct regularly to prevent home fires. You should do this at least once a year.
Checking the Blower Wheel
If your venting is clear, the blower wheel might be the issue. This is a plastic or metal fan that pulls air through the drum. If it is loose on the motor shaft, it will spin but not move air. You can access it from the front or back of the dryer. Tighten the set screw or replace it if the fins are broken.
Cleaning the Moisture Sensor
On some models, a moisture sensor sits inside the drum. It uses metal bars to detect how wet your clothes are. If these bars get coated in fabric softener residue, they might think clothes are dry too soon. Clean them with rubbing alcohol and a cotton swab. This is a quick fix that can restore proper drying times.
A Quick Troubleshooting Checklist for Your Repair
Use this list to guide your repair session. It keeps the process simple and prevents you from missing a step. Follow it in order for the best results.
- Unplug the dryer and shut off gas if applicable. Safety is your top priority.
- Clean the lint filter and inspect the vent hose for blockages.
- Check the circuit breaker or house fuse if the dryer is completely dead.
- Test the door switch with a multimeter if the machine won’t start.
- Test the thermal fuse for continuity if you have no heat.
- Inspect the drum rollers and idler pulley if you hear strange noises.
When to Call a Professional Technician
Some repairs are better left to the experts. If you are uncomfortable working with electricity or gas, stop. There is no shame in calling a pro. Also, if your dryer has a sealed bearing that cannot be lubricated or replaced, you might need a specialist.
If you have a newer dryer with a complex electronic control board, diagnosing the issue is harder. A technician has specialized tools to test these boards. They also have access to wiring diagrams that are not in the user manual. We found that spending a little money on a diagnosis can save you from buying the wrong parts.
Remember that attempting a repair you are not confident about can be dangerous. Gas dryers have a risk of gas leaks. Electric dryers carry high voltage. If you are ever in doubt, call a licensed appliance repair person. Your safety is worth more than the cost of the service call.
Conclusion
You don’t need a repair technician for most dryer problems. We walked through the common issues: no heat, no start, strange noises, and long drying times. Each one has a clear cause and a repair you can handle yourself.
Your next step is simple. Grab your multimeter, unplug the dryer, and start with the most likely part. Check the thermal fuse first if you have no heat. Test the door switch if the dryer won’t start. You’ll save yourself a service call that can easily cost over $150.
Take your time, follow the checklist, and always put safety first. You’ve got this.
Frequently Asked Questions
How long does a clothes dryer typically last?
Most dryers last between 10 and 13 years with regular use. You can extend that lifespan by cleaning the lint filter before every load. You should also check the vent hose for blockages at least once a year.
Is it safe to run a dryer without a lint filter?
No, you should never run a dryer without the lint filter in place. Lint will build up inside the machine and the vent hose without it. This creates a serious fire hazard and causes your dryer to work much harder than it should.
Why does my dryer keep tripping the circuit breaker?
A dryer that trips the breaker usually has a shorted heating element or a failing motor. You can test the heating element with a multimeter to see if it has continuity to the housing. If you find a short, replace the faulty part right away.
Can I use a multimeter if I have never used one before?
Yes, you can learn to use a basic multimeter in just a few minutes. Set the dial to the continuity setting, which looks like a small sound wave icon. Touch the two probes together first to hear a beep. Then place the probes on the part you want to test.
How often should I clean my dryer vent to prevent fire risk?
You should clean the dryer vent hose at least once a year. If you dry a lot of laundry or have a long vent run, clean it every six months. A clogged vent is one of the leading causes of dryer fires in U.S. homes.