Replace Your Car’s Air Compressor: A Step-by-Step Guide
Yes, you can absolutely replace your car’s air compressor yourself. With the right tools and a bit of patience, it’s a manageable DIY project for many car owners. We found that careful preparation is key to a smooth replacement and avoiding costly mistakes. Getting this done yourself can save you a good chunk of money on labor.
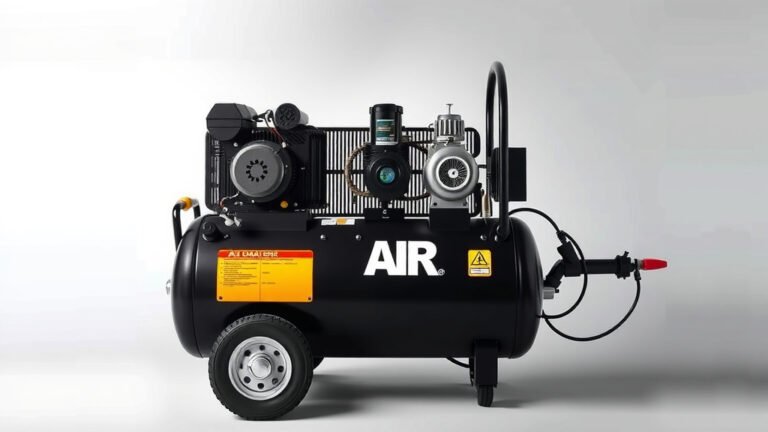
Your car’s air compressor is part of the air conditioning system. It pumps refrigerant through your car’s AC. A failing compressor often means your air conditioning won’t blow cold air anymore. We found many common signs point to a bad compressor, like strange noises or leaks. Replacing it ensures you get that refreshing cool air back on hot days.
- Locate the AC compressor.
- Disconnect the battery.
- Relieve system pressure safely.
- Remove the old compressor.
- Install the new compressor.
- Recharge the AC system.
Let’s walk through exactly how to tackle this job, step by step, so you can get your AC blowing cold again.
Replacing Your Car’s AC Compressor: A Step-by-Step Guide
So, your car’s air conditioning has become less of a cool oasis and more of a stuffy sauna? We’ve all been there. The culprit is often the AC compressor, the heart of your cooling system. Replacing it yourself can feel like a big job, but with the right guidance, you can get your AC blowing cold air again. We found that understanding the process makes it much less intimidating. Let’s break down how to get this done.
Getting Prepared: What You’ll Need
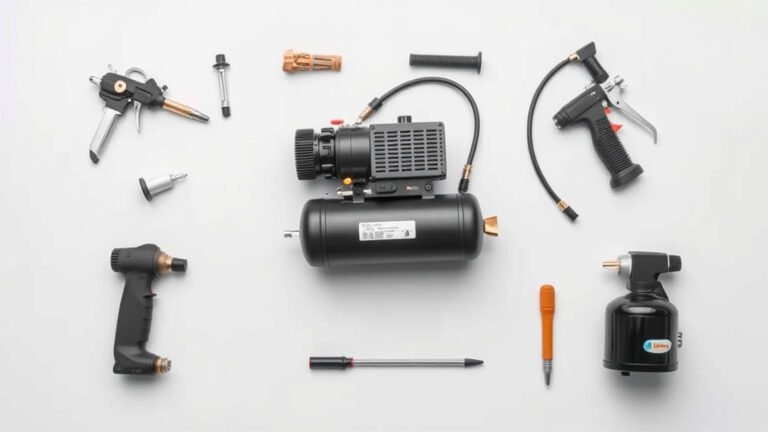
Before you even think about turning a wrench, gather your tools and supplies. Having everything ready will prevent frustrating interruptions. You’ll need safety gear, specialized AC tools, and the correct replacement parts. We found that a well-organized workspace is your best friend for this project.
Essential Tools and Safety Gear
Safety first is non-negotiable when working with AC systems. Refrigerant can cause serious harm if mishandled. You’ll need sturdy gloves and eye protection. A good set of wrenches, sockets, and a torque wrench are also a must. Don’t forget a flashlight; some of those components are hiding!
- Safety glasses
- Work gloves
- Ratchet set and sockets
- Torque wrench
- Serpentine belt tool (often needed)
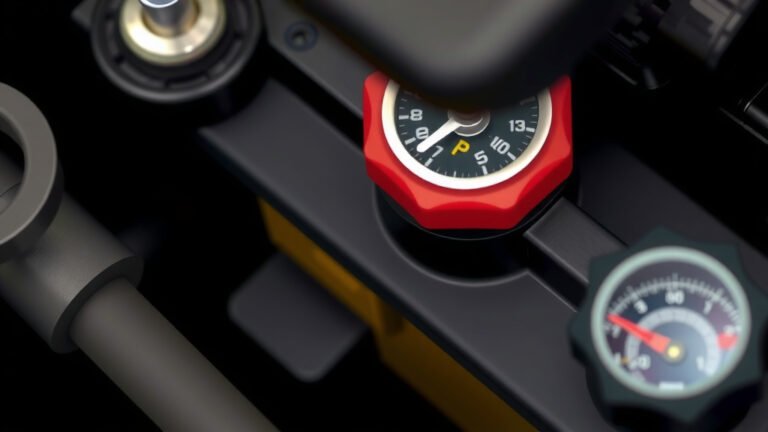
- AC manifold gauge set
- Vacuum pump
- Refrigerant recovery machine (if required by local laws)
- Appropriate refrigerant and oil
- Shop towels and drain pan
Choosing the Right Replacement Compressor
Selecting the correct AC compressor is critical. It needs to match your car’s make, model, and year precisely. We found that many DIYers make the mistake of buying a generic part. Always check the part number against your vehicle’s specifications. Some kits come with seals and O-rings, which you should always replace. Many experts recommend replacing the receiver/drier and expansion valve or orifice tube when replacing the compressor, as these can become contaminated with debris.
The Replacement Process: Step-by-Step
Now that you’re prepped and have your parts, it’s time to get to work. This is where careful, methodical execution pays off. We found that taking your time and double-checking each step is key to a successful outcome.
Locating and Accessing the Compressor
Your AC compressor is typically mounted on the front of the engine. It’s usually driven by a serpentine belt. You might need to remove some other engine components or shrouds to get clear access. Look for the belt that runs around it; that’s usually a good clue.
Safely Disconnecting the System
This is the most critical part of the job. You absolutely cannot just open the AC lines. Refrigerant needs to be recovered properly. Many local regulations require professional recovery. If you don’t have the proper equipment, we found that taking it to a shop for this specific step is the safest and most legal route. Improper venting of refrigerant harms the environment. We found that many sources, like the EPA, strictly regulate this.
Once the system is depressurized and the refrigerant is recovered, disconnect the battery. This prevents any accidental electrical shorts while you’re working. Locate the electrical connector to the compressor clutch and unplug it. Next, you’ll need to disconnect the refrigerant lines from the compressor. Be ready with a rag to catch any residual oil.
Removing the Old Compressor
The compressor is usually held in place by several bolts. Once you’ve removed the refrigerant lines and the electrical connector, unbolt the compressor. You might need to loosen the serpentine belt tensioner to slip the belt off the compressor pulley. Carefully maneuver the old compressor out. It can be a bit heavy and awkward, so watch your back!
Installing the New Compressor
Before installing the new compressor, inspect the mounting bracket for any damage. Clean the mating surfaces where the refrigerant lines will attach. Install the new compressor, making sure to seat it properly. Reinstall the mounting bolts and tighten them to the manufacturer’s specifications. We found that using a torque wrench here is very important. Slip the serpentine belt back onto the pulleys and release the tensioner. Make sure the belt is routed correctly.
Reconnecting and Sealing
Now, reconnect the refrigerant lines to the new compressor. Always use new O-rings, which should have come with your new compressor or kit. Lubricate the O-rings with a small amount of the correct AC oil before installation. Tighten the line fittings securely. Reconnect the electrical connector for the compressor clutch. If you removed any other components for access, reinstall them now.
Evacuating and Recharging the System
This is where your AC manifold gauge set and vacuum pump come in. After installation, the AC system will contain air and moisture. This needs to be removed. Connect the gauge set to the high and low-side service ports. Then, connect the vacuum pump and run it for at least 30 minutes. This process, called evacuation, removes air and moisture by boiling off any trapped water. We found that proper evacuation is key to preventing future AC failures. After evacuating, shut off the pump and let the system sit for 15-20 minutes to check for any vacuum leaks. If the vacuum holds, you’re good to go. If not, you need to find and fix the leak before proceeding. After confirming no leaks, recharge the system with the correct type and amount of refrigerant and oil specified for your vehicle. Overcharging or undercharging can damage the system.
Final Checks and Testing
Once the system is recharged, start your engine. Turn on the AC to its coldest setting. Check your manifold gauges to ensure proper operating pressures. You should feel cold air blowing from the vents. Listen for any unusual noises. We found that taking a short test drive and monitoring the AC performance is a good final step.
Quick Checklist for Your Compressor Replacement
Here’s a quick rundown to make sure you haven’t missed anything:
- Confirm you have the correct replacement compressor and all necessary seals.
- Safely recover all refrigerant from the old system.
- Disconnect the battery before starting any work.
- Evacuate the new system thoroughly with a vacuum pump.
- Recharge with the precise amount and type of refrigerant and oil.
- Test the AC system for proper cooling and listen for odd sounds.
Conclusion
You’ve learned that replacing your car’s AC compressor is a totally achievable DIY project. Remember, preparation is your best friend here. Gathering the right tools and parts ensures a smoother process. Taking the time to safely recover refrigerant and properly evacuate the system are non-negotiable steps. By following these guidelines carefully, you’ll be back to enjoying cool air in your car and can feel proud of the work you’ve done yourself. If you’re ready to tackle it, the next step is to double-check your vehicle’s specific needs and gather all your supplies.
Frequently Asked Questions
How long does it take to replace an AC compressor?
For a DIYer with all the tools and parts ready, replacing an AC compressor can take anywhere from 3 to 6 hours. If you need to have the refrigerant professionally recovered first, that will add extra time to your project.
Can I just add refrigerant if my AC isn’t cold?
No, simply adding refrigerant is usually not a fix for a failing compressor. A low refrigerant level often indicates a leak, and a compressor issue requires replacing the unit itself. Adding refrigerant without fixing the root problem can be ineffective and potentially harmful to the system.
What happens if I don’t replace the O-rings?
Not replacing the O-rings when you install a new compressor is a common mistake. Old O-rings are brittle and won’t seal properly, leading to refrigerant leaks. You’ll end up with an AC system that doesn’t cool and will require another repair to replace those small, inexpensive parts.
Do I need a special license to recover refrigerant?
Yes, in many areas, handling and recovering refrigerant requires EPA certification. It’s crucial to follow environmental regulations. If you don’t have the proper equipment or certification, having a professional recover the refrigerant is the safest and most legal option.
What is the risk of a vacuum leak in the AC system?
A vacuum leak means air and moisture have entered your AC system. This contamination can lead to corrosion, reduced cooling performance, and even damage to the new compressor. Properly evacuating the system removes this moisture and ensures your new compressor functions correctly.