How to Change GermGuardian Air Purifier Filter Easily
Changing your GermGuardian air purifier filter is surprisingly simple. You can typically swap out the old filter for a new one in **under 5 minutes**. Just make sure your purifier is **unplugged** before you begin the process.
Keeping your air purifier running smoothly means regular filter changes. This ensures it continues to **capture dust, allergens**, and other airborne particles effectively. Many users find this task much easier than they initially expect, leading to cleaner air for their homes.
- Unplug your purifier first.
- Locate the filter access panel.
- Remove the old filter.
- Insert the new filter.
- Close the panel and plug it back in.
Ready to get started? Let’s walk through the exact steps to change your GermGuardian air purifier filter so you can breathe easier.
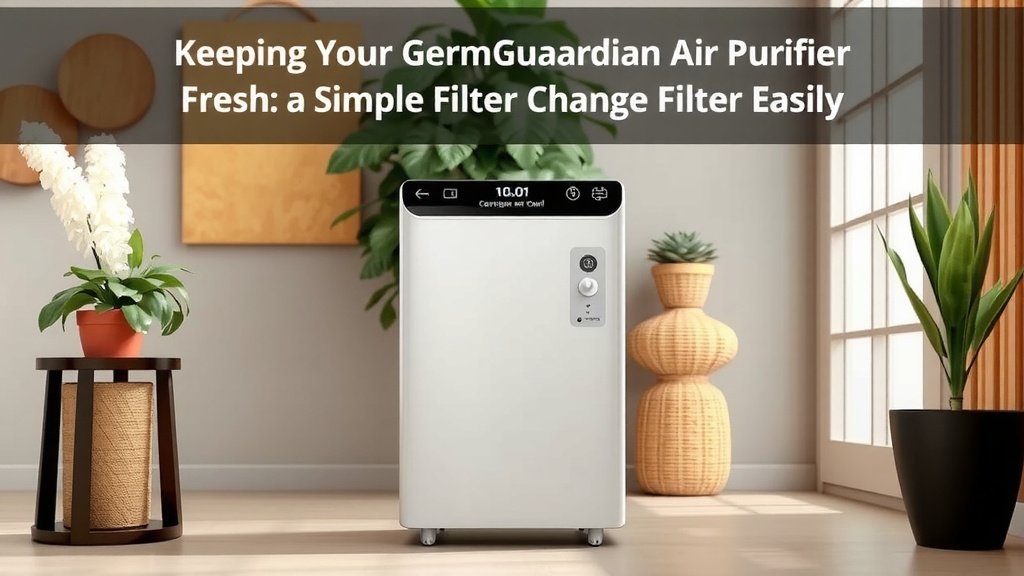
Keeping Your GermGuardian Air Purifier Fresh: A Simple Filter Change Guide
Swapping out your air purifier’s filter is the most important maintenance you’ll do. It directly impacts how well your machine cleans your air. Think of it like changing the oil in your car. A clean filter means your GermGuardian can keep doing its job effectively.
When Should You Change Your Filter?
Most GermGuardian models recommend a filter change every 6 to 8 months. This can vary based on usage and air quality. If you notice a decrease in airflow or a funny smell, it’s probably time for a change. You can also check your purifier’s manual for specific recommendations for your model.
Some users find that changing the filter sooner is better, especially if they have pets or live in an area with high pollen counts. It’s always better to err on the side of caution to ensure the best air quality. We found that tracking usage can help predict the best time for a change.
Gathering Your Supplies
Before you start, make sure you have everything ready. You’ll need your new replacement filter. It’s important to use the correct filter for your specific GermGuardian model. Using the wrong one might not fit properly or could even damage the unit.
You’ll also want a trash bag for the old filter. Some people like to have a damp cloth handy for a quick wipe-down of the filter compartment, though this isn’t usually necessary. The process is generally quite clean.
Step-by-Step Filter Replacement Process
Let’s walk through the actual filter change. It’s designed to be user-friendly. Most users can complete this task in a matter of minutes.
Step 1: Safety First – Unplug Your Purifier
This is the most critical first step. Always unplug your GermGuardian air purifier from the wall outlet before attempting any maintenance. Electrical safety is key. You don’t want any unexpected surprises while you’re working on it. This simple step protects you and your appliance.
Step 2: Locate the Filter Access Panel
Your GermGuardian model will have a designated area for its filter. This is usually on the back or side of the unit. You might see a latch, some screws, or simply a panel that slides or pulls off. Refer to your user manual if you’re unsure where to find it. We found most panels are quite intuitive to locate.
For many models, there’s a small tab or indentation you can use to gently pull the panel away. Some have clips that you’ll need to squeeze. Don’t force anything. If it feels stuck, double-check that you haven’t missed a latch or screw. Gentle pressure is usually all that’s needed.
Step 3: Remove the Old Filter
Once the panel is open, you’ll see the old filter. It might look a bit dusty or discolored – that’s a sign it’s been working hard! Carefully slide or pull the old filter out. You might need to tilt it slightly to maneuver it out of its housing.
This old filter is what’s been trapping all those unwanted particles. Take a moment to appreciate its work before placing it directly into your trash bag. We found that some older filters can be quite bulky, so have your bag ready for disposal.
Step 4: Insert the New Filter
Now it’s time for the fresh filter. Many replacement filters have an indicator showing which way is up or which side should face outwards. Check for arrows or labels on the filter itself. Make sure you insert it in the correct orientation. It should slide smoothly into place.
Gently push the new filter in until it’s snug against the housing. It shouldn’t be jammed in, but it should fit snugly. If it feels loose, double-check that you have the right filter and that it’s fully seated. A proper fit is essential for optimal performance.
Step 5: Close the Filter Access Panel
After the new filter is in place, it’s time to secure the panel. Align it carefully and gently push it back into position. You should hear or feel it click into place. If your panel uses screws, reinsert them now. Don’t overtighten them.
Ensure the panel is flush with the rest of the unit. A properly closed panel ensures that all the air drawn into the purifier is forced through the filter. This prevents any bypass, which would defeat the purpose of having a clean filter. We found that a satisfying click often indicates a secure closure.
Step 6: Plug It Back In and Power On
With the filter changed and the panel secured, you can now plug your GermGuardian air purifier back into the wall outlet. Turn it on and let it run. You should notice that the airflow feels stronger, and your air will start to feel cleaner.
Some models have a filter indicator light. You may need to reset this light. Check your manual for instructions on how to do this. It’s often a simple button press or a combination of button presses. This helps you track when the next change is due.
Quick Filter Change Checklist
- Unplug your air purifier.
- Locate the filter cover.
- Remove the old, used filter.
- Insert the new filter correctly.
- Secure the filter cover.
- Plug in and power on the unit.
Troubleshooting Common Issues
Sometimes, things don’t go exactly as planned. If the new filter feels too big or too small, double-check the model number on your purifier and compare it with the filter packaging. Using the wrong filter is a common mistake. Many experts suggest keeping a spare filter on hand.
If the filter panel won’t close properly, make sure no part of the new filter is sticking out. Also, check for any obstructions inside the compartment. A small piece of packaging material could be preventing a snug fit. If you’re still having trouble, consult your manual or the manufacturer’s support.
Conclusion
You’ve now learned how simple it is to swap out your GermGuardian air purifier filter. This routine maintenance keeps your device working hard to deliver clean, fresh air. Remember to unplug your unit first and have your new, correct filter ready. Taking just a few minutes every 6 to 8 months can make a big difference in your home’s air quality. Don’t wait for a decrease in airflow or unusual smells. Make a note to check your filter status and schedule your next filter change today to ensure you’re always breathing the best air possible.
Frequently Asked Questions
How often should I really change my GermGuardian air purifier filter?
Most manufacturers suggest changing the filter every 6 to 8 months. However, this can change based on your home’s air quality and how often you run the purifier. If you have pets or allergies, you might find changing it sooner beneficial.
Can I just rinse and reuse my GermGuardian air purifier filter?
No, you cannot rinse and reuse the filters. These are typically made of HEPA or activated carbon materials designed to trap particles. Once they are full, they need to be replaced with a new filter to maintain effective air purification.
What happens if I don’t change my GermGuardian air purifier filter on time?
If you don’t change your filter, your purifier’s efficiency will decrease. It won’t capture as much dust and allergens. You might also notice weaker airflow or even an unpleasant smell as the filter becomes clogged.
Where can I find the correct replacement filter for my GermGuardian model?
Always check the model number on your GermGuardian air purifier. You can find the correct replacement filter on the manufacturer’s website or through major online retailers. Using the exact filter designed for your model ensures a proper fit and optimal performance.
My GermGuardian air purifier has a filter indicator light. How do I reset it after changing the filter?
After installing your new filter and closing the unit, you’ll need to reset the filter indicator light. The exact method varies by model, but it often involves pressing and holding a specific button on the control panel for a few seconds. Consult your user manual for precise instructions for your unit.