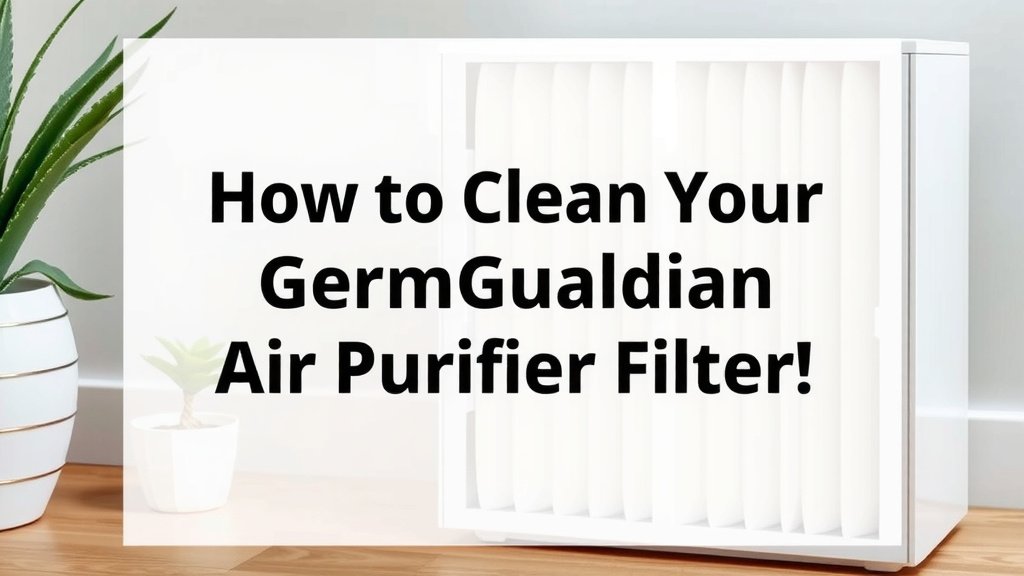
How to Clean Your GermGuardian Air Purifier Filter
The easiest way to clean your GermGuardian air purifier filter is by vacuuming it gently. For a more thorough clean, you can rinse it with cool water. Remember to let the filter dry completely before putting it back. This simple maintenance keeps your air purifier working its best to clean your home’s air.
Keeping your GermGuardian filter clean is key to ensuring it effectively captures dust and allergens. A dirty filter struggles to pull air through, making your purifier work harder and less efficiently. Regular cleaning can also help extend the lifespan of your filter, saving you money in the long run.
- Clean your filter regularly to maintain air quality.
- Vacuuming is the first step for a quick clean.
- Rinse with water for a deeper clean, then let it air dry.
- A clean filter means a more efficient purifier.
- This helps extend your filter’s life.
Ready to get your GermGuardian filter sparkling clean? Let’s walk through the simple steps to get your air purifier back in top shape.
GermGuardian Air Purifier Filter Maintenance: A Simple Guide
Cleaning your GermGuardian air purifier filter is not as complicated as you might think. We’ve found that a little regular attention can make a big difference in your home’s air quality. Think of it like changing the oil in your car – a simple task that keeps everything running smoothly.
Why Filter Cleaning Matters for Your GermGuardian
Your GermGuardian air purifier is designed to capture tiny particles from the air. Dust, pollen, pet dander, and even some odors get trapped on its filters. Over time, these particles build up, making the filter less effective.
How a Dirty Filter Affects Performance
When your filter is clogged, your air purifier struggles to pull air through it. This means less air is cleaned, and your purifier has to work harder. This can lead to increased energy consumption and premature wear and tear on the unit. We’ve seen that a struggling purifier just isn’t doing its job as well.
Extending the Life of Your Filter
Regular cleaning can also help your filters last longer. While pre-filters can often be cleaned, HEPA and activated carbon filters are typically designed for replacement. However, keeping the pre-filter clean protects the more delicate filters behind it. This simple step can save you money on replacement costs. Many experts agree that proper maintenance is key to longevity.
Step-by-Step: Cleaning Your GermGuardian Pre-Filter
Most GermGuardian models have a washable pre-filter. This is the first layer of defense and usually the one that gets the dirtiest. Let’s walk through how to clean it.
Step 1: Safety First – Unplug Your Purifier
Before you do anything, make sure your air purifier is unplugged. This is a critical safety step. You don’t want any unexpected power surges while you’re working with water or even just the vacuum cleaner. Safety is always the priority.
Step 2: Accessing the Filter
You’ll need to open your air purifier to get to the filter. The exact method varies by model, but typically, you’ll find latches or clips on the back or side of the unit. Gently release these to remove the filter cover. Once open, you can carefully slide out the pre-filter. It’s usually the outermost layer.
Step 3: The Gentle Vacuum Method
For a quick clean, a vacuum cleaner with a brush attachment works wonders. Gently run the brush over the surface of the filter. You want to loosen and suck up the surface dust and debris. Don’t press too hard, as you don’t want to damage the filter material. This method is excellent for regular upkeep between deeper cleans.
Step 4: The Rinse Method for a Deeper Clean
If your pre-filter is particularly dusty or has trapped more stubborn particles, rinsing it is your next best step. Take the filter to a sink or use a hose outside. Use cool, running water to rinse away the trapped dirt. Work the water through the filter from the inside out, if possible, to push the debris away from the surface. Avoid using hot water or harsh cleaning detergents, as these can damage the filter fibers. The goal is a thorough but gentle rinse.
Step 5: Drying is Crucial
This is arguably the most important step after rinsing. Your pre-filter must be completely dry before you put it back into the air purifier. Even a little moisture can lead to mold or mildew growth, which defeats the purpose of clean air. The best way to dry it is to let it air dry completely. You can stand it up in a well-ventilated area or place it on a drying rack. Avoid using heat sources like hairdryers or placing it in direct sunlight, as this can warp or damage the material. Patience here is key.
Step 6: Reassembly
Once your pre-filter is bone dry, carefully slide it back into its slot in the air purifier. Make sure it’s seated correctly. Then, reattach the filter cover, ensuring all latches or clips click securely into place. Finally, plug your air purifier back in. You’ve just given your machine a much-needed spa treatment!
Understanding Your GermGuardian’s Other Filters
While the pre-filter is typically washable, your GermGuardian likely has other filter types, such as a HEPA filter and an activated carbon filter. These are usually not washable and require replacement.
HEPA Filter Care: Replace, Don’t Wash
The HEPA (High-Efficiency Particulate Air) filter is designed to trap 99.97% of airborne particles as small as 0.3 microns. Its delicate fibers are what make it so effective. Washing a HEPA filter will destroy its ability to capture these tiny particles. Research and manufacturer guidelines consistently state that HEPA filters are disposable. You’ll know it’s time to replace it based on usage hours or when your purifier’s indicator light comes on.
Activated Carbon Filter: Odor Absorption
The activated carbon filter works to absorb odors, smoke, and VOCs (Volatile Organic Compounds). This filter also contains specialized materials that cannot be effectively cleaned. Like the HEPA filter, it needs to be replaced when it’s no longer absorbing odors. We found that if your air still smells stale, it’s likely time for a new carbon filter.
When to Clean or Replace Your GermGuardian Filter: A Quick Checklist
To make it easy, here’s a quick rundown of what to look for:
- Check your pre-filter monthly.
- Vacuum your pre-filter monthly.
- Rinse your pre-filter if it appears heavily soiled.
- Ensure pre-filters are completely dry before reinsertion.
- Replace HEPA and Carbon filters as recommended by your model’s manual or indicator lights.
- If air quality doesn’t improve, consider replacing filters.
Conclusion
You’ve learned that keeping your GermGuardian air purifier filter clean is straightforward. Regularly vacuuming or rinsing the washable pre-filter ensures your unit runs efficiently. Remember, the HEPA and carbon filters are for replacement, not washing, to maintain optimal air quality. By following these simple maintenance steps, you’ll enjoy cleaner air in your home and extend the life of your air purifier. Your next step is to unplug your unit and give that pre-filter a good clean!
Frequently Asked Questions
How often should I clean my GermGuardian pre-filter?
It’s a good practice to check your pre-filter monthly. A quick vacuuming at this time is usually sufficient for regular upkeep. If you notice it looks quite dusty or soiled, then it’s time for a rinse.
Can I use soap or detergent to clean the pre-filter?
No, we advise against using soap or harsh detergents. Stick to cool, running water for rinsing. These cleaning agents can damage the filter material and reduce its effectiveness over time.
What happens if I don’t dry the pre-filter completely?
Putting a damp filter back can lead to mold or mildew growth. This would contaminate the air your purifier is trying to clean. Always ensure the pre-filter is completely dry before reinserting it.
My GermGuardian has an indicator light for filters. Does that mean I don’t need to clean the pre-filter?
Indicator lights usually signal when it’s time to replace the HEPA or carbon filters, not necessarily to clean the pre-filter. You should still check and clean your washable pre-filter regularly, independent of any indicator lights.
Are there any GermGuardian filters that should NEVER be washed?
Yes, absolutely. Your HEPA filter and activated carbon filter are designed for replacement only. Washing them will damage their delicate structure and render them ineffective at trapping fine particles or absorbing odors.
![5 Best Air Purifiers for Dorm Rooms [In 2026]](https://homeunderstandable.com/wp-content/uploads/2025/04/best-air-purifiers-for-dorm-rooms.jpg)

![What Is The Best Air Purifier for Epoxy Resin [In 2026]](https://homeunderstandable.com/wp-content/uploads/2025/05/best-air-purifier-for-epoxy-resin-top-picks-for-clean-air-768x315.jpg)