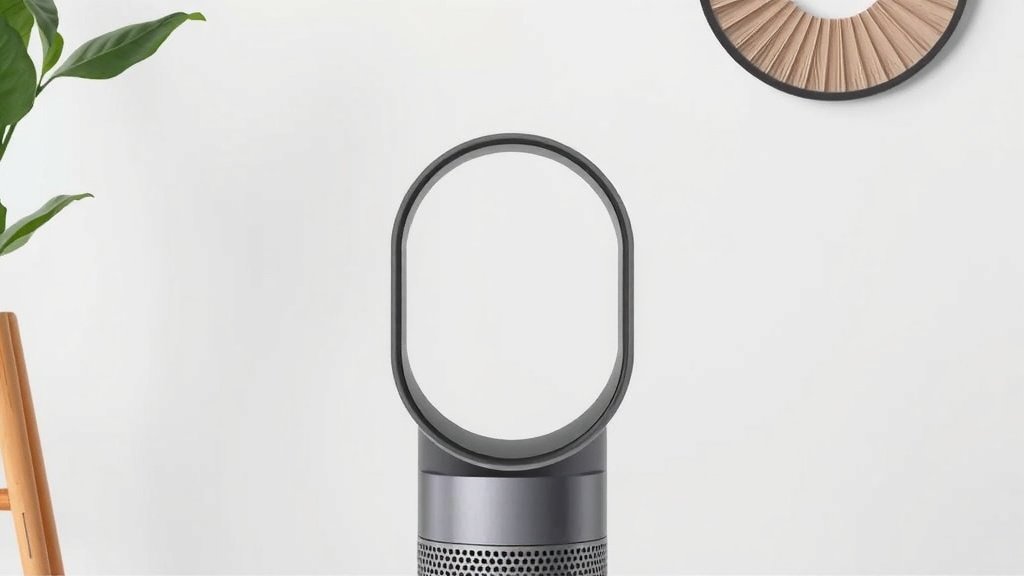
How to Change Your Dyson Air Purifier Filter Easily
Changing the filter on your Dyson air purifier is a simple process. You’ll typically need to replace your Dyson air purifier filter every 6 to 12 months. This ensures your purifier continues to capture pollutants and allergens effectively. Regular filter changes are key to maintaining good air quality in your home.
Your Dyson purifier is designed for easy maintenance. We found that consistent filter replacement helps your machine run at its best. Neglecting this task can reduce its efficiency and airflow. Proper care means your Dyson can keep your air fresh and clean all year round.
- Locate the filter release.
- Remove the old filter carefully.
- Insert the new filter correctly.
- Confirm the unit is reassembled properly.
- Check your Dyson app for confirmation.
Ready to get started? Let’s walk through exactly how to change your Dyson air purifier filter step by step.
Maintaining Your Dyson Air Purifier: A Filter Change Guide
Your Dyson air purifier is a smart investment for cleaner air. But like any hard-working appliance, it needs a little TLC. Changing the filter is one of the most important ways you can keep it running at its best. We found that a fresh filter means your purifier can capture more pollutants and allergens. Let’s dive into how you can tackle this simple yet essential task.
When Should You Replace Your Dyson Air Purifier Filter?
You might be wondering, “How often do I *really* need to change this thing?” That’s a great question! Dyson recommends replacing the filter on most of their air purifiers every 6 to 12 months. This timeframe can vary based on a few factors. Your local air quality plays a big role. If you live in an area with a lot of dust or pollen, you might need to swap it out sooner. Also, how often you run your purifier matters. A machine that runs 24/7 will need more frequent filter changes than one used only a few hours a day.
Think of it like changing the oil in your car. You can push it a bit, but eventually, it’s going to affect performance. Your Dyson air purifier is designed to alert you when the filter life is low. This usually appears as an indicator on the unit itself or through the Dyson Link app. It’s always a good idea to keep an eye on these notifications. They are there to help you get the most out of your machine.
Understanding Filter Life Indicators
Many Dyson models have built-in indicators. These can be visual cues on the display screen. Some models might show a percentage or a countdown. The Dyson Link app is also a fantastic tool for tracking filter life. It can provide real-time updates and even send you a notification when it’s time for a change. We found this app feature to be incredibly helpful for busy households. It takes the guesswork out of maintenance.
Your Step-by-Step Guide to Changing the Filter
Ready to get your hands dirty? Don’t worry, it’s much easier than assembling IKEA furniture! We’ve broken down the process into simple steps to make it a breeze. Remember to always unplug your Dyson air purifier before you begin any maintenance. Safety first, always!
Step 1: Locate and Access the Filter
First things first, you need to find the filter. On most Dyson air purifiers, the filter is housed within the main body of the unit. You’ll often see a distinct compartment or a section that looks like it can be opened. Many models have a simple twist-and-lock mechanism for filter access. Check the base or the back of your specific Dyson model.
Some Dyson purifiers have a filter that wraps around the entire unit. Others might have a smaller, more accessible cartridge. You might need to gently pull or push a specific area to release the filter cover. Consult your Dyson’s user manual if you’re unsure. It’s your best friend for model-specific instructions. We found that a quick look at the manual can save a lot of fumbling.
Step 2: Removing the Old Filter
Once you’ve accessed the filter compartment, it’s time to remove the old filter. Most Dyson filters are designed for easy removal. You might need to gently pull it straight out. Some filters may require a slight twist to disengage them from their housing. Be gentle; you don’t want to force anything.
What should you do with the old filter? We recommend disposing of it in your regular household trash. If it’s particularly dusty or dirty, you might want to place it in a plastic bag first. This helps contain any dust particles that might be released. It’s a small step that helps keep your workspace cleaner.
Step 3: Installing the New Filter
Now for the satisfying part – putting in the new filter! Make sure you have the correct replacement filter for your specific Dyson model. Using the wrong filter can affect performance and potentially damage your unit. You can usually find the correct filter number on your old filter or in your user manual.
Align the new filter with the housing. It should slide or twist into place with minimal effort. You’ll often hear or feel a click when it’s properly seated. Ensure there are no gaps around the edges. A snug fit is key for the filter to work effectively. We found that taking a moment to confirm it’s securely in place prevents any issues down the line.
Step 4: Reassemble and Power On
After the new filter is installed, you’ll need to reassemble any covers or panels you removed. Make sure everything is securely fastened. Once the unit is fully reassembled, plug it back in. Power on your Dyson air purifier.
You should see the filter life indicator reset, or the unit will acknowledge the new filter. If you’re using the Dyson Link app, it should also update to reflect the new filter installation. Sometimes, you might need to manually reset the filter reminder through the app or the unit’s controls. Your user manual will guide you on this if it’s necessary.
Step 5: Confirm Through the Dyson App (If Applicable)
For those of you who love smart home tech, the Dyson Link app is your best friend. After changing the filter, open the app. It should automatically detect the new filter or prompt you to confirm the change. This provides an extra layer of assurance that your purifier is ready to go.
The app can also help you track filter life moving forward, which is super convenient. You can monitor your air quality in real-time and get personalized maintenance reminders. We found that using the app makes keeping track of your purifier’s health much simpler. It’s like having a personal assistant for your air!
Quick Checklist for a Smooth Filter Change
Want a super quick rundown? Here’s a checklist to make sure you don’t miss a beat:
- Unplug your Dyson purifier first.
- Locate the filter compartment easily.
- Remove the old filter without force.
- Insert the new filter securely.
- Reassemble all parts properly.
- Confirm the filter reset on the unit or app.
Common Dyson Air Purifier Models and Filter Types
Dyson has a range of excellent air purifiers, and the filter replacement process is similar across most models. However, the exact look and location of the filter might vary slightly. Here’s a quick overview of some popular models and what to expect:
| Dyson Model | Filter Type | Filter Location |
|---|---|---|
| Dyson Pure Cool (TP01, TP02, TP04, TP06) | Combination HEPA + Activated Carbon Filter | Often a full unit wrap-around or a lower compartment |
| Dyson Pure Hot+Cool (HP01, HP02, HP04, HP06) | Combination HEPA + Activated Carbon Filter | Similar to Pure Cool models, often at the base |
| Dyson Purifier Cool (TP07, TP09) | Sealed HEPA + Activated Carbon Filter | Typically housed in the lower section, easily accessible |
| Dyson Purifier Hot+Cool (HP07, HP09) | Sealed HEPA + Activated Carbon Filter | Same as Purifier Cool models |
| Dyson Purifier Cool Formaldehyde (TP09) | Sealed HEPA + Activated Carbon + Catalytic Converter | Integrated unit, often a single replacement piece |
It’s always best to check your specific model number and refer to your manual for precise instructions. Buying the correct filter is also key. You can usually find the part number on your old filter or on Dyson’s website. We found that keeping a spare filter on hand ensures you can swap it out right when the notification pops up, keeping your air quality consistently high.
Conclusion
You’ve now got a clear roadmap for changing your Dyson air purifier filter. Remember, replacing your filter regularly is key to breathing the cleanest air possible. It’s a straightforward task that directly impacts your purifier’s performance. By following these steps, you ensure your Dyson continues to capture dust, allergens, and pollutants effectively.
Don’t wait for an alert; make filter changes a part of your routine. Keeping your air fresh is an investment in your home’s health. Ready to experience that clean air difference? Go ahead and schedule your next filter change now!
Frequently Asked Questions
How do I know which Dyson filter to buy?
Check the model number on your Dyson air purifier. This number is usually found on the base or back of the unit. You can also find the correct filter part number on your old filter itself. Consulting your user manual or Dyson’s official website is the safest bet.
Can I wash my Dyson air purifier filter?
No, you should never wash your Dyson air purifier filter. These filters are typically made of materials like HEPA and activated carbon that cannot be cleaned with water. Washing them will damage the filter and compromise its ability to clean your air.
What happens if I don’t change my Dyson air filter?
If you don’t change your Dyson air filter, its efficiency will decrease significantly. A clogged filter will struggle to pull air through, reducing airflow and its ability to capture pollutants. You might also notice a decrease in air quality or strange noises from the machine.
Do I need the Dyson Link app to change the filter?
No, you don’t strictly need the Dyson Link app to change the filter. The unit itself will usually have an indicator light or message to signal when a filter change is needed. However, the app provides convenient tracking and notifications, making maintenance easier.
How long does a Dyson air purifier filter typically last?
Dyson generally recommends replacing the filter every 6 to 12 months. This timeframe can vary based on usage and your home’s air quality. Running the purifier constantly in a dusty environment means you might need to replace it closer to the 6-month mark.
![5 Best Air Purifier for Bedroom Allergies [In 2026]](https://homeunderstandable.com/wp-content/uploads/2025/06/best-air-purifier-for-bedroom-allergies.jpg)