How to Change Your Honeywell Air Purifier Pre-Filter
Changing the pre-filter on your Honeywell air purifier is simple and quick. You can usually swap it out in less than five minutes. Keeping this filter clean helps your purifier work better and last longer. It’s a small step that makes a big difference for your air quality.
Regularly replacing your Honeywell pre-filter is essential for maintaining optimal air purification. This simple maintenance ensures your unit can effectively capture larger particles like dust and pet hair. Many experts suggest replacing pre-filters every 3-6 months depending on usage and air quality.
- Unplug your air purifier first.
- Locate and open the filter cover.
- Carefully remove the old pre-filter.
- Insert the new pre-filter correctly.
- Close the cover and plug it back in.
Ready to get started? Below, we’ll walk you through the easy steps to change your Honeywell air purifier pre-filter.
Refreshing Your Honeywell Air Purifier Pre-Filter
Changing your Honeywell air purifier’s pre-filter is a straightforward maintenance task. It helps ensure your purifier continues to capture those larger particles efficiently. Think of it like changing the oil in your car; it keeps everything running smoothly. Most Honeywell models make this process quite simple.
When Should You Swap Out the Pre-Filter?
Knowing when to change your pre-filter is key to maintaining optimal air quality. The general recommendation is every 3 to 6 months. However, this can vary based on how much you use your air purifier and the air quality in your home. If you have pets, live near a busy road, or deal with a lot of dust, you might need to change it more often.
A good indicator is visual. If your pre-filter looks visibly dirty, clogged with dust, or gray, it’s likely time for a change. Some Honeywell models also have filter indicator lights that will alert you. It’s always better to check it sooner rather than later. A clogged filter can reduce airflow and make your purifier work harder.
Gathering Your Supplies
Before you start, make sure you have everything you need. This keeps the process quick and hassle-free. You don’t want to get halfway through and realize you’re missing something.
What You’ll Need
- Your new Honeywell pre-filter.
- A soft cloth or vacuum cleaner with a brush attachment (for cleaning around the filter area).
- A trash bag for the old filter.
Using an official Honeywell replacement filter is always recommended. These are designed to fit your specific model perfectly. Generic filters might not seal properly, reducing their effectiveness. You can usually find these online or at major home goods retailers.
Step-by-Step Guide to Changing the Pre-Filter
Let’s walk through the process together. It’s designed to be as simple as possible. You’ll be done before you know it!
1. Unplug Your Air Purifier
This is the most important safety step. Never attempt to change a filter while the unit is plugged in. Electricity and moving parts don’t mix well. Ensure the power cord is completely disconnected from the wall outlet.
2. Locate and Open the Filter Compartment
Most Honeywell air purifiers have the pre-filter accessible from the back or side. Look for latches, clips, or a removable grille. You might need to gently press down or slide a panel to release it.
Identifying the Pre-Filter
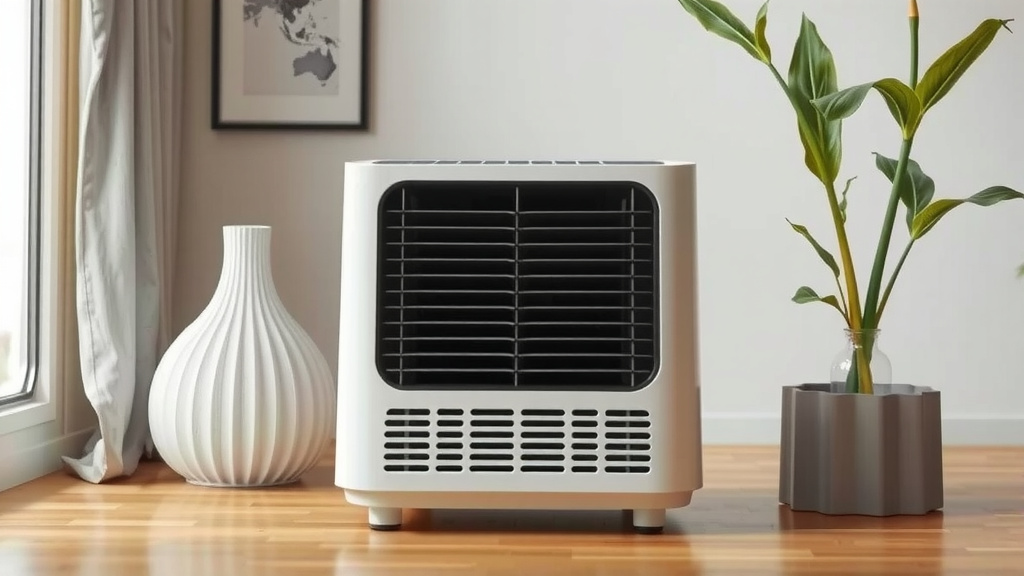
The pre-filter is typically the outermost layer of filtration. It often looks like a mesh screen or a thin, black sheet. This is the first line of defense against larger particles. It traps things like pet hair, lint, and large dust bunnies before they reach the HEPA filter.
3. Remove the Old Pre-Filter
Once the compartment is open, carefully slide out the old pre-filter. Note how it was positioned. Some filters slide in and out easily, while others might have a specific orientation. If it’s very dusty, you might want to hold it over a trash bag to minimize mess.
Sometimes, the pre-filter is attached to the main filter housing. In these cases, it might be a washable mesh that you can rinse. Always check your specific model’s manual if you’re unsure. But for most standard pre-filters, it’s a simple removal and replacement process.
4. Install the New Pre-Filter
Take your new pre-filter and align it correctly. Make sure it fits snugly into the compartment. If there’s a specific side that should face outwards, ensure it’s oriented correctly. A good seal is essential for effective filtration. You don’t want air bypassing the filter.
Proper Seating is Key
Press the filter gently into place. You should feel it settle securely. Double-check that there are no gaps around the edges. This ensures that all the air passing through your purifier is directed through the new filter. It’s like making sure a lid fits tightly on a jar.
5. Close the Filter Compartment
Once the new pre-filter is in place, carefully close the grille or panel. Make sure it clicks or latches securely. This ensures the purifier operates correctly and safely. You shouldn’t be able to easily pull the cover off.
6. Plug In and Power On
With the new filter installed and the compartment secured, you can now plug your air purifier back into the wall outlet. Turn it on and let it run. You might notice a fresher scent almost immediately!
A Quick Checklist for Your Filter Change
Here’s a handy checklist to make sure you haven’t missed a step:
- Safety First: Always unplug the unit before starting.
- Access Granted: Open the filter cover or grille.
- Old Out, New In: Remove the old pre-filter and insert the new one.
- Secure Fit: Ensure the new filter is seated properly with no gaps.
- Seal the Deal: Close and latch the filter compartment securely.
- Power Up: Plug the unit back in and turn it on.
Some users wonder if they can wash their pre-filters. While some specific Honeywell models might have washable pre-filters, most disposable ones should be replaced. Washing a disposable pre-filter won’t restore its filtering capabilities and can damage it. Always refer to your owner’s manual for model-specific instructions. Many guidelines suggest replacing disposable filters when they are visibly dirty or saturated (CDC).
Maintaining Your Honeywell Pre-Filter
Regular maintenance is more than just changing the filter. Giving the area around the filter a quick clean can also help. When you have the filter compartment open, take a moment to wipe down the inside with a dry cloth. This removes any accumulated dust. A clean environment helps your purifier perform at its best.
Consider keeping a spare pre-filter on hand. This way, you’re always ready for the next change. Having a spare means you won’t have to pause your air purification routine while you wait for a new filter to arrive. Many experts recommend having replacements ready to go (Environmental Protection Agency).
Conclusion
You’ve learned how simple it is to refresh your Honeywell air purifier by changing the pre-filter. Remember, this quick maintenance step is key to ensuring your unit runs efficiently and keeps your home’s air clean. Following these steps not only improves your air quality but also helps extend the life of your air purifier. Make it a habit to check your pre-filter regularly. Your next step is to grab your new filter and schedule your first quick swap – you’ll notice the difference!
Frequently Asked Questions
How often should I really change my Honeywell air purifier pre-filter?
Experts generally suggest changing your pre-filter every 3 to 6 months. However, this depends heavily on your home’s air quality and how often you run your purifier. If you have pets, allergies, or live in a dusty area, you might need to replace it more frequently.
Can I wash my Honeywell pre-filter instead of replacing it?
While some specific Honeywell models may have washable mesh pre-filters, most disposable pre-filters are designed for replacement, not washing. Washing a disposable filter can damage it and won’t restore its effectiveness. Always check your owner’s manual to be sure for your specific model.
What happens if I don’t change my Honeywell pre-filter often enough?
If you don’t change your pre-filter, it will become clogged with dust and debris. This can significantly reduce airflow through your air purifier. Consequently, the unit will have to work harder, becoming less efficient and potentially shortening its lifespan.
Where can I buy a new Honeywell pre-filter?
You can typically purchase official Honeywell replacement pre-filters online through retailers like Amazon or directly from the Honeywell website. Many large home goods stores and electronics retailers also carry them. Always try to use genuine Honeywell filters for the best fit and performance.
My Honeywell air purifier has a filter indicator light. Does that mean I don’t need to check the pre-filter visually?
The filter indicator light is a helpful reminder, but it’s not a substitute for visual checks. This light usually indicates it’s time to change the main HEPA or carbon filter, which is a different component. It’s still wise to visually inspect your pre-filter periodically, especially if you notice reduced airflow or a drop in air quality.